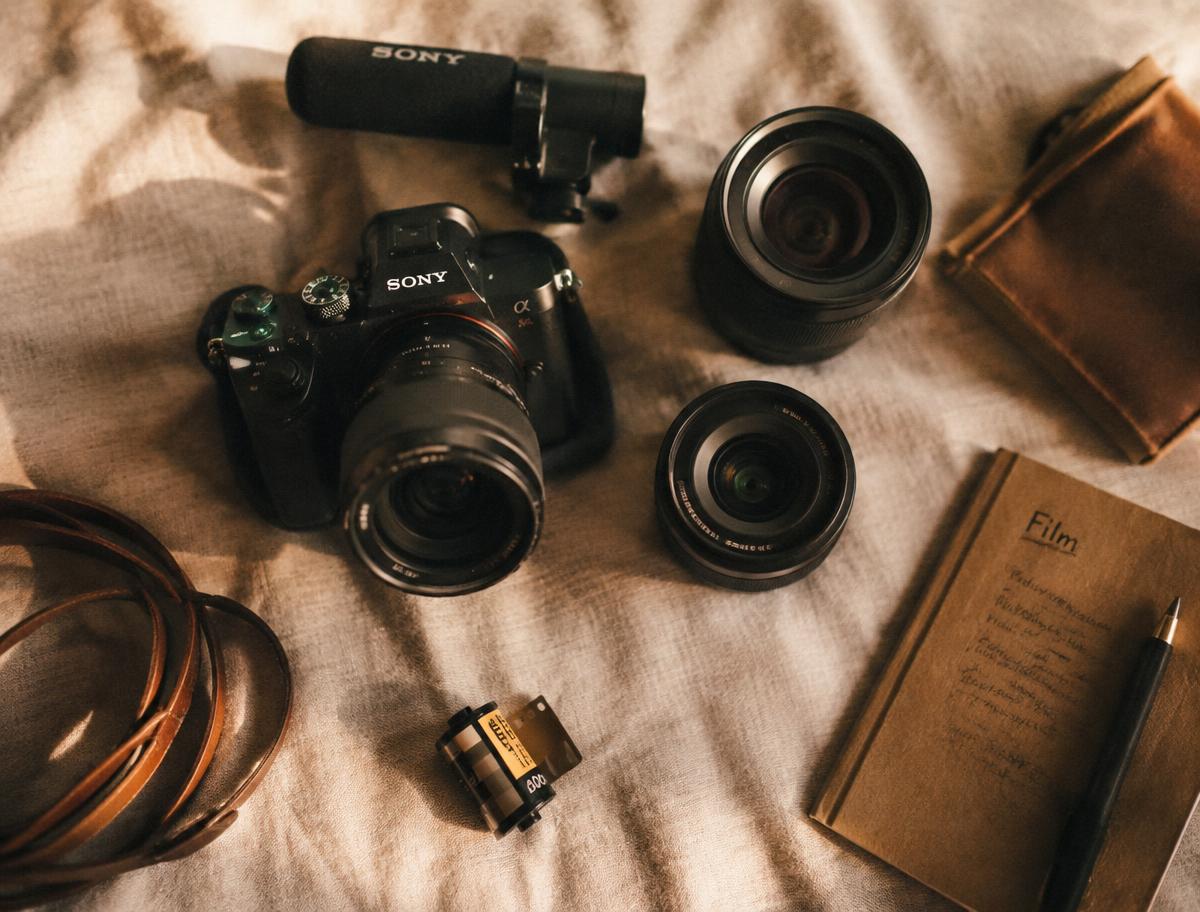
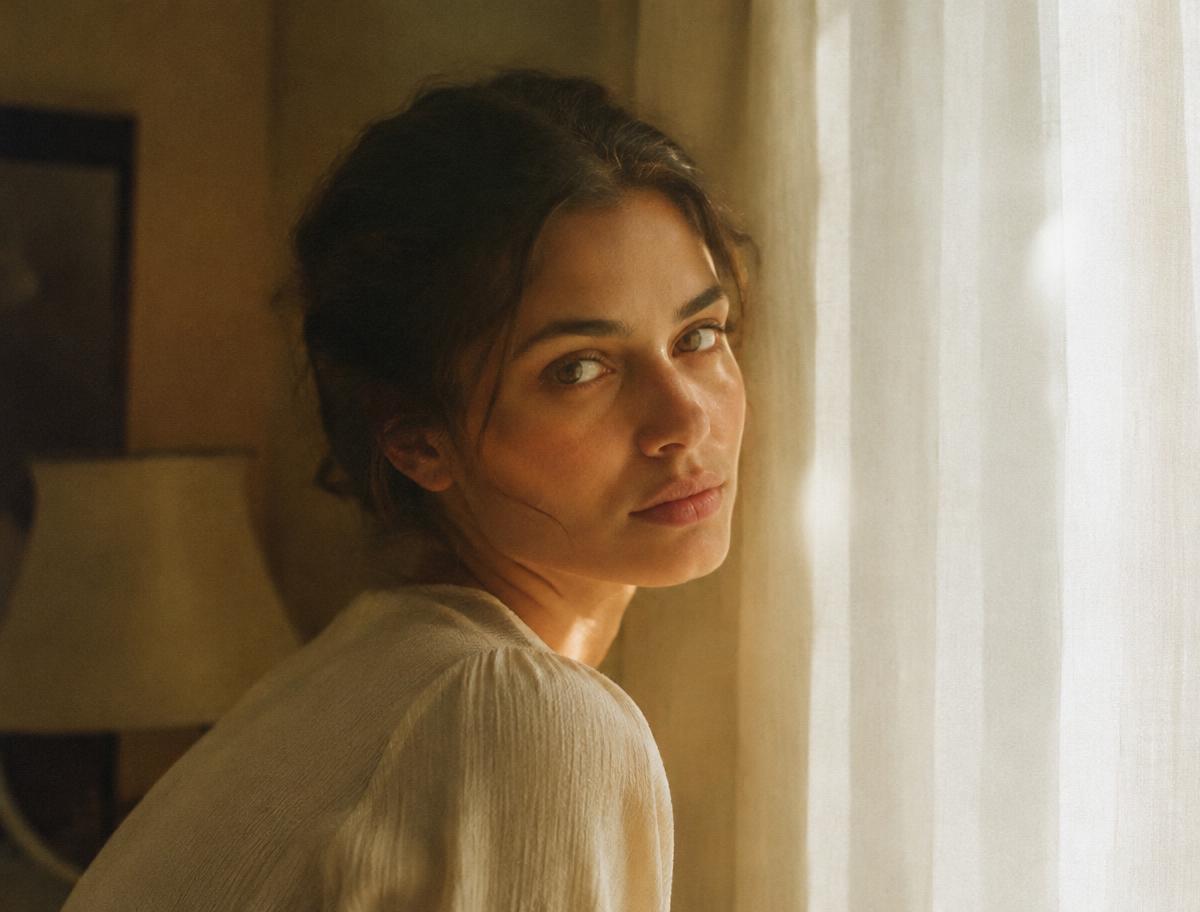
Natural light portraits fail for one reason more than any other: the photographer looks at the subject instead of the light. Learn to see where light comes from, how hard it is and where it falls off, and every room becomes a studio.
01Find the right window
North-facing windows (south-facing in the southern hemisphere) give soft, consistent light all day. Place your subject one to two metres from the glass and at roughly 45° to it. Too close and the falloff is harsh; too far and the light goes flat and dim.
02Soften and subtract
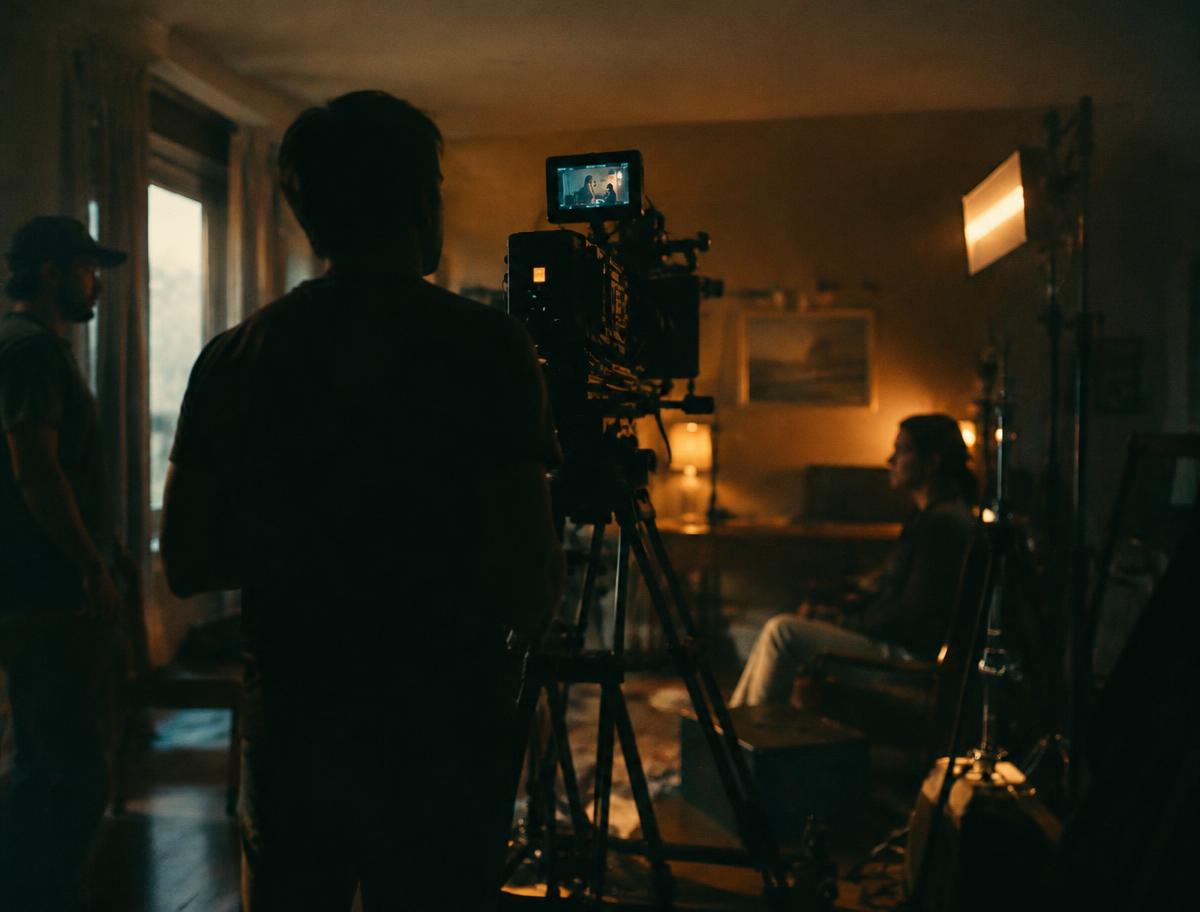
A sheer white curtain turns direct sun into a giant softbox. If the shadow side is too open, do the opposite of what you expect: hang a dark sheet or stand a black card on that side. Subtracting light creates the shape and depth that makes faces look three-dimensional.
03Use a bounce, not a flash
A sheet of white foam board held just out of frame lifts the shadows by about a stop. Silver bounces are punchier; gold warms skin but quickly looks artificial — use it sparingly.
04Expose for the skin
Spot-meter on the brightest side of the face, then add +0.3 to +0.7 EV for lighter skin tones. Check your histogram: the highlights on the forehead should sit just under clipping. Start at f/2.8, 1/200s and let ISO float.
05Catchlights make the portrait
Turn your subject's face slightly towards the window until you see a bright reflection in both eyes. Without catchlights a portrait feels lifeless, no matter how well exposed.
Was this guide helpful?
Ask about this guide

Written by
Maya Laurent
Portrait and documentary photographer for 12 years. Maya edits our photography guides and still shoots mostly on a 35mm and a 50mm prime.