



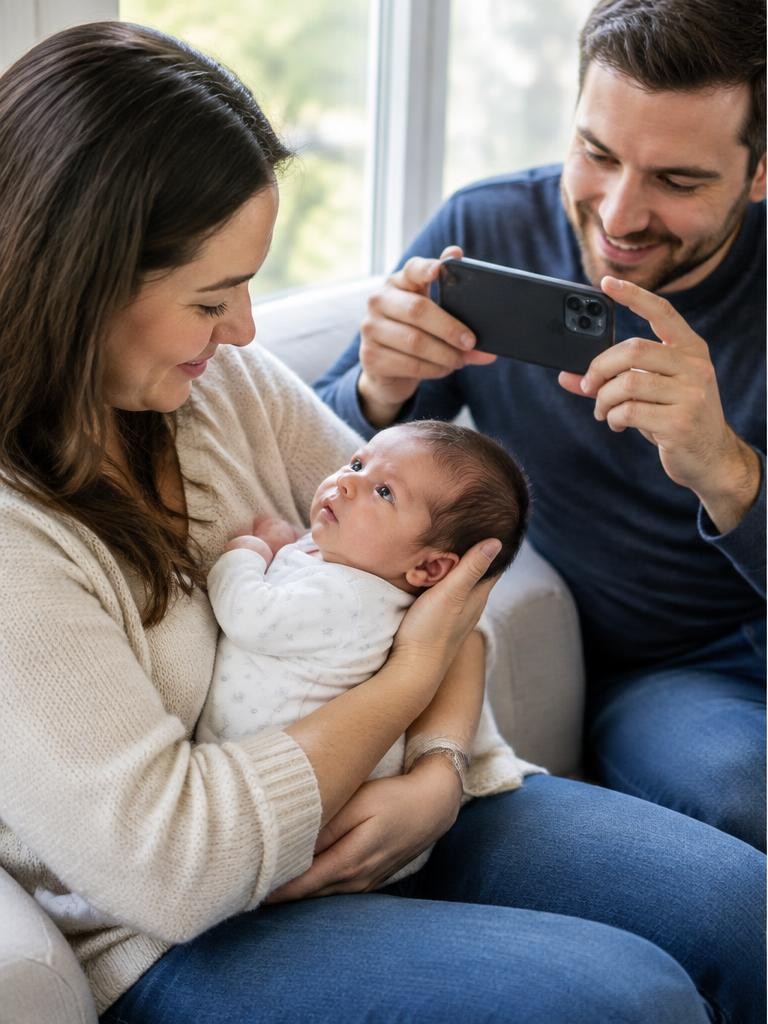
DIY newborn photography means making simple pictures of your baby at home, not reproducing specialist newborn poses. The safest beginner plan is an awake baby comfortably held by an attentive, fully awake parent while another adult takes photographs. Photograph the relationship, tiny fingers, and everyday expressions. A phone and a bright window are enough. This guide deliberately excludes baskets, suspended setups, balancing, head-on-hands poses, and wrapping instructions. You do not need a particular age, a sleeping baby, or an elaborate set to make photographs worth keeping.
01Put care before the camera
Decide who is responsible for the baby before taking out equipment. The holding adult should concentrate on supporting the baby's head, neck, and body, keeping the face visible and the airway unobstructed.
The photographer handles the camera and checks the surroundings. Never remove supporting hands for a cleaner composition.
Stop immediately for distress, changes in breathing or color, overheating, or feeding and comfort needs. Seek medical help for concerning symptoms.
Photography is optional; a baby's wellbeing is not. If you are alone, choose another time rather than juggling a camera and newborn.
Try this
02Keep sleep separate from the session
An awake-photo setup is not a sleep arrangement. The American Academy of Pediatrics recommends placing babies on their backs for every sleep on a firm, flat, noninclined infant sleep surface, without pillows, loose blankets, toys, or other soft objects.
See the linked HealthyChildren safe-sleep guidance in the sources below. If the baby becomes sleepy, end the planned awake session and follow safe-sleep guidance.
Do not make a bed, sofa, lounger, or photography prop into a sleeping set, even briefly. Adult supervision does not turn an unsafe sleep surface into a safe one.
03Step 1: prepare a small, ordinary space
Choose a clear area near a window with enough room for the holding adult to sit securely and the photographer to move without tripping. Remove hot drinks, dangling cords, pets, and unstable objects.
Keep camera straps and equipment away from the baby. Dress the baby in ordinary comfortable clothing; avoid costume changes that disrupt comfort.
Keep the room comfortable rather than heating it for photographs. A plain wall behind the parent is sufficient.
Have routine care supplies nearby, but outside the frame and beyond the baby's reach.
04Step 2: find gentle window light
Start with the parent seated beside a window so light arrives from one side and slightly in front. Look for a gradual transition from the bright cheek to the shaded cheek.
If a sharp patch of sun crosses the face, move the chair back or choose another window; do not place anything over the baby to soften light. Turn off nearby lamps if they add an obvious orange or green cast.
Avoid aiming bright lights into the baby's eyes. Move the photographer or parent safely rather than manipulating the baby to chase a lighting pattern.
05Step 3: set a phone or camera
On a phone, start with the main camera at its normal view, not an ultrawide lens close to the face. Tap the nearer eye and reduce brightness slightly if skin highlights lose detail.
On a camera, try 1/250 second, f/4, and Auto ISO as a starting point for gentle movement. These are examples, not universal settings.
Raise ISO rather than accepting obvious movement blur. With a normal or short portrait lens, stand far enough away to include the supporting adult naturally.
Photograph RAW if you already know how to process it; otherwise JPEG is entirely usable.
06Step 4: focus on a visible eye
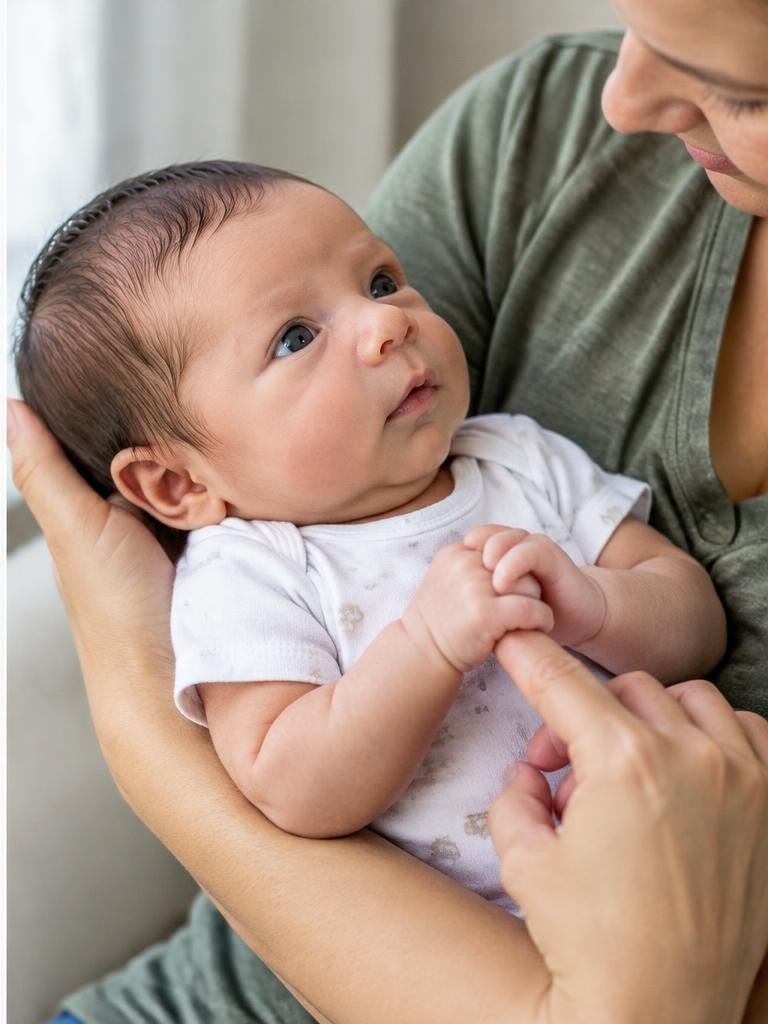
Use eye-detection autofocus if it reliably identifies the baby's visible eye. Otherwise select a small focus area over that eye; check that the camera has not chosen the adult instead.
Continuous autofocus can help when the parent and baby move gently. Take two or three frames, then inspect one at high magnification.
Sharp clothing with soft eyelashes suggests misplaced focus; streaked eyelashes and hands suggest movement. If the parent and baby both need sharp eyes, position the photographer so their faces are at similar distances and try f/5.6, adjusting ISO to preserve shutter speed.
07Step 5: make a short, supported shot list
Begin with one wider frame showing the parent and the fully supported baby. Then make a closer picture of their faces, leaving supporting hands visible.
Finish with a detail such as the baby's fingers resting naturally against the parent's hand. Change framing by moving yourself, not by balancing or repositioning the baby for the photograph.
Never stand on furniture or hold a heavy camera directly above the infant. Keep the session short and flexible.
Three comfortable pictures are more successful than a long checklist completed after the baby has had enough.
08If you choose an awake back-lying photograph
Held portraits are the default here. An optional alternative is an awake baby lying on their back on a firm, flat, clear, age-appropriate infant surface, with an attentive adult within immediate reach.
Follow the product's intended use and safety instructions. Keep soft props, loose fabrics, pillows, and positioners out.
Do not use an elevated improvised platform. Photograph from a stable position without leaning equipment over the baby.
This is not an invitation to pose the baby on their stomach: HealthyChildren distinguishes back sleeping from awake, closely supervised tummy time.
09Illustrative story: one window, three photographs
Imagine two parents planning a five-minute session after their baby wakes comfortably. This is a hypothetical example, not a reported shoot.
One parent sits beside a window, continuously supporting the baby's head and body. The other begins at 1/250 second and f/4; Auto ISO settles at 1600.
A wide frame records the cuddle, a closer frame shows open eyes, and a detail includes both hands. When the baby starts fussing, they stop for care instead of trying another pose.
Their success is a small record of connection, not a perfect performance.
Troubleshooting
10Troubleshooting: blur, color, and clutter
If pictures are blurred, check shutter speed and focus separately before blaming the lens. Increase to 1/500 second for active hands, accepting a higher ISO.
If skin looks orange, turn off household lamps and set white balance from the window-lit scene. If the background is distracting, shift your own position to place a plain wall behind the parent.
If the baby looks uncomfortable, do not solve that with editing or another camera angle: stop and provide care. Avoid aggressive skin smoothing, which can erase normal texture without improving the memory.
FAQ
11FAQ: timing, flash, and editing
Must newborn photographs happen in the first two weeks? No; choose a day that suits recovery, feeding, and family wellbeing. Do you need flash? No; window light keeps this beginner plan simple and avoids extra equipment near the baby. Should you copy a professional pose from social media? No; a finished image may conceal support, compositing, or specialist handling. Can you tidy flakes or redness? Gentle adjustments are optional, but preserve believable skin and never treat editing as a medical assessment. Ask the parents before sharing, and consider keeping identifying details and location information private.
Try this
12A practical exercise and stopping rule
Before including the baby, practice with the adult alone: choose a clear background, set exposure, and confirm that your standing position is stable. Then, only if the awake baby is comfortable, make the three supported photographs described above.
Review them later rather than stretching the session to inspect every frame. Keep the image with the clearest expression and natural skin color, even if it includes more adult hands than planned.
Your stopping rule is simple: end for sleepiness, distress, care needs, or adult fatigue. A safe, ordinary moment is the point of the photograph.
Sources & further reading
These references support the technical explanations. Exercises and starting settings are illustrative and should be adapted to your equipment and conditions.
- AAP / HealthyChildren: How to Keep Your Sleeping Baby Safe
- AAP / HealthyChildren: Back to Sleep, Tummy to Play
Free resources from LensSuite
Was this guide helpful?
