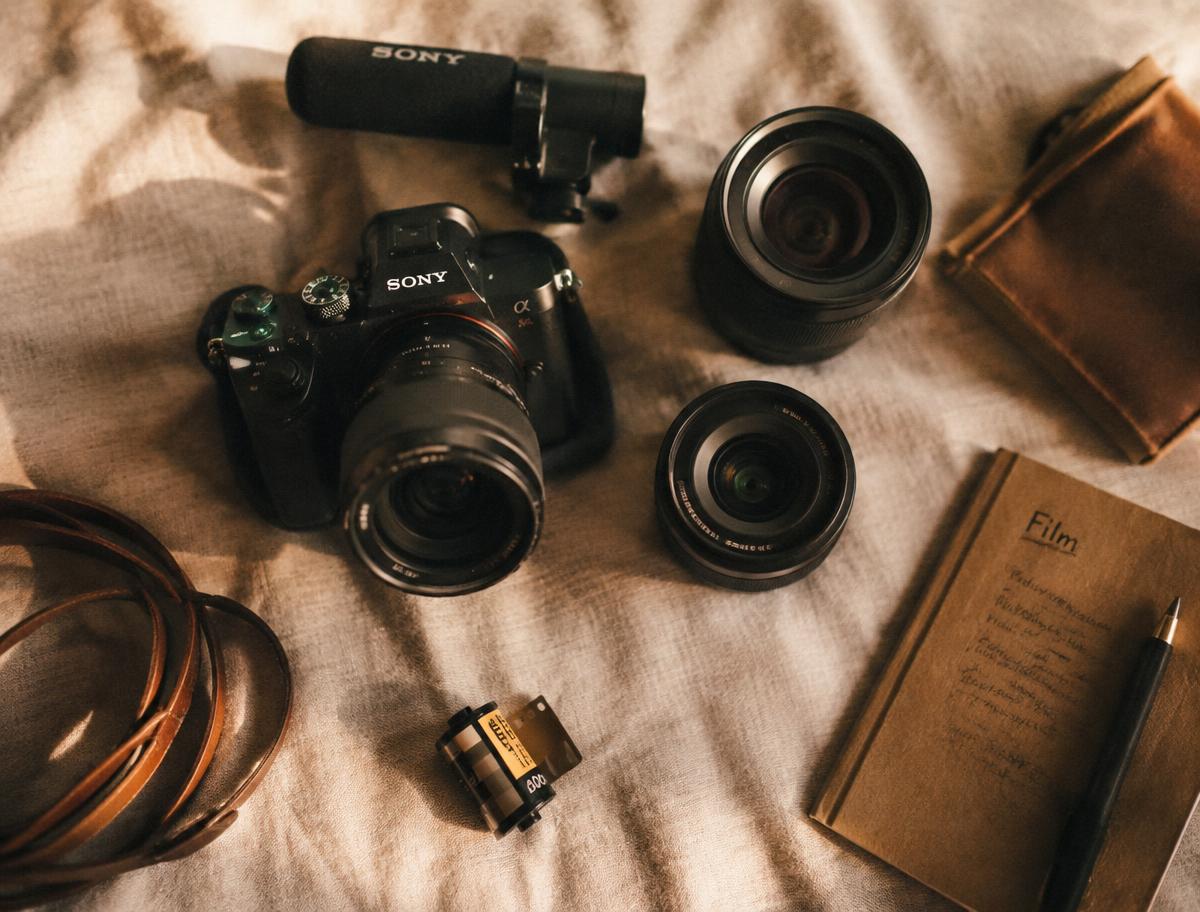
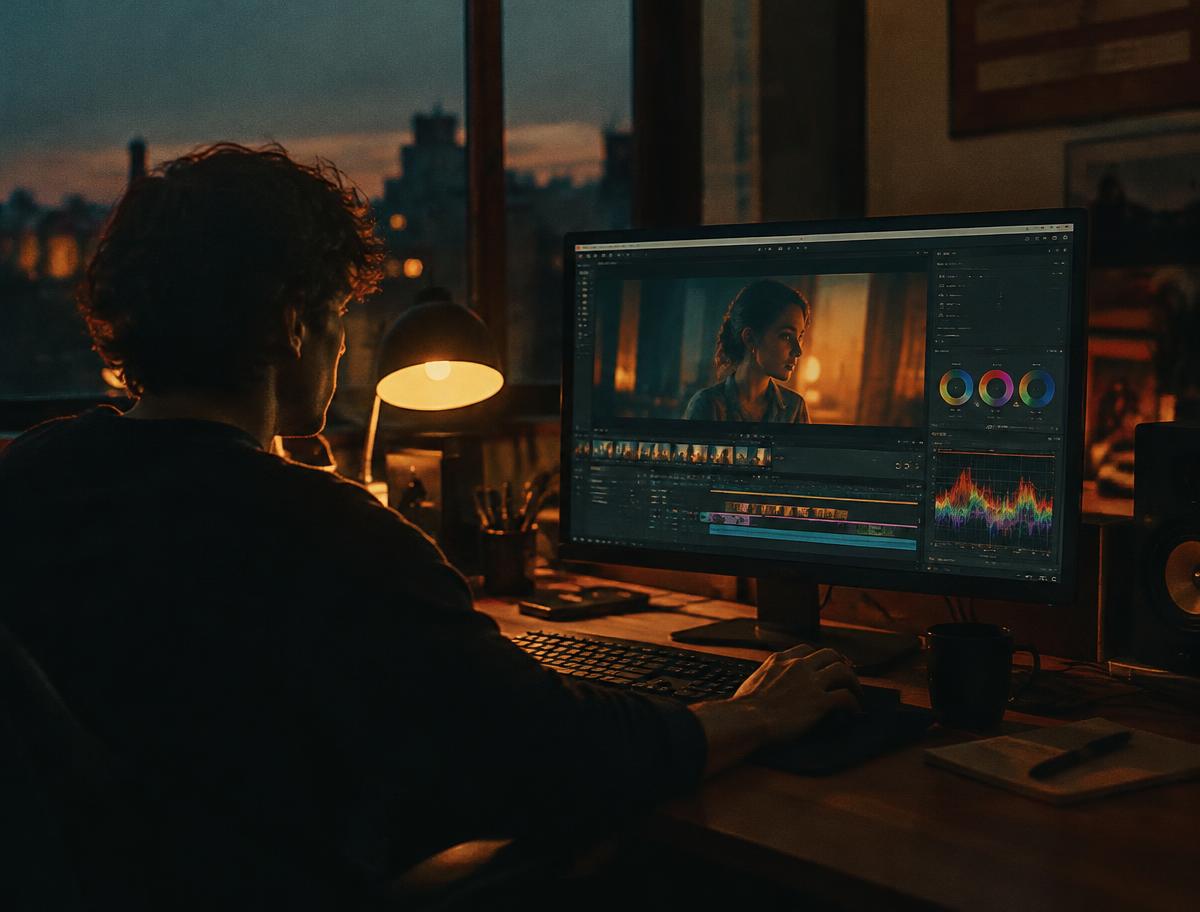
A director of photography, usually called a DP or DoP, leads the photographic execution of a film or video. Working with the director, they establish how lighting, framing, lenses, exposure, and camera movement will communicate the story. They then coordinate the people and equipment needed to achieve that approach consistently. The job is not simply operating an expensive camera. ScreenSkills describes responsibilities spanning script discussions, preparation, blocking, lighting supervision, image assessment, and collaboration with the colorist. On smaller productions, the DP may also operate the camera.
01How the DP differs from the director
The director guides the overall dramatic interpretation: performances, staging, pacing, and the relationship between scenes. The DP concentrates on how that interpretation becomes a photographed image.
These responsibilities overlap through collaboration rather than forming a rigid boundary around every decision.
For example, a director might want a conversation to feel emotionally distant. The DP could propose a wider composition, restrained camera movement, and lighting that separates the characters.
Neither choice is automatically correct. Their value depends on the script, the location, and the visual language established elsewhere in the production.
02Start with the script, not the equipment
Preparation begins by identifying what changes emotionally within each scene. Note where the audience should look, what information should remain hidden, and whether the camera should observe events or feel involved in them.
Translate these intentions into a small collection of visual principles.
A practical starting document might specify that family scenes use shared frames, confrontations introduce isolated close-ups, and camera movement occurs only when a character makes a decision. Reference images can clarify these ideas, but explain what each reference contributes.
Copying a favorite film's colors without understanding its dramatic purpose rarely creates a coherent plan.
03Turn the visual approach into a shootable plan
During location scouting, examine window direction, available power, ceiling height, practical lights, access, and the sun's likely position during filming. A beautiful room may become difficult if the required camera angle faces a bright window that cannot be controlled.
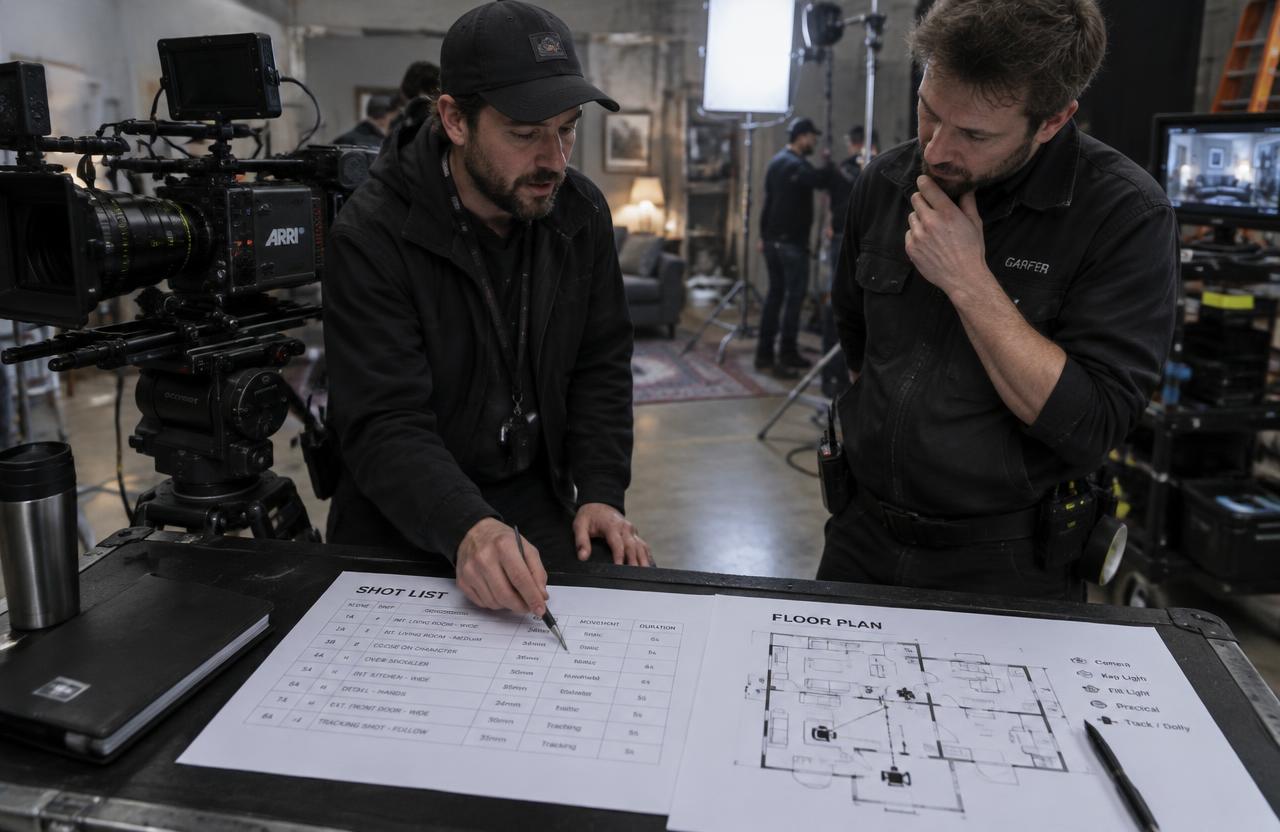
Build a shot list and lighting approach with the director, then discuss feasibility with production. Group compatible setups where possible without sacrificing performance needs.
ScreenSkills identifies equipment specifications, crew coordination, exposure monitoring, and planning lighting with the gaffer as core responsibilities, while noting that exact duties vary with production scale.
04Choose lenses for viewpoint and working distance
Lens selection affects framing, working distance, depth of field, and the practical relationship between camera and performers. Perspective depends on camera position: changing focal length alone does not change perspective when the camera stays in the same place.
For a close-up, moving a wide lens near a face exaggerates near-to-far relationships compared with standing farther away and using a longer lens for similar framing. Test both approaches with the actual blocking.
Also consider minimum focus distance, focus breathing, flare, filtration, and whether the camera team can execute the required focus changes reliably.
05Shape the light rather than merely adding brightness
A DP considers light direction, softness, contrast, color, and motivation. Motivation means that the illumination feels connected to a believable source, such as a window, lamp, or overhead fixture.
It does not require every light illuminating the actor to appear in the frame.
For a window-lit interview, start by placing the subject relative to the window. Add diffusion if the source is too hard, reduce unwanted bounce with negative fill, and control the background separately.
Moving a light or changing its apparent size can be more effective than adding another fixture. Keep electrical and rigging work within qualified crew responsibilities.
06Control shutter, aperture, ISO, and monitoring
For motion-picture capture, shutter duration influences motion blur, aperture affects exposure and depth of field, and ISO or exposure-index choices depend on the camera's imaging system and workflow. A common starting point is a shutter angle near 180 degrees, but it is a creative convention rather than a law.
Use the camera's waveform, false color, or other exposure tools with an understanding of the selected recording curve and monitoring transform. A pleasing monitor image does not guarantee unclipped highlights.
Confirm white balance and recording settings before shooting, and test problematic LED or fluorescent sources for flicker at the intended shutter setting.
Worked example
07A numeric exposure example
At 24 frames per second, a 180-degree shutter exposes each frame for approximately 1/48 second: exposure time equals shutter angle divided by 360, then divided by frame rate. At 60 frames per second, the same angle gives approximately 1/120 second.
The change from 1/48 to 1/120 admits 2.5 times less light per frame, a loss of about 1.32 stops. Maintaining similar image brightness requires more illumination, a wider aperture, a suitable sensitivity adjustment, or a combination.
Opening from f/4 to f/2.8 supplies one stop, leaving approximately one-third stop still to compensate. Motion rendering also changes with the higher frame rate.
Worked example
08An explicitly hypothetical production example
Imagine a hypothetical short film set in a kitchen before sunrise. The director wants the protagonist to feel isolated at first, then gradually connected to a visiting friend.
The DP proposes cool window light, a modest warm practical lamp, and an initially distant composition.
As the conversation changes, the blocking brings both actors into one frame. Instead of introducing an unrelated dramatic lighting effect, the DP adjusts fill and camera position to support the transition.
This is an invented planning example, not a report of a production or a tested recipe. Its lesson is to connect technical choices to narrative changes.
09Coordinate the crew and protect continuity
The DP communicates the intended result to the camera operator, gaffer, grip team, and camera assistants, with staffing varying by budget and region. Clear descriptions of direction, contrast, framing, and movement are more useful than vague requests to make an image cinematic.
Track exposure, filtration, lens choices, white balance, and lighting arrangements when continuity matters. If coverage spans several hours, changing daylight can make neighboring shots difficult to match.
Raise these concerns early with the director and assistant director. A technically ambitious setup is not successful if it prevents essential coverage or creates unsafe working conditions.
Troubleshooting
10Decision criteria and troubleshooting
Choose equipment by asking what the scene requires, what the crew can operate safely, and what the schedule can support. A handheld shot may be more appropriate than a gimbal move; a controlled static composition may communicate more than either.
If faces look flat, examine light direction and fill before changing cameras. If highlights clip, reduce the scene's contrast or revise exposure rather than assuming grading will recover missing information.
If moving shots feel unmotivated, return to the dramatic intention. If footage does not match, compare settings, light sources, filtration, and monitoring transforms before applying increasingly aggressive color corrections.
FAQ
11FAQ and a practical first exercise
Does the DP always operate the camera? No. Some do, while others work with dedicated operators. Does the DP perform the final grade? Usually a colorist handles grading, with the DP contributing visual intent according to the production's arrangements. Is a cinema camera required to learn? No; a camera with manual controls is enough to practice deliberate decisions.
For a first exercise, film a short conversation using one wide shot and two close-ups. Write a visual intention, choose consistent exposure and white balance, and keep lighting direction coherent. Review whether the images support the scene before evaluating whether they look expensive.
Sources & further reading
These references support the technical explanations. Exercises and starting settings are illustrative and should be adapted to your equipment and conditions.
Free resources from LensSuite
Was this guide helpful?