Panning is a technique in which you move the camera to follow a moving subject during an exposure. When your tracking closely matches the subject's movement across the frame, parts of the subject can remain relatively sharp while the stationary background becomes blurred into streaks. In everyday photography discussions, panning usually means this slow-shutter effect. Strictly speaking, following action with the camera can also involve fast shutter speeds that freeze movement. Nikon's panning guidance makes this distinction and emphasizes that the camera can follow horizontal or vertical motion, not only subjects traveling from left to right.
01Why the subject and background look different
An object blurs when its image moves across the sensor during the exposure. By rotating the camera with your subject, you reduce that subject's image movement relative to the frame.
The background, which is not following your subject, sweeps across the sensor instead.
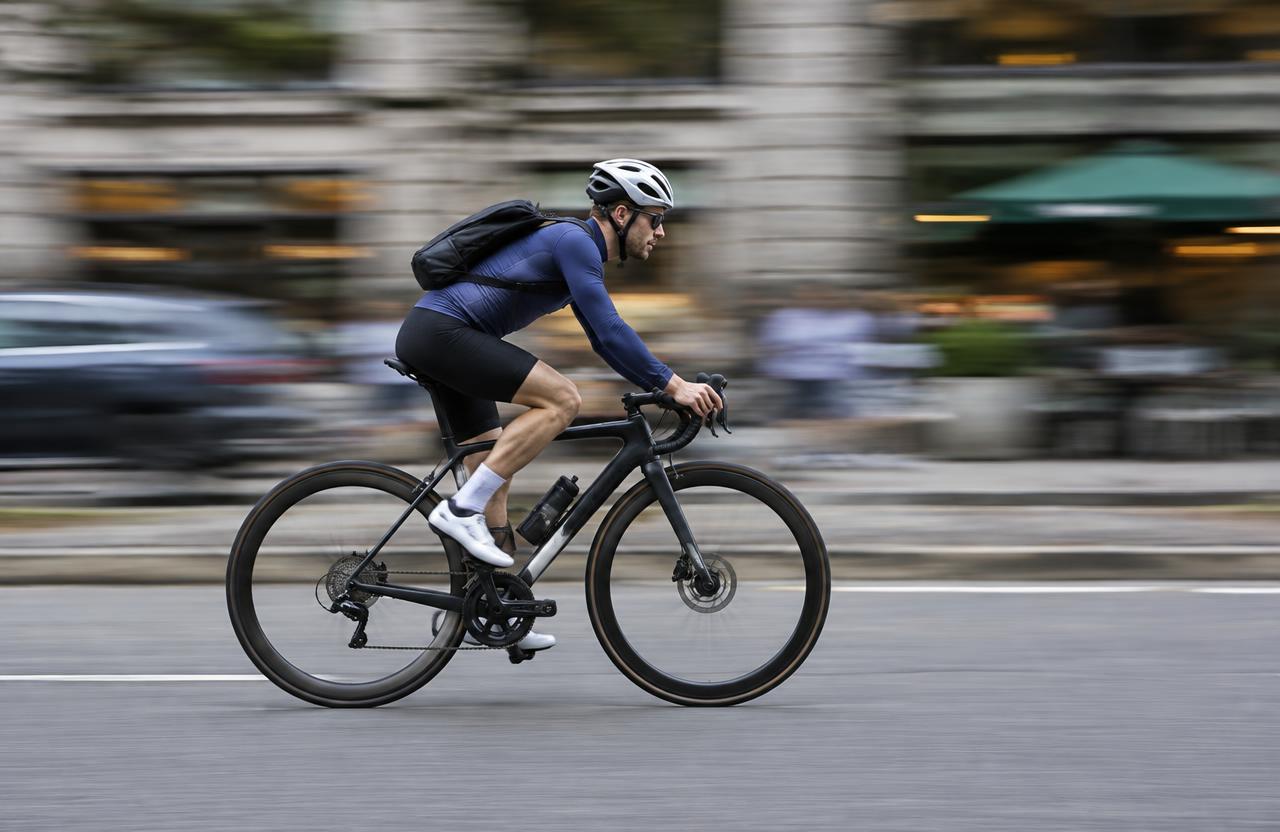
The result is selective rather than perfect sharpness. A cyclist's head may remain recognizable while pedaling legs and spinning wheels blur because those parts move differently.
Subjects approaching the camera also change size and distance, making them harder to track cleanly. Begin with movement that runs approximately across your view rather than directly toward you.
02Choose a suitable subject and background
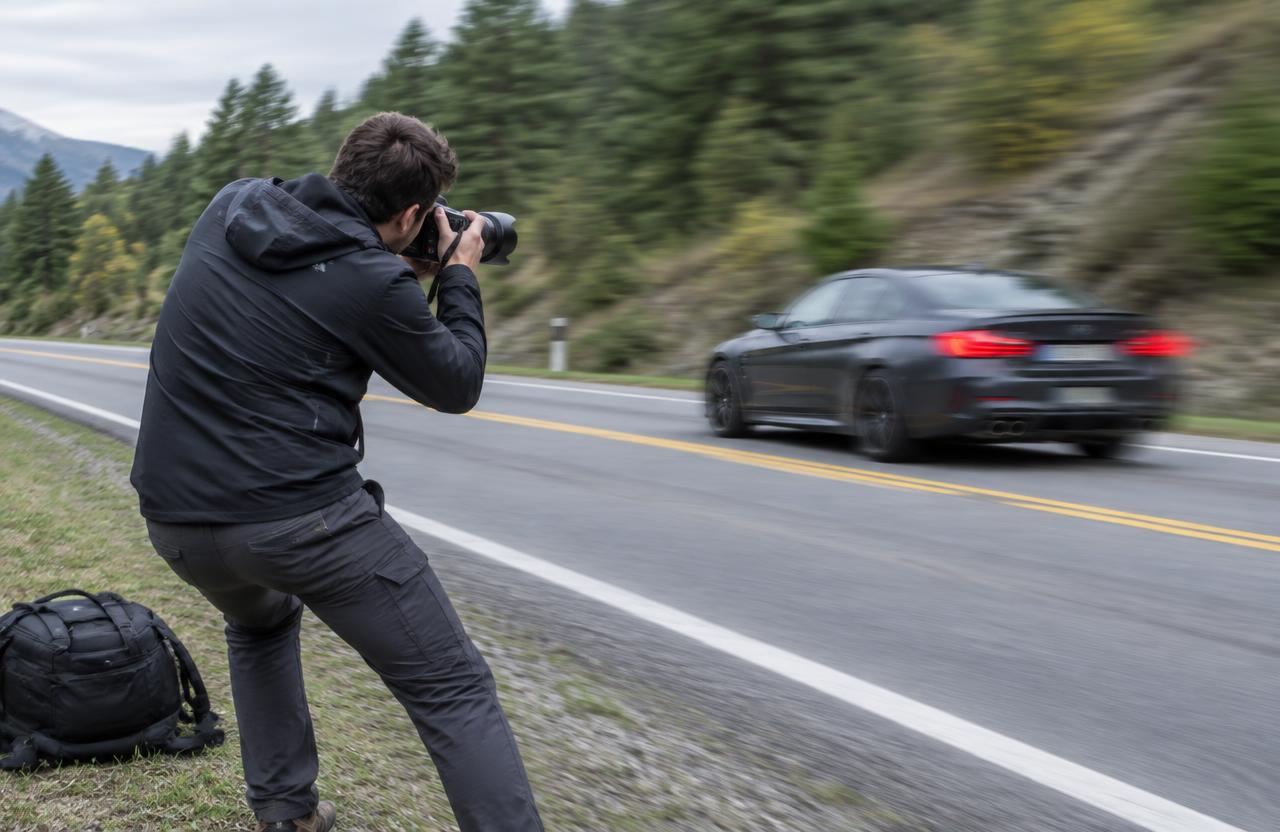
Start with predictable movement: a cyclist on a straight path, a runner maintaining pace, or a vehicle passing along a safe, legal viewing area. Avoid standing near traffic, stepping into a route, or concentrating through the viewfinder where you need awareness of approaching people.
Look for a background with visible texture and tonal variation. Trees, buildings, or distant spectators can produce clear streaks; an empty sky may show little motion even when your tracking is good.
Leave room in the direction of travel, and avoid background objects that create a strong line through the subject's face or body.
03Select an initial shutter speed
Use shutter-priority mode when learning so you can choose the duration while the camera adjusts aperture. Manual exposure is also useful when the light is consistent.
As starting experiments, try around 1/60 second for a passing cyclist or 1/125 second for a faster, nearby vehicle, then adjust according to the result.
These are not guaranteed settings. Subject speed, distance, focal length, camera direction, and your tracking accuracy all matter.
If everything is blurred, shorten the exposure first. If the subject is sharp but the background looks static, lengthen it.
Change one variable at a time so the comparison teaches you something.
04Balance aperture and ISO in daylight
A slow shutter admits more light, so bright conditions may force a small aperture. Set a low appropriate ISO and check whether the camera can achieve the selected shutter speed without overexposure.
If shutter priority reaches the lens's smallest aperture, the meter may warn that the image will still be too bright.
Do not assume that f/22 or f/32 is automatically ideal because it increases depth of field. Very small apertures can reduce fine detail through diffraction.
When you want a wider aperture, use a suitable neutral-density filter. Avoid unnecessarily strong filtration that makes tracking or autofocus difficult.
05Set focus and stabilization deliberately
Continuous autofocus with a tracking area positioned over the important part of the subject is a useful starting point. Begin acquiring focus before the subject reaches your preferred composition.
If autofocus is unreliable on a predictable route, prefocus on the expected capture position and work within the available depth of field.
Some lenses and cameras provide a dedicated panning stabilization mode or automatic panning detection. Others behave differently.
Consult the equipment manual rather than assuming stabilization should always be enabled or disabled. A moderate focal length is generally easier for learning than a very long lens with a narrow field of view.
06Use a smooth physical technique
Stand with a balanced stance and enough space to rotate comfortably. Hold the camera securely, keep your elbows relaxed, and turn from your torso rather than making a sudden movement only with your hands.
Practice the movement before releasing the shutter.
Follow the subject early, place a recognizable feature at a consistent point in the frame, release gently, and continue following afterward. This follow-through helps prevent an abrupt stop during the exposure.
A short burst can capture several tracking attempts, but it cannot replace smooth motion. Review the strongest individual frame rather than expecting every image in a sequence to succeed.
Worked example
07A numeric worked example
Suppose a cyclist travels sideways at 8 meters per second and is approximately 20 meters away at the point of capture. Near the closest point, the angular speed is roughly speed divided by distance: 8 ÷ 20 = 0.4 radians per second.
At 1/40 second, the tracking movement covers about 0.01 radians, or 0.57 degrees. With a 50 mm lens, a distant stationary background feature would move approximately 50 × 0.01 = 0.5 mm across the sensor under this simplified geometry.
Changing to 1/80 second halves that streak length. Real backgrounds and imperfect tracking make actual results more complicated.
Try this
08An explicitly hypothetical practice session
Imagine a hypothetical photographer practicing beside a permitted cycling route, well away from the riders. They choose a textured hedge behind the path and begin at 1/125 second.
The cyclist looks clear, but the background barely streaks.
They repeat at 1/60 second, keeping position and focal length unchanged. Now the torso appears relatively sharp while the hedge stretches into horizontal lines.
At 1/30 second, the streaking increases but the face becomes less consistent. This invented example illustrates a sensible progression: establish tracking first, then increase blur gradually.
It does not claim that those settings will produce the same outcome for every rider.
09Judge the result using clear criteria
Decide what must remain readable before judging sharpness. For a cycling portrait, the face and upper body may matter most; blurred wheels can strengthen the impression of motion.
For a vehicle photograph, recognizable bodywork and deliberate framing may matter more than a perfectly legible license plate.
Compare images at the intended display size as well as at high magnification. Ask whether the subject separates from the background, whether streak direction feels coherent, and whether the composition leaves useful space ahead.
A frame with slightly less background blur may be stronger if the subject's expression, posture, and placement are substantially better.
Troubleshooting
10Troubleshoot common panning failures
If the entire subject smears, shorten the shutter duration and improve tracking before slowing down again. If the background forms diagonal streaks during horizontal travel, you may be tilting or lifting the camera while rotating.
If focus repeatedly jumps behind the subject, reduce the autofocus area's size or use a more suitable tracking configuration.
If one body part is sharp but another is not, the cause may be independent movement rather than missed focus. If exposures vary, check automatic ISO limits and the aperture selected in shutter priority.
If compositions feel cramped, start following sooner and choose a slightly wider focal length.
FAQ
11FAQ and a repeatable exercise
Do you need a tripod? Not usually. Handholding is flexible, though a suitable support can help with heavy lenses. Can phones pan? Yes, if their camera controls allow an appropriate exposure and their processing does not undermine the intended blur. Is panning the same as intentional camera movement? It is a specific form organized around following a subject.
For practice, photograph the same type of passing subject at 1/125, 1/60, and 1/30 second from one safe position. Keep focal length and framing similar. Compare subject readability, streak length, and tracking consistency, then repeat the most promising setting.
Sources & further reading
These references support the technical explanations. Exercises and starting settings are illustrative and should be adapted to your equipment and conditions.
Free resources from LensSuite
Was this guide helpful?