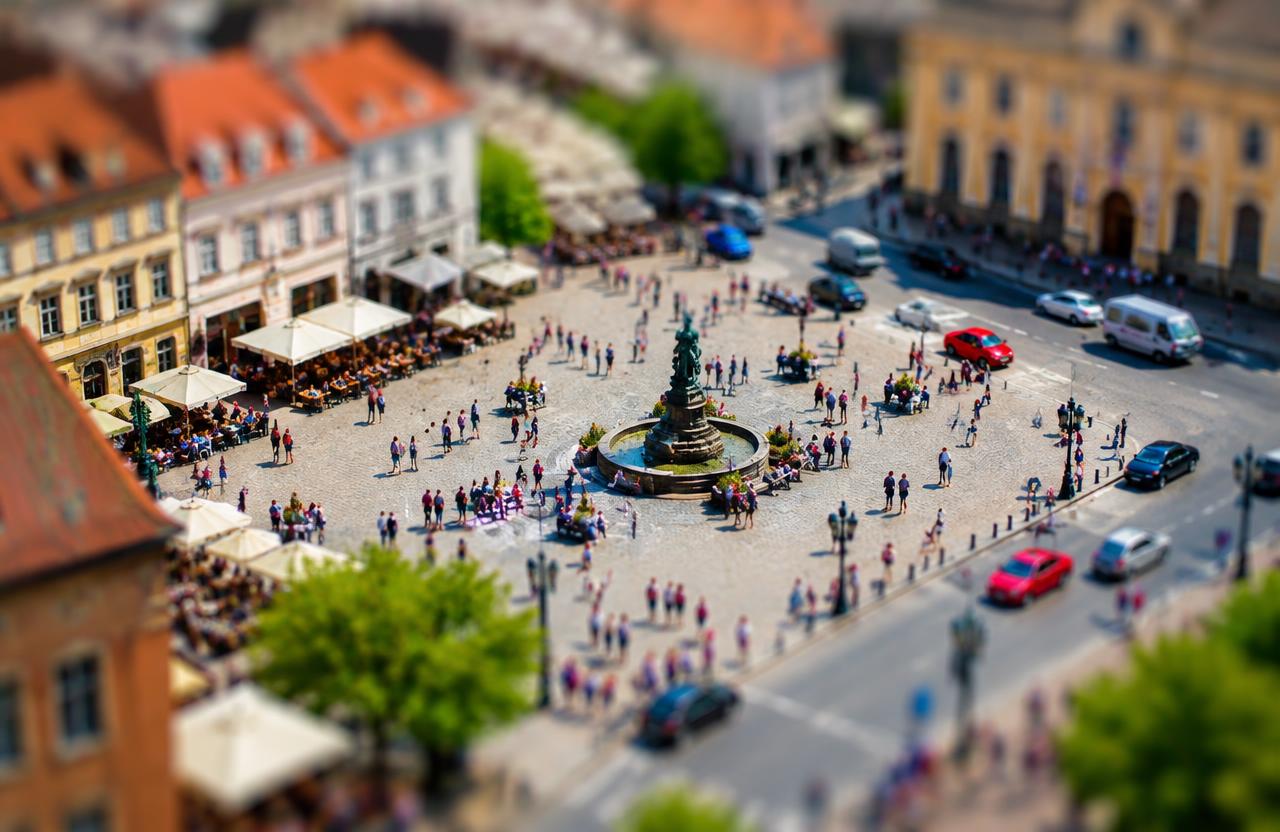
Tilt-shift photography uses a lens that can tilt and shift relative to the camera sensor. Tilt changes the orientation of the plane of focus. Shift moves the lens sideways or vertically, allowing you to select a different part of its enlarged image circle without tilting the camera. These are separate controls with different purposes. Neither should be confused with the miniature effect commonly labeled tilt-shift in editing apps. Canon describes independent tilt and shift movements as controls for depth of field and perspective-related composition, with available movement depending on the lens model.
01Understand what tilt changes
With a conventional aligned lens, the plane of focus is approximately parallel to the sensor. Tilting the lens allows that plane to become oblique.
Under the Scheimpflug principle, the extended lens plane, sensor plane, and plane of sharp focus intersect along a common line in the idealized geometric model.
This does not mean that tilting automatically makes everything sharp. You are repositioning the focus plane, and the depth of field around it changes in shape.
Tilt can align focus with a tabletop or receding ground, or deliberately move focus away from much of a scene to create selective sharpness.
02Understand what shift changes
Shift translates the lens relative to the sensor without requiring you to point the camera upward or downward. With the sensor kept vertical, upward shift can include more of a tall building while keeping vertical architectural lines parallel, assuming the camera is otherwise correctly aligned.
The crucial distinction is that camera orientation determines the convergence. Shift does not magically straighten a building after you tilt the whole camera upward.
Instead, it allows a level camera to frame a higher portion of the scene. The larger image circle provides room for that off-center framing, although usable movement is limited by the lens and image quality.
03Separate optical tilt from miniature software blur
A miniature-style image typically combines an elevated viewpoint with a narrow-looking zone of sharpness and substantial blur outside it. This resembles the shallow depth of field associated with photographing small models at close distances.
Optical tilt can help create selective focus, but tilt-shift equipment is not required for the imitation.
Software can apply graduated or depth-aware blur to an ordinary photograph. That changes the appearance of the recorded image; it does not reposition the original optical focus plane or restore detail that was out of focus.
A simple horizontal blur band may also blur the tops of tall objects incorrectly because image position is not the same as scene depth.
04Set up an architectural shift photograph
Mount the camera on a stable tripod and begin with tilt and shift at zero. Level the camera carefully in both axes, using the electronic level and visible building lines as guides.
Compose slightly wider than your final requirement if possible.
Apply upward shift until the upper portion of the building fits. Recheck the edges for clipping, vignetting, or unwanted objects that were not visible in the centered composition.
Focus using magnified live view, then inspect important corners. Shift is not a substitute for a suitable viewpoint: a nearby obstruction or an excessively close camera position may still require you to move.
05Set tilt for an extended subject plane
For a tabletop or landscape, start with a small tilt in the direction appropriate to the desired focus plane. Adjust focus, inspect a near detail and a distant detail on that plane, then refine tilt and focus together.
These adjustments interact, so several small iterations are usually more useful than one large movement.
Use magnified live view at multiple locations, not only the center. Once the plane is positioned, stop down enough to include objects that extend above or below it.
Canon's examples demonstrate that tilt-shift lenses serve product and fine-art photography as well as architecture.
06Choose aperture, shutter speed, and ISO
Aperture still controls how much depth around the chosen plane appears acceptably sharp. Tilt does not eliminate the need to choose it thoughtfully.
A moderate aperture such as f/8 can be a useful starting experiment, but sensor format, magnification, subject geometry, and output size determine the actual requirement.
On a tripod with a stationary subject, use a low appropriate ISO and let shutter duration increase as needed. Outdoors, account for moving leaves, people, or clouds.
Check exposure after applying movements because metering behavior can vary with equipment. Small apertures increase depth of field but can reduce fine detail through diffraction, so compare actual files.
Worked example
07A numeric example of shift coverage
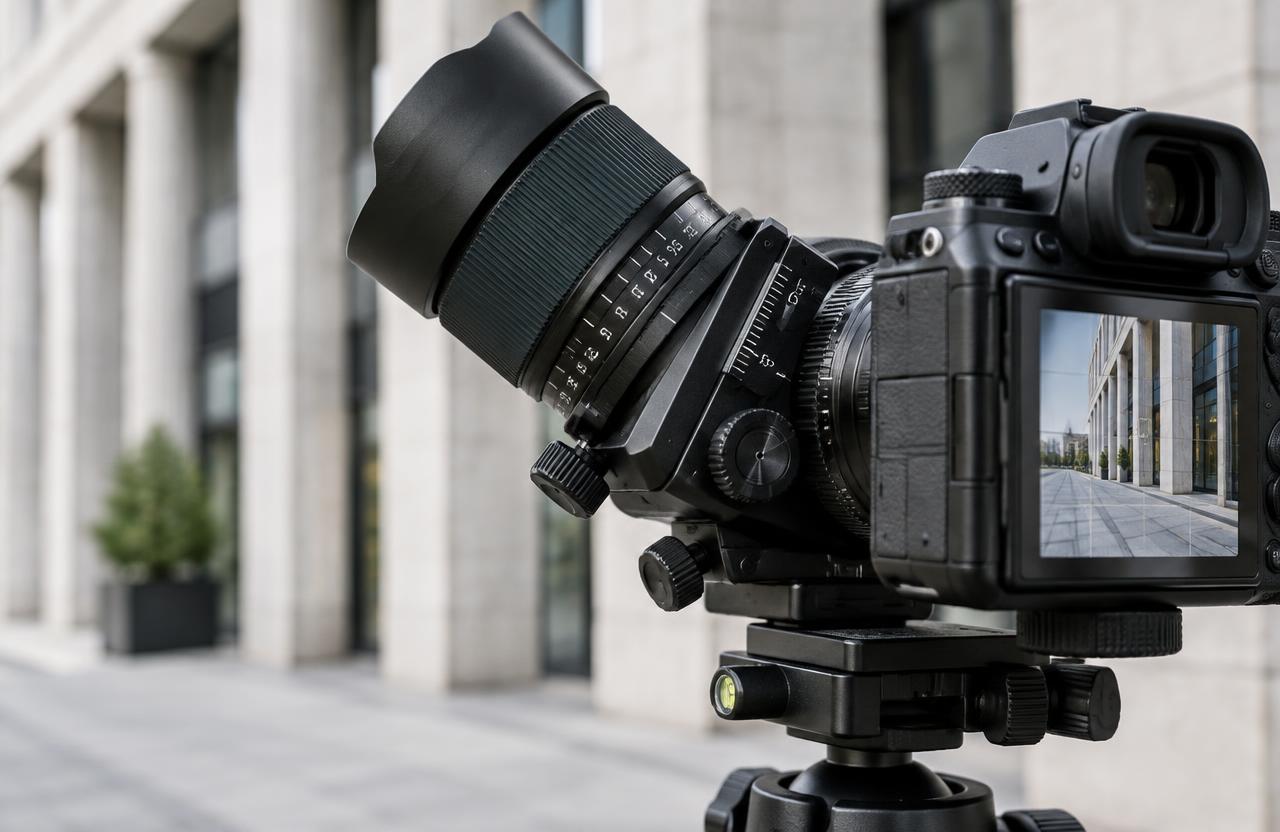
Consider an idealized full-frame camera with a 24 mm lens and a sensor height of 24 mm. Without shift, the sensor extends 12 mm above and below its center.
If an available upward shift of 10 mm is applied, its sampled vertical range relative to the lens axis becomes approximately minus 2 mm to plus 22 mm.
At a flat wall 20 meters away, the corresponding vertical coverage is approximately minus 1.7 meters to plus 18.3 meters relative to lens height, using distance × image offset ÷ focal length. This simplified rectilinear calculation ignores distortion and mechanical limitations, but shows how shift redistributes coverage without tilting the sensor.
08An explicitly hypothetical tilt-and-shift assignment
Imagine a hypothetical photographer documenting a small museum. Outside, they keep the camera level and use upward shift to include the facade without converging verticals.
Inside, they photograph a row of objects on a display table and use a small tilt to align focus more closely with the tabletop.
For a playful promotional image, they later apply a miniature-style blur to an elevated courtyard photograph. These are three different operations: optical shift for framing, optical tilt for focus orientation, and post-production blur for an illusion.
The scenario is invented to clarify the distinctions, not to describe a tested assignment or guaranteed settings.
09Choose between lens movement and editing
Choose optical shift when architectural framing, predictable edge coverage, and efficient capture matter enough to justify specialized equipment. Software perspective correction is often adequate when you can frame loosely and accept cropping, resampling, and stretching.
Neither approach changes the viewpoint from which the scene was photographed.
Choose optical tilt when the orientation of focus itself matters, particularly for static subjects extending across an oblique plane. Focus stacking may be preferable when a complex three-dimensional subject needs extensive sharpness, provided movement and processing constraints permit it.
Choose software miniature blur when the goal is a stylized illusion rather than optical focus control.
Troubleshooting
10Troubleshoot focus, corners, and unnatural blur
If no tilt setting makes the entire subject sharp, check whether the subject actually lies on one plane. A tabletop and a tall vase cannot both be treated as the same flat surface.
Reduce tilt, stop down appropriately, or consider another technique.
If shifted corners look weak, reduce movement, inspect alignment, and compare apertures. If verticals still converge, recheck camera leveling rather than adding more shift.
If a miniature effect looks artificial, examine depth boundaries around trees, towers, and people. Use selective masking or depth-aware blur where available, and remember that a convincing viewpoint usually matters more than exaggerated saturation.
FAQ
11FAQ and a controlled learning exercise
Does every tilt-shift photograph look miniature? No; many are intended to look natural and technically precise. Does shift change depth of field? Its main function is reframing within the image circle, not tilting the focus plane. Are all movements independent? Designs differ, so check rotation options, locks, and clearance in the lens documentation.
Practice on a stationary building and a tabletop separately. For the building, compare a level centered frame, a tilted-camera frame, and a level shifted frame. For the tabletop, compare zero tilt with a carefully adjusted small tilt. Keep notes so the effects do not become confused.
Sources & further reading
These references support the technical explanations. Exercises and starting settings are illustrative and should be adapted to your equipment and conditions.
- Canon: TS-E 17mm f/4L lens and movement specifications
- Canon: Three eye-catching ways to use tilt-shift lenses
Free resources from LensSuite
Was this guide helpful?