



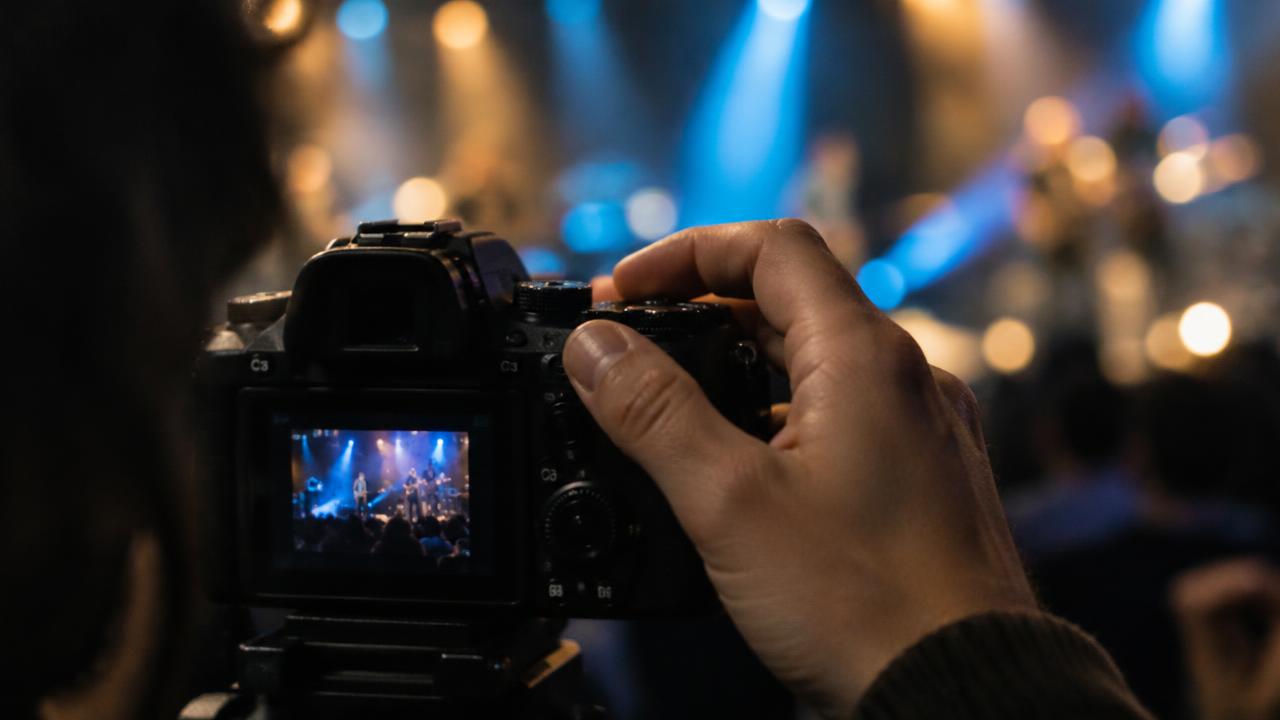
ISO is your camera's sensitivity rating — the third exposure control after aperture and shutter speed. Raise it and the camera renders a brighter image from the light it has already collected, which lets you use a faster shutter or a smaller aperture in dim conditions. Double the number and you have gained one stop: ISO 400 to ISO 800 lets you go from 1/125 sec to 1/250 sec at the same aperture. The catch is that ISO does not add light to the exposure. It processes the light you already captured, and pushing it hard makes noise more visible. So the working rule is simple: set aperture for the depth you want, set shutter speed for the motion you want, then raise ISO only as far as needed to make those two choices possible.
01What ISO actually does inside the camera
Light passing through the lens builds an electrical signal on the sensor. Aperture controls how much light arrives, shutter speed controls how long it arrives for, and ISO controls how that signal is amplified and processed before it becomes a file.
Nikon's own explanation puts it the same way: the ISO setting is a sensitivity rating that lets you trade exposure time or aperture for brightness.
This is why ISO cannot rescue a badly exposed shot. Detail that was never captured — shadows with almost no signal, highlights pushed past the sensor's limit — cannot be recovered by making the file brighter afterwards.
Amplification makes noise more obvious; it does not create information.
02How ISO differs from aperture and shutter speed
Aperture is the size of the lens opening. It governs how much light reaches the sensor and how much of the scene sits in focus.
Shutter speed is how long the sensor is exposed, and it decides whether movement freezes or blurs.
ISO does neither job. It changes how the captured signal is rendered, so it is the control you reach for last.
Adobe's guidance is the same practical order: use low ISO when there is plenty of light, and lift it when the room or the subject forces your hand.
03Where the numbers come from
The scale is not a camera-maker's invention. ISO 12232:2019 is the standard that defines how digital still cameras are assigned ISO speed ratings, exposure index and recommended exposure index, and it remains the current edition.
The numbering deliberately echoes film speeds, so a rating that behaved one way on film behaves usefully the same way on a camera when you are setting exposure.
The similarity stops there. A film's speed is fixed by its emulsion, while a digital rating describes how the camera amplifies and processes a signal that can change from frame to frame.
That is why two cameras can both reach ISO 6400 and look very different at it.
04What raising ISO does to image quality
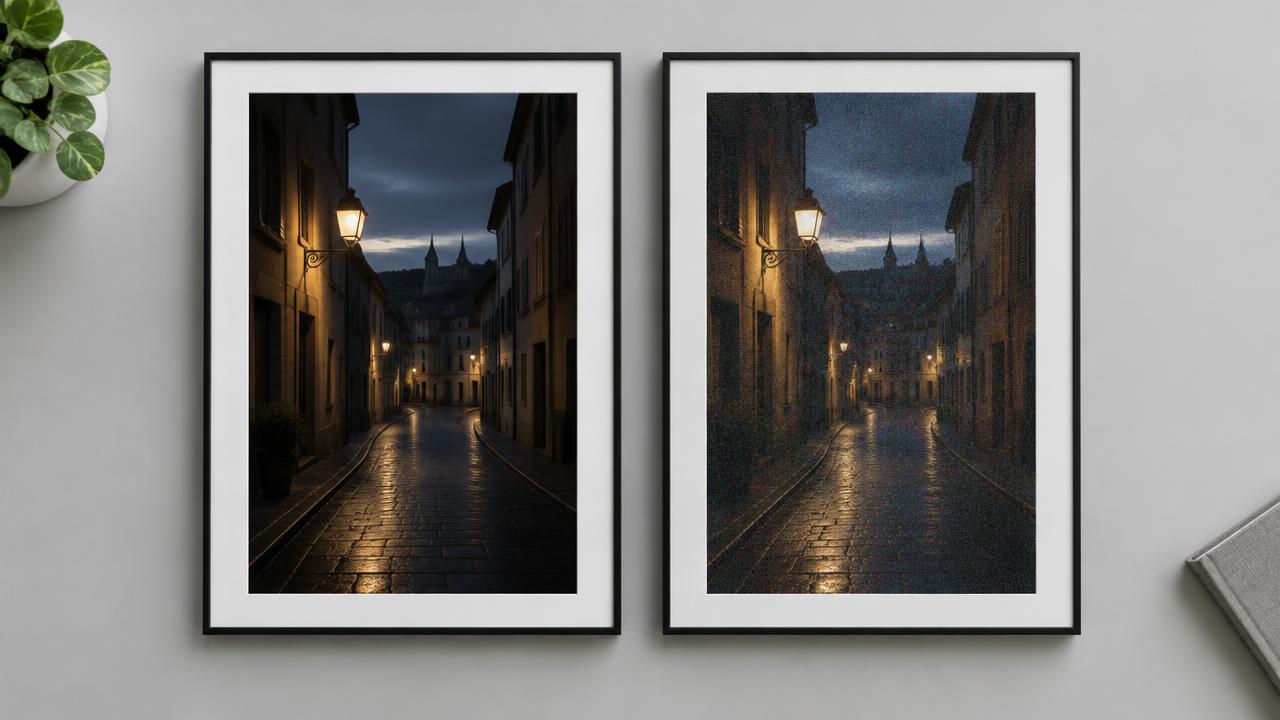
Two things get worse as you climb. First, noise: light arrives in discrete photons, and the count in any small patch of the scene varies randomly.
That variation is shot noise, and it is worst where the signal is weakest — the shadows. Amplify a weak signal and that randomness becomes visible as coloured speckle and grain.
Second, highlight headroom. Stronger amplification pushes bright values toward the ceiling of the file sooner, so the range between the darkest usable shadow and the brightest usable highlight shrinks.
How much you lose at each step depends on the camera's read-out design, so there is no honest single figure that applies to every model — which is exactly why you should test your own body at the ISOs you actually shoot.
05Base ISO, native range and dual native ISO
Base ISO is the camera's normal lowest sensitivity setting, the place the design gives you the most headroom. The native range is the span the maker states as normal operation; anything outside it is an extended setting.
On the Nikon Z8, for example, the selectable range is ISO 64 to 25,600, with values beyond that flagged as extended rather than normal.
Some cameras add a second starting point. Panasonic describes dual native ISO as switching between a low-ISO circuit and a low-noise high-ISO circuit, and Sony publishes dual base ISO on its cinema bodies, with a second, higher base for dim work.
It is a genuine advantage in low light, but it does not conjure extra light: it means the high setting is cleaner than it would be if the camera had simply pushed the low path that far.
06What ISO to use: a starting table
Treat these as opening moves, not rules. The right number is whatever lets you hold the shutter speed and aperture the shot needs.
Bright daylight: ISO 100–200. Overcast or open shade: ISO 200–800.
Bright indoors: ISO 400–1600. Dim indoor events: ISO 1600–6400, and higher if a sharp noisy frame beats a blurred one.
Handheld night streets: ISO 800–6400+. Astrophotography on a tripod: trial around ISO 800–3200, then check clipping and noise at full size.
Adobe's own examples land in the same places — ISO 100 for sunny outdoor work, ISO 1600 or more for dim indoor and night scenes. Your camera, lens aperture and print size decide where the real limit sits.
07A dance-floor walkthrough
Here is an illustrative sequence, written to show the reasoning rather than to report anyone's real evening. You are shooting a first dance in a hotel room lit by two warm wall lamps.
At ISO 400 with f/2.8, the camera asks for 1/40 sec. That is too slow for two people turning, and the frames come out soft.
You have three ways out. Open the aperture — it is already wide.
Slow the shutter — no, that is the blur. Or raise ISO.
You go to ISO 1600, which buys three stops, and the camera now asks for 1/200 sec. The images are sharp, a little grainy in the shadows, and perfectly printable at the size the couple ordered.
The noisy sharp frame beats the clean blurred one every time, because blur cannot be fixed and noise mostly can.
Worked example
08A worked example: from blurry to sharp
Start from the camera's request: ISO 400, f/4, 1/60 sec, and the subject is a child running. One stop is not enough here, so count the stops.
ISO 400 to 800 is one stop, to 1600 is two, to 3200 is three. At ISO 3200 the shutter can reach 1/500 sec, which stops that kind of movement.
Now check what you spent. Three stops of amplification means visible noise in the darker areas.
Judge it at the size you will actually use — at a phone-sized view the grain usually disappears, and at a 40 × 60 cm print it may not. If the noise is unacceptable, the honest options are more light, a faster lens, or a different shutter target, not a wish that ISO behaved differently.
09Auto ISO, and how to cap it
Auto ISO lets the camera lift sensitivity as light changes while you concentrate on aperture and shutter. The setting that makes it behave is the maximum ISO: pick the highest value whose noise you can live with, and let the camera work below it.
Nikon's manuals document both the maximum and the minimum shutter speed you can ask it to protect.
A sensible starting point for most beginners is a cap around ISO 1600 or 3200, plus a minimum shutter speed matched to the subject — slower for a still portrait, much faster for sport. Raise the cap when a sharp photograph matters more than a very clean one, which is most of the time at events.
10ISO invariance and exposing to the right
Some cameras are close to ISO-invariant across part of their range: raising ISO in the camera gives barely more clean shadow detail than shooting lower and brightening the raw file later. DPReview's measurements showed the behaviour varies by camera and by range, so it is a property to test on your own body, not a universal fact.
Expose to the right is the related habit: capture as much light as you safely can without clipping important highlights, so the shadows start from a stronger signal. It suits static scenes and careful raw work.
It is not a licence to overexpose — protect the highlights, and never sacrifice the shutter speed that keeps the moment sharp just to keep the number low.
Troubleshooting
11Four things people get wrong about ISO
“Higher ISO gathers more light.” It does not. Aperture and exposure time decide how many photons arrive; ISO decides how the signal is handled afterwards.
“Always use the lowest ISO.” Only when it still allows the shutter and aperture the shot needs. A low ISO that produces motion blur is the worse file.
“ISO 3200 is bad.” Noise depends on the camera, the exposure, the scene and the output size. On a modern body, ISO 3200 is a working setting, not a failure.
“A high ISO fixes an underexposed shot.” Brightening cannot restore detail that was never recorded. It exposes noise; it does not invent signal.
Troubleshooting
12When your photos look wrong: a quick diagnosis
Blurry frames with a clean, noise-free look usually mean ISO held the shutter too low. Raise it, or open the aperture, before you blame your hands.
Grainy shadows with correct exposure are the price of amplification: lift ISO earlier next time rather than rescuing dark areas in editing, and use the camera's noise reduction sparingly. Flat, washed-out highlights after a bright-ISO push point to lost headroom — drop a stop and protect the bright areas.
And if exposure jumps around between frames, check whether Auto ISO is moving without a cap set.
FAQ
13Common questions about ISO
Does higher ISO make photos brighter? At the same aperture and shutter, yes — that is the point. It does not mean more light reached the sensor.
Is ISO 3200 bad? Not by itself. Judge the noise at the size you will actually view or print.
What ISO should I use? Start low in bright light, often 100–200, and raise it only as far as the shutter and aperture you want require.
Should I use Auto ISO? Yes for events and changing light, with a maximum ISO you can live with and a minimum shutter speed matched to the subject.
Try this
14Try this: a twenty-minute drill
Set up one subject by a window. Shoot the same frame at base ISO, then at 800, 1600, 3200 and 6400, keeping exposure constant by trading shutter speed against ISO.
View every frame at 100 percent, then at the size you actually post or print.
You now know exactly where your camera stops being pleasant, which is worth more than any table of recommended settings. Write the number down and set it as your Auto ISO cap.
Sources & further reading
These references support the technical explanations. Exercises and starting settings are illustrative and should be adapted to your equipment and conditions.
- ISO 12232:2019 — Digital still cameras: determination of exposure index, ISO speed ratings and recommended exposure index
- ISO: ISO standards for photography and imaging
- Nikon USA: Understanding ISO Sensitivity
- Sony Cine: What is Dual Base ISO?
- Panasonic: Dual Native ISO on LUMIX cameras
- DPReview: ISO Invariance Explained
- Adobe: What is ISO in photography?
- Nikon Z8 manual: ISO sensitivity
- Stanford CS178: Sensor noise lecture
Free resources from LensSuite
Was this guide helpful?
