This name can refer to several unrelated photography businesses. Without a location or website, it cannot identify a particular studio; this guide explores the phrase as a photography idea, not a claim about a business. Photographic timing is not just reacting quickly. Observe a pattern, prepare the frame and respond when gesture and context form a readable relationship. A moment may be useful just before or after the apparent peak. There is rarely one perfect instant that every photographer must choose. Watch your subject rather than constantly reviewing the screen. Decide what matters: a hand reaching, a face following movement or an object in flight. That choice guides focus, framing and shutter speed. Speed alone does not make a meaningful image.
01Find a repeatable rhythm
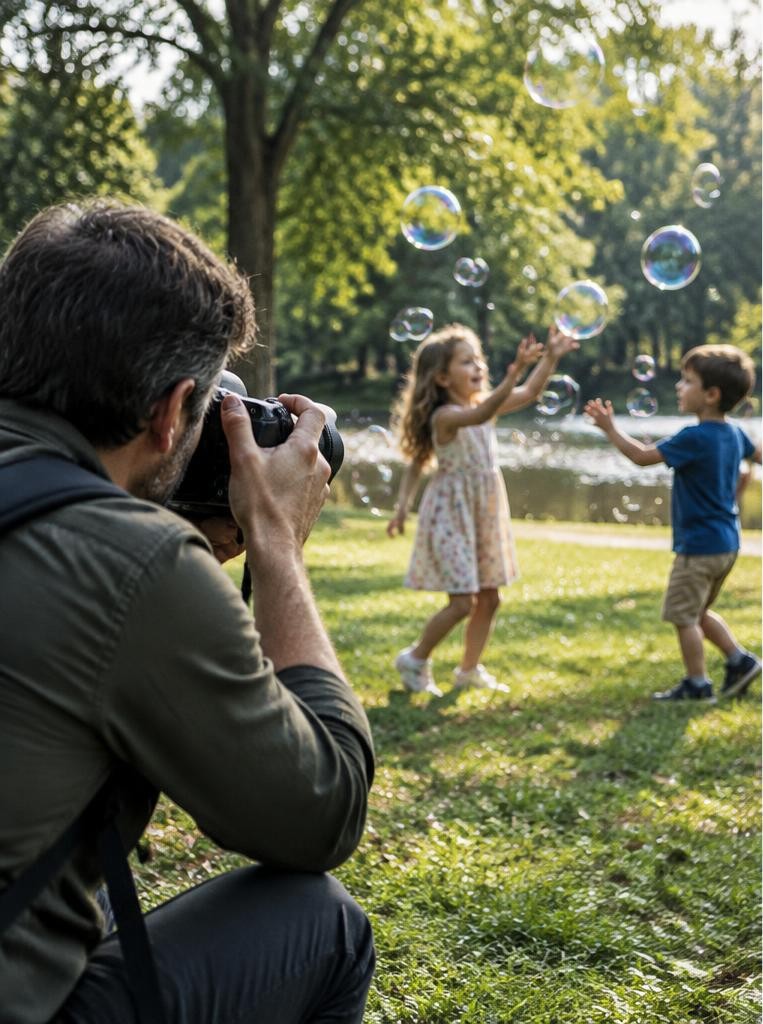
Bubbles drift and children reach toward them. A cyclist passes a fixed point.
A performer repeats a movement. Observe several cycles from a safe, permitted position and notice where the action slows or changes direction.
Leave enough space for uncertainty.
When children are involved, follow the guardian's guidance and obtain appropriate consent before publication. Do not interrupt play or direct a moment while presenting it as spontaneous.
A good photograph never overrides safety or comfort.
02Choose what must be sharp
Try 1/500 second for a moderately quick gesture as an illustrative starting point, then inspect movement and adjust. For a faster action, 1/1000 may help, but it halves ambient light at fixed aperture and ISO.
If the lens is already wide open, increasing ISO may be the useful compromise.
A wider aperture can make the background simpler but reduces depth of field. A sharp background and soft subject suggest missed focus; directional smearing suggests movement.
Diagnose the difference before changing every setting at once.
03Prepare a flexible frame
Choose the focal length and focus area before the next likely movement. Leave room in its direction.
A tightly cropped hand can leave the frame immediately, while a bubble may disappear against a bright background. Change position to separate the gesture from competing shapes.
Continuous autofocus and subject tracking can help on compatible cameras, but may select the wrong person. Check the camera's behaviour beforehand.
A phone may have release delay or a different burst gesture, so make a few test frames rather than discovering the controls at the peak moment.
04Use a short burst with a purpose

A short burst around an anticipated action gives several gestures to compare. Continuous firing throughout the activity creates many near-duplicates and can reduce attention.
Make a brief sequence, pause and watch again.
Choose based on relationships: is the hand separate from the face, is the bubble readable, and does the gaze connect with the action? The loudest expression is not necessarily the most informative frame.
Keep watching after contact; a pause or shared reaction may tell the story better.
Try this
05An illustrative bubble-play session
Imagine a learner photographs permitted outdoor bubble play. The first frame catches a burst but crops the child's hand.
They widen the composition and watch three more reaches. The next short burst includes a frame just before contact, with hand and bubble clearly separated.
That frame is easier to understand than the first, although it is not the exact instant of bursting. The lesson is to prepare context, not merely chase speed.
This is a hypothetical scenario; the illustrative photographs do not document an actual event or identify real participants.
Try this
06Two exercises that isolate timing
First, observe five cycles of a safe repeated activity without shooting. On the sixth, make one frame near the likely peak.
On the seventh, release slightly earlier. Compare readability, framing and camera delay.
Do not require people to repeat an activity for your exercise.
Second, use a lightweight harmless object over a soft surface in a controlled space. With the camera stable, compare a faster and slower shutter while maintaining suitable exposure.
Note whether blur describes motion or obscures the object. Avoid glass, heavy objects and any activity that creates a hazard.
Troubleshooting
07Review honestly and troubleshoot
If every frame arrives late, anticipate the cue before the peak and test release delay. If the action leaves the frame, widen slightly.
If focus repeatedly jumps, try a different focus area and consult your camera manual. If the main subject blends into the background, move rather than relying on sharpening.
Do not combine separate moments into a supposedly candid event. Captions should describe visible activity rather than guessing emotions.
Store children's images responsibly and respect withdrawal or sharing restrictions. Neither burst mode nor expensive equipment guarantees a perfect frame; patient observation improves the chance of a clear, honest one.
Sources & further reading
These references support the technical explanations. Exercises and starting settings are illustrative and should be adapted to your equipment and conditions.
Free resources from LensSuite
Was this guide helpful?