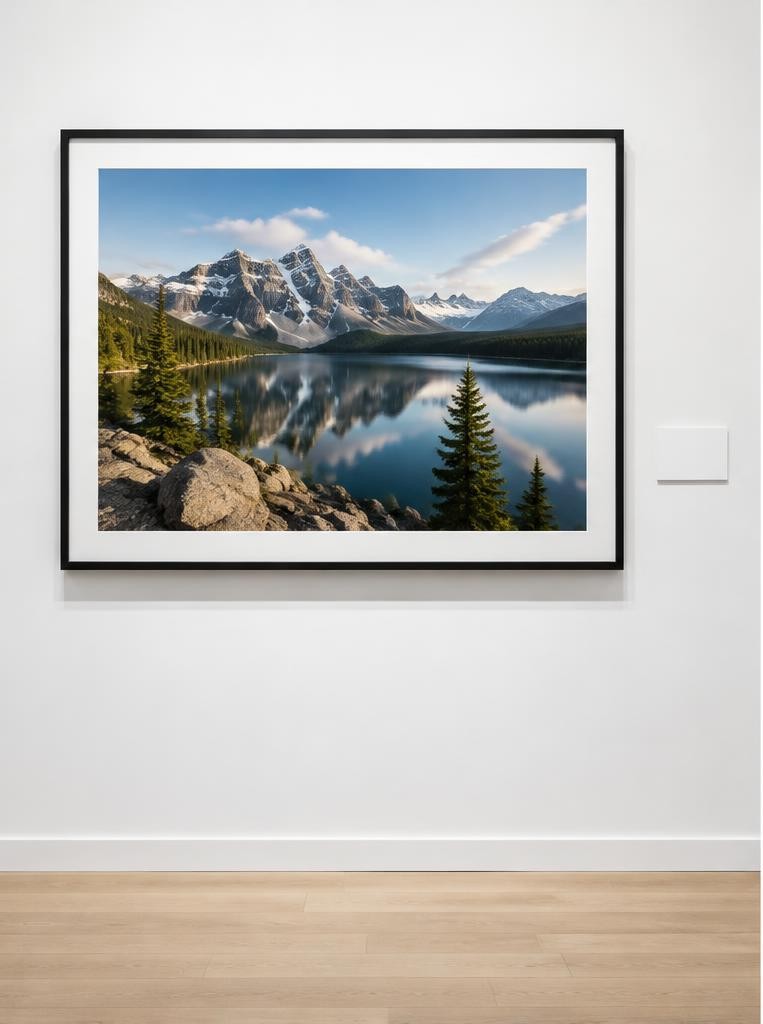
An exhibition label helps visitors identify a work and understand why it is included. Begin with accurate object information—maker, title, date and medium or process—then add dimensions, collection or credit information where relevant. An optional short interpretive text can explain context or a detail viewers might otherwise miss. Not every exhibition needs every field; follow the curator’s or venue’s house style. Museums and Galleries of NSW describes a basic structure including artist or maker, title, date, medium or materials, dimensions, provenance or collection and description. It recommends clear, concise language and consistent ordering. These are useful editorial principles, not mandatory rules for every venue.
01Confirm the exhibition’s requirements first
Ask the organiser for a label template, required fields, word limit, type size, print dimensions, installation method, deadline and preferred style. Confirm whether labels sit beside each print, on a nearby panel or in a handout.
Find out whether the venue needs a credit line, loan wording, accessibility information, translated text or a QR destination.
Do not design in isolation and then expect a gallery to adopt your format. A consistent system helps visitors move between works, and it reduces last-minute corrections.
If the venue has no template, propose a sample label and get approval before preparing the full set.
02Verify maker, title and dates
Use the name by which the photographer should be credited, following their preference and the exhibition’s style. Preserve the work’s established title; if it is untitled or has a descriptive title, make that clear according to house conventions.
Distinguish the date the image was made from the date a particular print was produced when both matter.
If a date is approximate, indicate that it is approximate using the venue’s preferred wording. Do not infer a precise year from a file timestamp without checking the artist’s records.
For collaborative work, clarify roles and credit order. Keep a source note for every factual claim so that corrections can be made before printing.
03Describe medium and photographic process accurately
“Photograph” alone may be enough for a simple exhibition, but a more specific medium can help explain the object: for example, digital pigment print on paper or gelatin silver print. Use terminology supported by the artist’s documentation, print lab records or collection catalogue.
Do not guess a chemical process from appearance. If the process is uncertain, ask the maker or use a broader accurate description.
Getty’s cataloguing guidance and photography collections show why material and process terms require care. Match the specificity to what is known and useful to visitors.
A label is not the place to claim archival permanence or conservation performance without substantiation.
04Measure dimensions and explain the convention
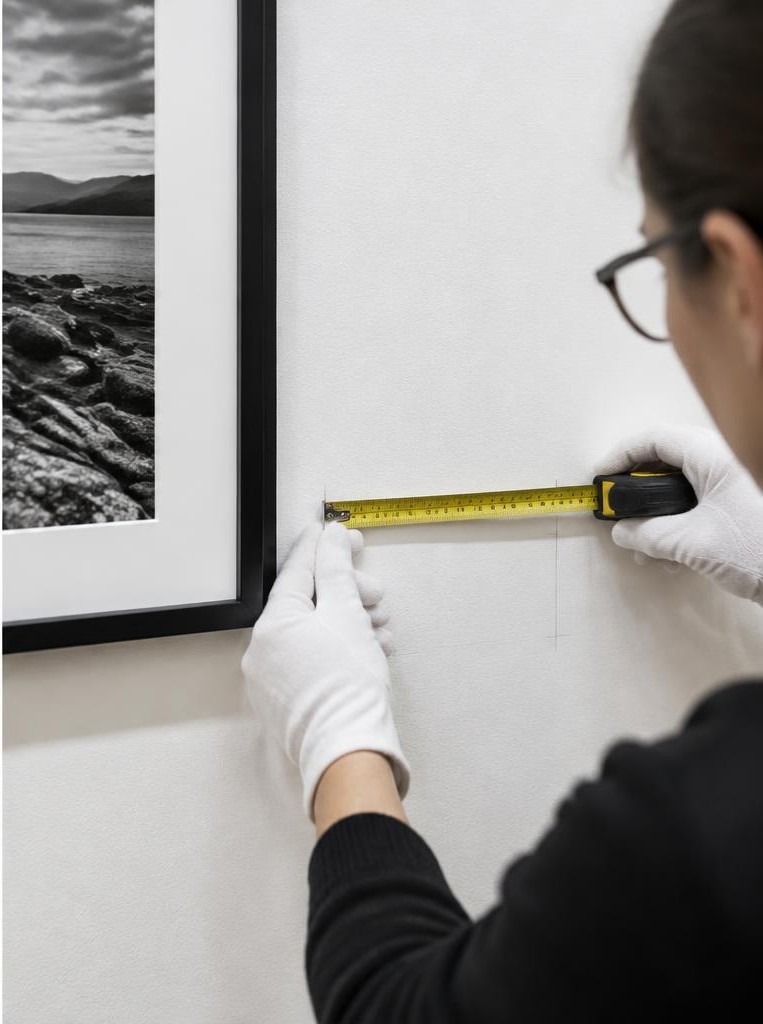
Record dimensions in the unit requested by the venue and clarify what is measured: image area, paper sheet or framed object. The order is commonly height by width, but confirm local convention rather than assuming it.
If a print has an irregular shape, specify the measurement approach. Include frame dimensions only if the exhibition’s format calls for them.
Check measurements against the actual work and installation plan, especially when labels list multiple versions. Use consistent punctuation and units throughout.
Do not convert dimensions by mental estimation; calculate and proof the converted values. Any conversion is editorial arithmetic, not a new physical measurement.
05Write interpretive text for a real viewer
Choose one helpful idea: the circumstances of making, a visual decision, historical context or a connection to the exhibition’s theme. Explain what can be seen without telling visitors what they must feel.
Use accessible language, define necessary specialist terms and avoid unsupported biography or claims about intention. An interpretation should add something beyond repeating the title or describing every visible object.
A useful drafting question is: “What is one detail that helps a visitor look again?” For example, explain how a repeated reflection connects several photographs, if the series and artist documentation support that point. Separate verified facts from interpretation.
Keep the text concise enough to read while standing and viewing the work.
06Use a repeatable label template
Create a master format and apply it consistently. A basic sequence might be maker; title; date; medium; dimensions; credit or collection; interpretive text.
Use a clear typographic hierarchy so identification is easy to scan and explanatory copy is distinct. Keep line breaks and punctuation consistent, and avoid using all-capital text for long passages.
Museums and Galleries of NSW suggests approximately 70–80 words for individual labels and 100–200 for introductory panels; this is a practical guideline from that organisation, not a universal standard. Always follow the host venue’s requirements and consider the time visitors have in the space.
07Plan placement, legibility and access
A label must be readable from a comfortable standing position without obscuring the photograph or forcing visitors to block one another. Check the venue’s installation height and spacing rather than imposing a universal measurement.
Consider contrast, type size, glare, language level and whether visitors using mobility aids can approach it. Provide accessible alternatives when requested by the institution.
If using QR codes, retain the essential information on the physical label. A link can add audio, translation or extended notes, but visitors should not need a phone or network connection to identify the work.
Check the destination before opening and again before the exhibition, and do not link to a page that exposes private information.
08Credit, rights and permissions are separate checks
A credit line acknowledges ownership, loan, collection or reproduction as required by the venue and agreements. It is not automatically the same as copyright ownership or permission to reproduce an image in publicity.
Confirm who owns the photograph, who may approve display and reproduction, and what credit wording is required. Do not assume that exhibiting a print authorizes online promotion or catalogue reproduction.
Copyright and licensing rules vary internationally. The U.S.
Copyright Office explains that original photographs can be protected from fixation under U.S. law, but this is not a substitute for checking the rules and agreements that apply to the exhibition.
Keep written permissions and approved credit wording with the exhibition records.
Worked example
09Hypothetical example: a small photography series
Imagine an organiser exhibits a three-print series by a local photographer. The artist’s notes identify the image-making year, while the print lab records a later print date.
The labels distinguish those dates, describe the process using the lab’s confirmed wording and give dimensions as image area rather than framed size. The short interpretation explains a recurring window reflection documented in the series.
Before printing, the organiser checks the name spelling, approved credit, title punctuation and placement with the photographer. This fictional example illustrates verification and consistency; it does not establish a required label format or make claims about any real exhibition.
10Proof the whole set before production
Read labels aloud and check them against the objects, catalogue and artist-approved information. Verify spelling, dates, process terms, units, credit lines and sequence numbers.
Check that each label is paired with the right work and that repeated information follows the same style. Ask someone unfamiliar with the project to identify any jargon or ambiguity.
Print one sample at final size. Test legibility under the exhibition’s lighting and from the intended viewing distance.
Build in time for artist and curator review, then proof the final print-ready file. Keep an approved digital master so that a typo can be corrected without recreating the whole layout.
FAQ
11FAQ and a final checklist
Should every label include an artist statement? No; use text that serves the exhibition and audience. Are dimensions essential? They are useful in many contexts but depend on the venue and object. Can I call a print archival? Only when the claim is accurate, appropriately supported and approved; otherwise use specific materials information you can verify.
Before sending files to print, confirm maker, title, date, medium, dimensions convention, credit, permission scope, interpretive text, word count, accessible layout, object match and proof approval. Keep a copy of the final labels with the exhibition records. Good labels do not substitute for careful installation, but they help viewers approach the work with useful, trustworthy information.
Sources & further reading
These references support the technical explanations. Exercises and starting settings are illustrative and should be adapted to your equipment and conditions.
- Museums & Galleries of NSW: Exhibition Labelling
- Getty: Cataloging example — a photograph record
- Victoria and Albert Museum: An A to Z of photographic processes
- U.S. Copyright Office: What Photographers Should Know about Copyright
Free resources from LensSuite
Was this guide helpful?