



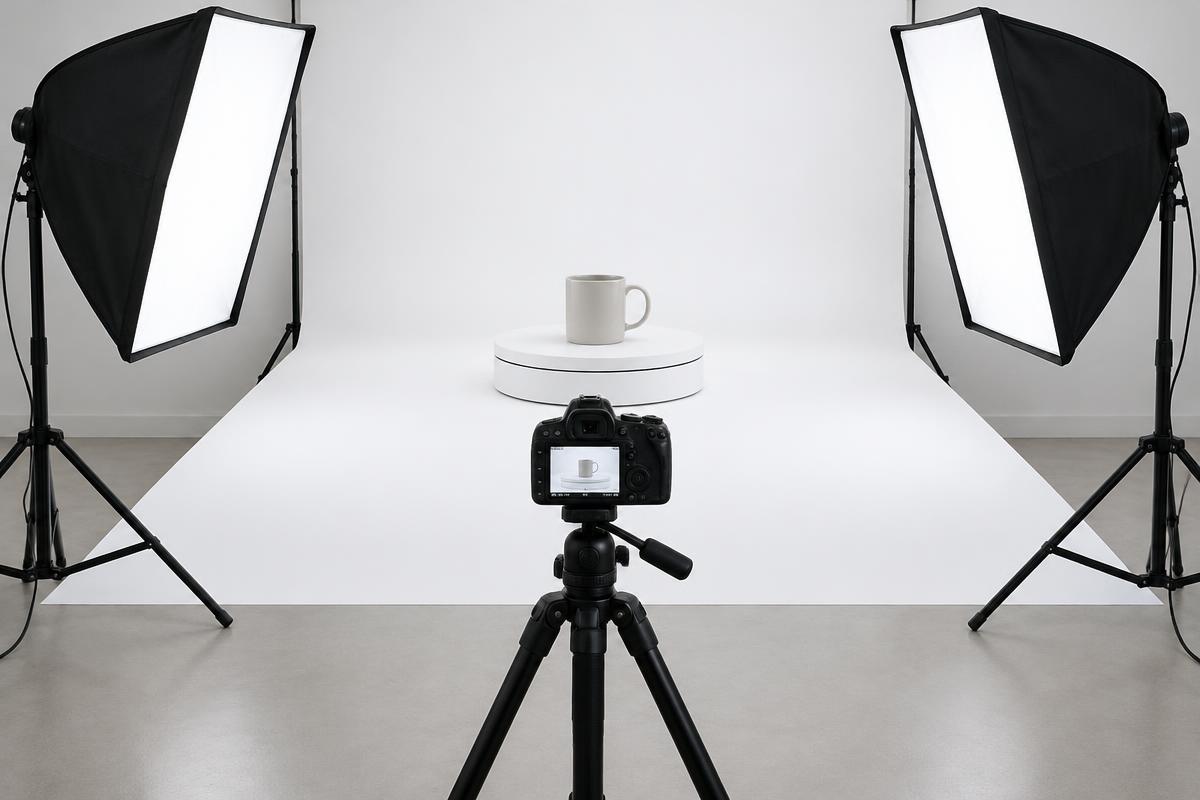
A product spin is a sequence of photographs showing an object rotated around an axis while the camera remains fixed. An interactive viewer lets a customer drag through those images. A video plays the rotation on a timeline. They can use the same source frames, but they are different deliverables with different implementation and export requirements. Before shooting, ask where the result will appear, whether viewers need drag control or zoom, and which file formats the destination accepts. Confirm background, dimensions, starting angle, rotation direction, and mobile behavior. A single-row spin shows one viewing height, not every possible surface of the object. Photograph important top, bottom, or internal details separately when needed.
01Choose 24, 36, or 72 frames deliberately
Twenty-four frames require 15-degree increments, thirty-six require 10-degree increments, and seventy-two require 5-degree increments. More frames generally produce smaller changes between views, but they also increase capture, retouching, storage, and loading demands.
NuORDER's guidance recommends 24 to 36 frames for its workflow and notes the additional work associated with larger sequences.
Start with 36 frames for a practical test rather than assuming the highest count is always best. Choose 24 when a lighter sequence meets the visual need, or 72 when fine angular transitions genuinely matter.
Evaluate the result in the intended viewer at its actual display size before standardizing the choice across a catalog.
02Calculate the sequence without a duplicate endpoint
For N frames, use an angular increment of 360 ÷ N degrees. Capture frame positions from zero through N minus one.
A 36-frame sequence therefore uses 0, 10, 20, and so on through 350 degrees. Do not add a separate 360-degree frame, because it duplicates the zero-degree view and can create a pause at the loop boundary.
The same rule gives 0 through 345 degrees for 24 frames and 0 through 355 degrees for 72 frames. If the turntable returns to zero after the final movement, treat that as a position check, not an additional deliverable.
Confirm whether your controller counts positions or movements so its capture routine matches the intended frame count.
03Build a stable capture station
Use a solid tripod, a level turntable rated for the object's weight, and a background large enough to cover the full rotation. Check that cables cannot catch on the rotating platform.
Keep lighting stands secure and leave a clear path around the setup. Heavy, fragile, or unstable objects require appropriate handling equipment and should not be improvised onto a small tabletop unit.
Mark the tripod feet, turntable base, and light positions once the setup works. Record camera height, subject distance, lens focal length, and background spacing.
These notes make later products easier to match. Turn off image stabilization when the equipment manufacturer's guidance recommends doing so for a firmly mounted camera, rather than applying a universal rule.
04Center the product before refining the lighting
Place the object's intended rotational axis over the turntable center. Use temporary reference marks outside the final image area or an overhead alignment aid that does not enter the capture.
Rotate through several angles and watch whether the object wanders laterally. Correct the placement before making a complete sequence.
Centering the visible silhouette is not always the same as centering the rotational axis, especially with asymmetrical handles or protrusions. Choose the axis that gives the intended presentation and enough clearance.
Keep the object's vertical orientation consistent and secure it only with methods suitable for the item. Any adhesive or support should be agreed with the owner and must not damage the product.
05Frame for the widest view in the rotation
Rotate the product through a full revolution while checking the camera view. Its widest silhouette may occur at an angle rather than directly from the front.
Leave enough margin for that maximum width and for minor processing adjustments. Do not compose tightly around the first frame and discover that a handle exits the image halfway around.
Choose a camera height that shows the important surfaces without distorting the product unnecessarily. A moderate focal length and adequate working distance often simplify perspective, but the correct choice depends on size and available space.
Lock the tripod head afterward. Any intentional camera change should start a new sequence, because shifting perspective between frames makes the final spin visibly jump.
06Lock exposure, white balance, and focus
Use manual exposure so the camera does not brighten a dark side and darken a light side as the object rotates. Set a fixed white balance rather than automatic white balance, and establish manual focus after testing the nearest and farthest important surfaces.
Disable automatic tonal features that could vary processing unpredictably between frames when relevant to your camera and workflow.
Choose aperture for adequate depth of field and inspect the result at useful magnification. Stop down only as far as needed; excessive stopping down can reduce fine detail through diffraction.
Set ISO and shutter speed for the lighting system. With flash, remain within the camera's appropriate synchronization limits unless you deliberately use a compatible alternative.
07Make lighting consistent across every angle
Use stable lights and test the product at several positions before committing. Large diffused sources can produce manageable reflections, but reflective products may reveal every light, card, and room feature as they turn.
Move the lights or adjust the diffusion rather than assuming retouching will rescue an inconsistent sequence.
For continuous lighting, check for flicker or banding at the chosen shutter speed. For flash, allow complete recycling and watch for output changes as batteries deplete or units heat up.
Keep daylight contamination controlled if it changes during the session. Record power settings and distances.
A histogram that shifts because a different product surface enters view is not automatically a lighting failure; inspect stable reference areas too.
08Capture with a repeatable move-settle-shoot rhythm
For a manual indexed turntable, move to the next marked angle, let the product stop moving, trigger the camera without touching it, and confirm the capture. Use the same direction throughout.
For a motorized system, verify the programmed increment, settling delay, trigger timing, and total count with a short test sequence before photographing valuable products.
Do not rotate while exposing unless you are intentionally using a continuous-rotation system designed around suitable shutter timing. Motion can blur small lettering even when the overall object looks sharp.
Inspect early, middle, and late frames while shooting. A tethered preview helps detect drift, missed triggers, or lighting problems before an entire batch is completed.
Worked example
09A worked 36-frame production example
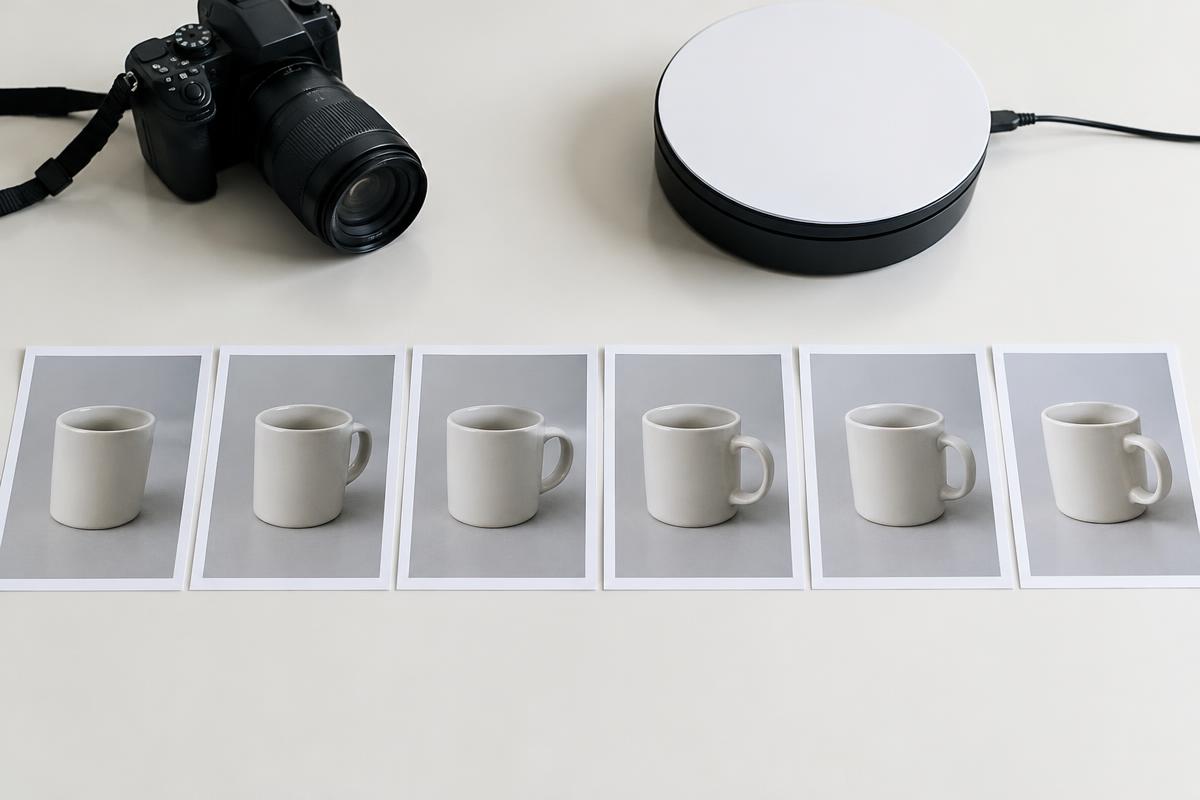
Consider a hypothetical ceramic bottle photographed in 36 frames at 10-degree increments. The camera test uses ISO 100, f/11, and 1/125 second with compatible flash synchronization.
Those settings are only a starting example; lighting power and subject depth determine the real exposure. If moving and settling takes two seconds and capture plus recycling takes one second, the sequence requires roughly 36 × 3 = 108 seconds, excluding preparation and checks.
Suppose each final web image averages 120 kilobytes. The complete sequence is approximately 4.32 megabytes in decimal units before viewer overhead.
At the same average size, 72 frames would require about 8.64 megabytes. Actual loading behavior depends on compression, hosting, caching, and whether the viewer preloads every frame.
10Process the images as one coordinated set
Apply a consistent starting profile, white balance, exposure adjustment, crop, and output dimensions across the sequence. Inspect the full rotation before assuming the synchronized settings work everywhere.
Retouch dust or labels carefully and consistently; a mark removed from one frame but not its neighbors will flash during playback.
Avoid automatic per-frame cropping or tonal correction that causes the object to grow, shrink, or pulse. If background removal is required, check thin edges, transparent areas, and changing reflections at multiple angles.
Export to a shared canvas size and color space appropriate to the destination. Keep the original captures and a separate master sequence so future output changes do not require repeating destructive edits.
11Deliver interactive images and video separately
For an interactive spin, provide an ordered sequence with consistent filenames, such as product-001 through product-036, plus the viewer configuration or integration instructions agreed with the client. Confirm drag direction, initial frame, zoom assets, loading behavior, fallback image, and accessible controls.
A folder of images alone does not automatically create an interactive product experience.
For video, choose resolution, codec, frame rate, duration, and loop behavior. Thirty-six source images played at twelve images per second create a three-second revolution before any interpolation or repeated-frame timing.
Exporting at a higher video frame rate may require repeated or generated frames; it does not create newly photographed angles. Deliver the requested video format, not a viewer package mislabeled as video.
Troubleshooting
12A hypothetical catalog test and troubleshooting pass
Imagine a fictional retailer testing one handbag before commissioning fifty products. The first spin reveals lateral wobble, a brighter rear panel, and a pause at the loop.
The photographer recenters the bag, replaces automatic exposure with fixed settings after testing the full rotation, and removes the duplicated 360-degree endpoint. A second viewer test confirms the corrections.
Other symptoms have different causes. Vertical jumping can indicate a shifting crop or unstable support.
Soft frames can indicate movement before settling. Bands may suggest lighting flicker.
A sudden angle jump can indicate a missed frame or incorrect filename order. Diagnose from the sequence and capture log rather than applying global stabilization that might distort the product's shape.
FAQ
13Frequently asked questions
Is 72 frames always smoother than 36? Smaller angular steps can help, but poor centering, object movement, or slow loading can still spoil the experience. Can I shoot a video and extract frames? Sometimes, but compression, shutter timing, resolution, and motion blur may make a dedicated still sequence more suitable.
Should the camera orbit the product? Not for this basic turntable method; the camera stays fixed while the product rotates. Must I use a motorized turntable? No. Accurate indexing and a repeatable manual rhythm can work. Does one spin show the whole product? No. A single viewing elevation may hide the underside, interior, or top, so include separate detail photographs where necessary.
14Finish with a delivery-quality checklist
Count the exported frames, verify numeric order, and confirm there is no duplicate endpoint. Scrub backward and forward through the full sequence, watching the silhouette, scale, focus, background, and loop transition.
Test on an ordinary phone and a slower connection, not only the editing workstation. Confirm that the static fallback remains useful if the interactive viewer does not load.
Include the agreed asset names, dimensions, frame count, rotation direction, starting angle, and implementation notes in the delivery record. Archive the setup measurements for future catalog additions.
Use the resources directory for supporting photography workflows, and the business guides if you are pricing this as a service. Repeatability is what turns one successful spin into a dependable production system.
Sources & further reading
These references support the technical explanations. Exercises and starting settings are illustrative and should be adapted to your equipment and conditions.
- NuORDER Help Desk: Differences in 360 Frame Count
- Iconasys: 360 Product Photography Quick Start Guide
- SpinShot: 360 Product Photography Guide
Free resources from LensSuite
Was this guide helpful?
