



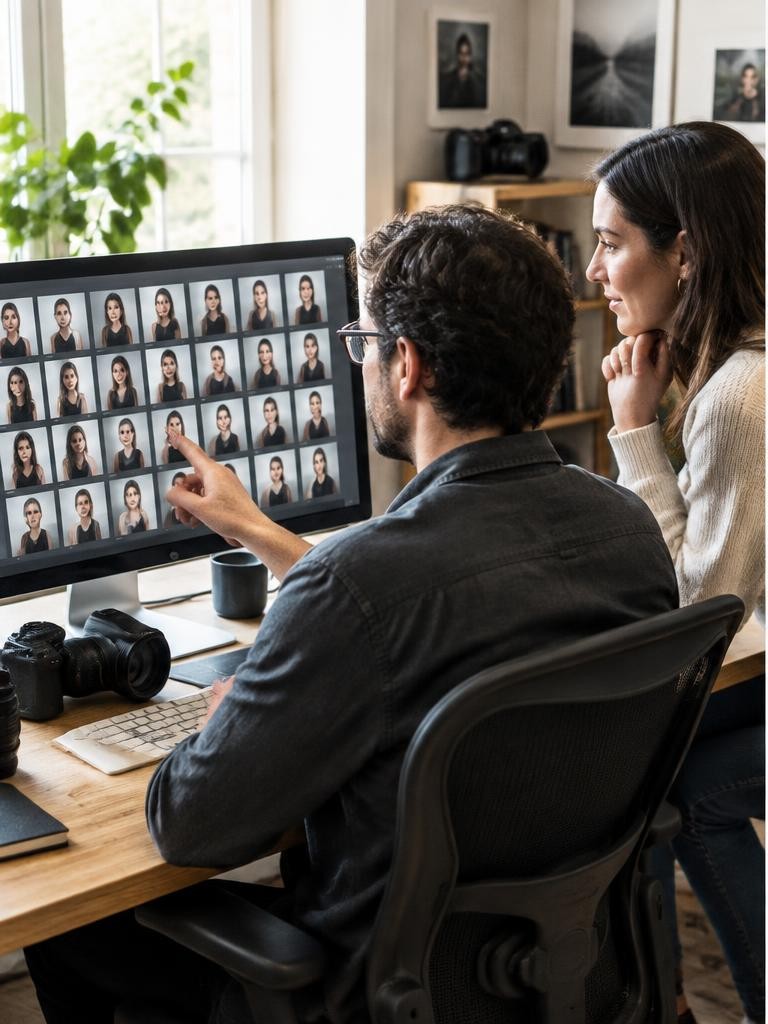
Proofs in photography are preview images supplied so someone can select photographs, request agreed changes or approve a result before final delivery or production. They may be digital gallery previews, contact sheets or physical prints. A proof is not automatically a RAW file, an unedited image or a file the client may publish. Its meaning depends on the agreement and workflow. The essential question is: what decision should the recipient make now? Define that decision clearly and proofing becomes a useful production stage rather than a confusing extra gallery of almost-finished pictures.
01Distinguish three kinds of proof
A selection proof helps a client choose frames for final editing. A retouching proof helps approve specified changes, such as a crop or removal of a temporary distraction.
A print proof checks how an image reproduces on a particular output process or material. These can occur at different stages of the same job.
Label the stage explicitly in your message. Asking someone to choose an expression is different from asking them to judge final colour, and a laptop preview cannot fully demonstrate the texture or surface appearance of a physical print.
02Understand what a proof is not
Culling is the photographer's process of narrowing the capture set; proofing is a review or approval process involving the relevant decision-maker. A contact sheet is a layout showing many images and can function as a proof, but the terms are not interchangeable.
Final files are the agreed deliverables after the relevant choices and production work. Proofs may be lightly corrected or fully edited depending on the service.
Avoid using the word unfinished without explanation: clients need to know which qualities they can judge now and which will change later.
03Step 1: Agree the decision and the decision-maker
Before sending anything, confirm who selects images, how many are included, when choices are due and what happens next. For a commercial team, ask for one consolidated response from an authorised contact rather than incompatible instructions from several people.
Distinguish selecting an image from approving an edit or ordering an extra product. Explain additional charges before they arise, not after the client has fallen in love with more images.
Put the selection deadline and any consequences in the original agreement, with terms appropriate to the client and applicable law.
04Step 2: Curate and prepare consistent previews
Remove technical failures and unnecessary near-duplicates before inviting selection. Apply enough baseline exposure and white-balance correction to make comparisons fair.
Keep stable image identifiers that connect previews to your originals. If a proof is cropped differently from the final delivery format, explain that limitation.
Choose preview dimensions that allow the intended decision without confusing them with licensed high-resolution deliverables. Watermarks can signal preview status but cannot guarantee against copying.
Place any mark so it does not obscure expressions or detail the client must assess, and retain an unmarked working master.
05Step 3: Test the gallery as a recipient
Check visibility, download permissions, comments, metadata and sharing options before inviting anyone. Adobe's Lightroom gallery guidance describes options for downloads, comments and image information; availability and interface details depend on the product and current account.
Do not assume a shared link is private simply because you have not posted it publicly. Use access restrictions appropriate to the assignment and explain who may review the work.
Open a test invitation on another browser or device. Confirm that a recipient can select and submit without needing your administrator access or an unexplained series of technical steps.
FAQ
06Step 4: Send instructions that answer real questions
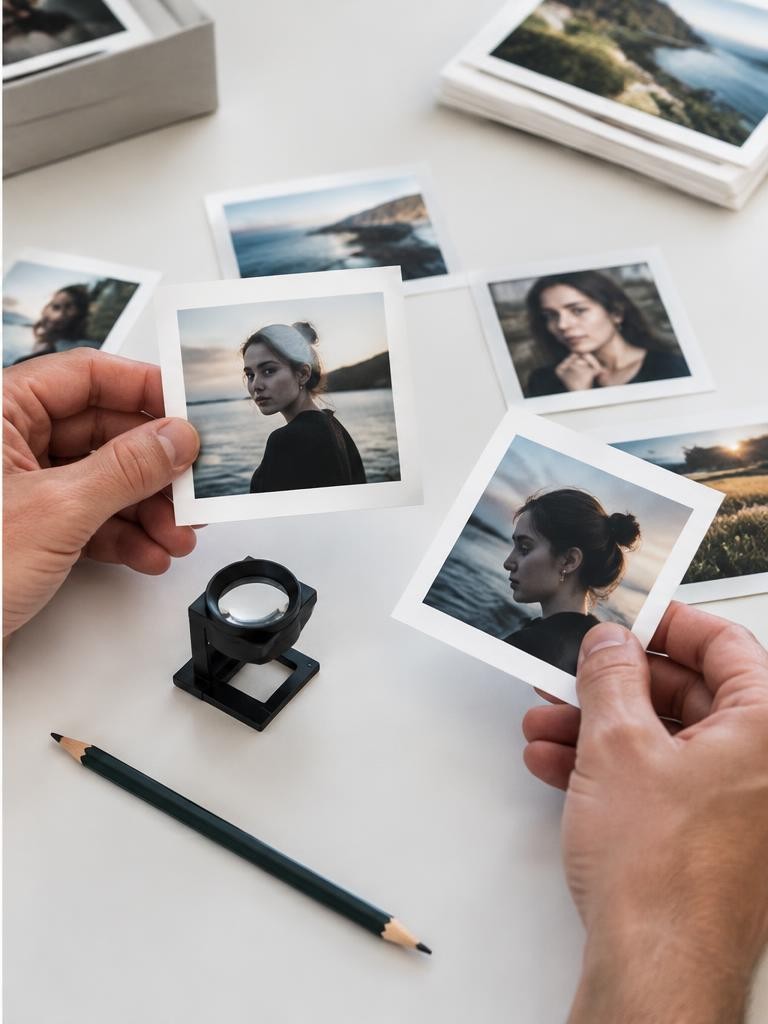
State that the images are proofs, identify the decision required and give a short numbered workflow in plain language. For example: review the gallery, add eight images to the named selection list, then submit the completed list by the agreed date. Explain whether skin detail, colour or crops will change after selection. Ask for edits tied to image identifiers rather than vague descriptions such as the smiling one. Provide a contact route for access problems. Clear instructions reduce both client anxiety and the time spent interpreting screenshots, messages and half-finished lists.
07Step 5: Freeze the selection before editing
Gallery favourites can be a working shortlist rather than a final instruction. Pixieset's documentation explains that clients can maintain multiple lists, add notes and send completed selections; it also describes exporting identifiers for editing.
Whatever platform you use, request explicit confirmation of the final list and save a dated record. Check that the count matches the package and that revision requests fit the agreed scope.
If a client changes a selection after work begins, refer to the established policy and explain any additional work before proceeding. Do not silently retouch an outdated list.
Worked example
08Worked example: proofing changes the time budget
Imagine a hypothetical portrait job with 300 captures, 60 curated proofs and eight included final images. Baseline proof preparation takes two minutes per image: 120 minutes.
Detailed finishing takes twelve minutes for each selected image: 96 minutes. Together that is 216 minutes, or three hours and thirty-six minutes, excluding photography, upload and correspondence.
Fully finishing all 60 instead would take 720 minutes at the same finishing rate. If two more finals cost 25 currency units each under the agreed offer, the added charge is 50.
These invented figures illustrate workflow arithmetic, not recommended prices or guaranteed savings.
09Know when print proofing needs a different test
A physical proof can reveal paper colour, surface texture and reproduction issues that a web gallery cannot settle. Soft proofing instead simulates an output condition on a display using suitable colour-management settings and profiles; it is not a physical sample.
Ask the print provider which approval method suits the job and whether the sample uses the intended material and process. Judge prints under appropriate, reasonably consistent lighting.
Approving a small sample may not reveal every issue at a larger size, so inspect resolution, crop and important detail separately before committing to production.
10Illustrative story: resolving two different selections
Imagine a fictional headshot commission where an employee favourites six expressions while the company contact chooses two different frames for a staff directory. The photographer initially sees eight favourites and assumes all require finishing.
Instead of starting, they ask who has approval authority and what the package includes. The team consolidates its request into four final identifiers, and the photographer saves that confirmation before editing.
This scenario illustrates why a heart icon is not always an order. Agreement on the decision matters more than the gallery feature used to collect it.
Troubleshooting
11Troubleshoot common proofing failures
If a client calls previews flat, check whether you explained the editing stage and provided a fair baseline. If selections contain too many similar frames, curate more decisively or explain the intended uses.
If filenames do not match, compare stable identifiers rather than relying on gallery order. If someone cannot submit, test the workflow and offer an accessible alternative.
Never blame the client for unclear instructions. If an unauthorised person gains access, restrict sharing promptly and assess the incident.
Keep revision versions distinct so a proof cannot accidentally overwrite the approved final or the original capture.
FAQ
12Frequently asked questions
Are proofs always watermarked? No; marking is a workflow choice, not the definition. Are they always unedited? No; preparation varies and should be explained. Can clients post them? Only if the applicable agreement and permissions allow it; preview access alone does not settle usage rights. Do clients receive every capture? Not automatically; define the curated selection and deliverables in advance. Is a favourite an approval? Only when your workflow explicitly makes it one. Must every service use proofing? No. Some commissions include photographer-selected finished galleries, making a separate selection stage unnecessary.
Try this
13Exercise: run a ten-image proofing rehearsal
Create ten preview images with stable identifiers and ask a test recipient to select three. Supply a short instruction message, a deadline and a clear completion step.
Have them request one crop change and report any confusing language. Retrieve their list, confirm the identifiers and deliver separately named final versions.
Record where the process failed and rewrite the instructions once. Finally, decide which approvals you need for your own service: selection, retouching, print production or none.
Use proofing only where it supports a genuine decision, not simply because a platform offers the feature.
Sources & further reading
These references support the technical explanations. Exercises and starting settings are illustrative and should be adapted to your equipment and conditions.
- Pixieset: Using favorite lists for client proofing
- Adobe: Share photo albums in a Lightroom web gallery
Free resources from LensSuite
Was this guide helpful?
