



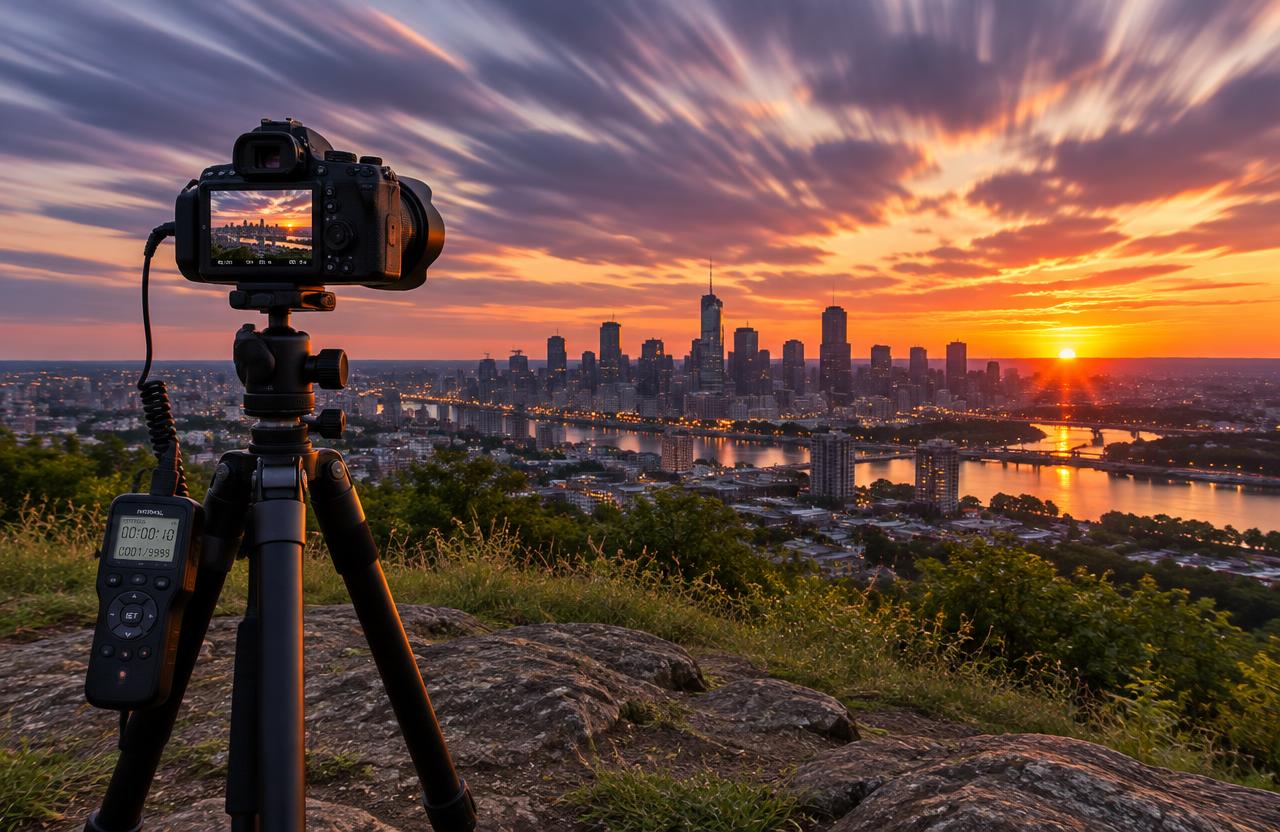
Time-lapse photography records still photographs at planned intervals and plays them as a video, making slow changes appear faster. To create one, choose a changing scene, stabilize the camera, calculate the required frames and interval, control exposure and focus, and assemble the sequence at a chosen playback frame rate. Some cameras create the movie internally; others save photographs for later assembly. Nikon explains that a still-image sequence provides an alternative to speeding up ordinary video and allows a separate image-processing workflow. The camera's intervalometer or an external controller handles repeated capture.
01Choose a change worth compressing
Look for a scene with a clear progression: clouds crossing a landscape, shadows moving across architecture, a construction process, or an evening transition in a city. A time-lapse needs more than a scenic view; something should visibly develop during the capture period.
Include stable visual anchors so viewers can understand the change. Consider how the sequence begins and ends, and avoid framing that will become obstructed when people arrive or the light shifts.
Scout safety, access, weather, and whether the camera can remain undisturbed for the full duration. A compelling ten-second result may require a substantial period on location.
02Distinguish interval, exposure, and playback rate
Exposure time is how long each photograph gathers light. Interval is the timing between captures, but equipment terminology varies: it may mean start-to-start spacing or a delay after one exposure finishes.
Playback frame rate is how many captured photographs become one second of finished video.
Confirm your camera's definition before calculating. A two-second exposure with a three-second start-to-start interval leaves roughly one second for other operations.
A controller specifying a three-second delay after that exposure produces roughly five-second start spacing instead. This distinction changes both the real-world duration and the apparent speed of the final sequence.
03Calculate how many frames you need
Required frame count equals finished duration multiplied by playback frame rate. A ten-second sequence at 24 frames per second needs 240 photographs.
The same duration at 30 frames per second needs 300. Choose this before capture so you do not stop with too few frames.
For N photographs spaced by a start-to-start interval I, the time between the first and last starts is (N − 1) × I. Add the final exposure duration to estimate when the last photograph finishes.
The simpler N × I estimate is useful for planning, but the exact distinction helps when a sequence must fit a timed event.
Worked example
04A numeric worked example
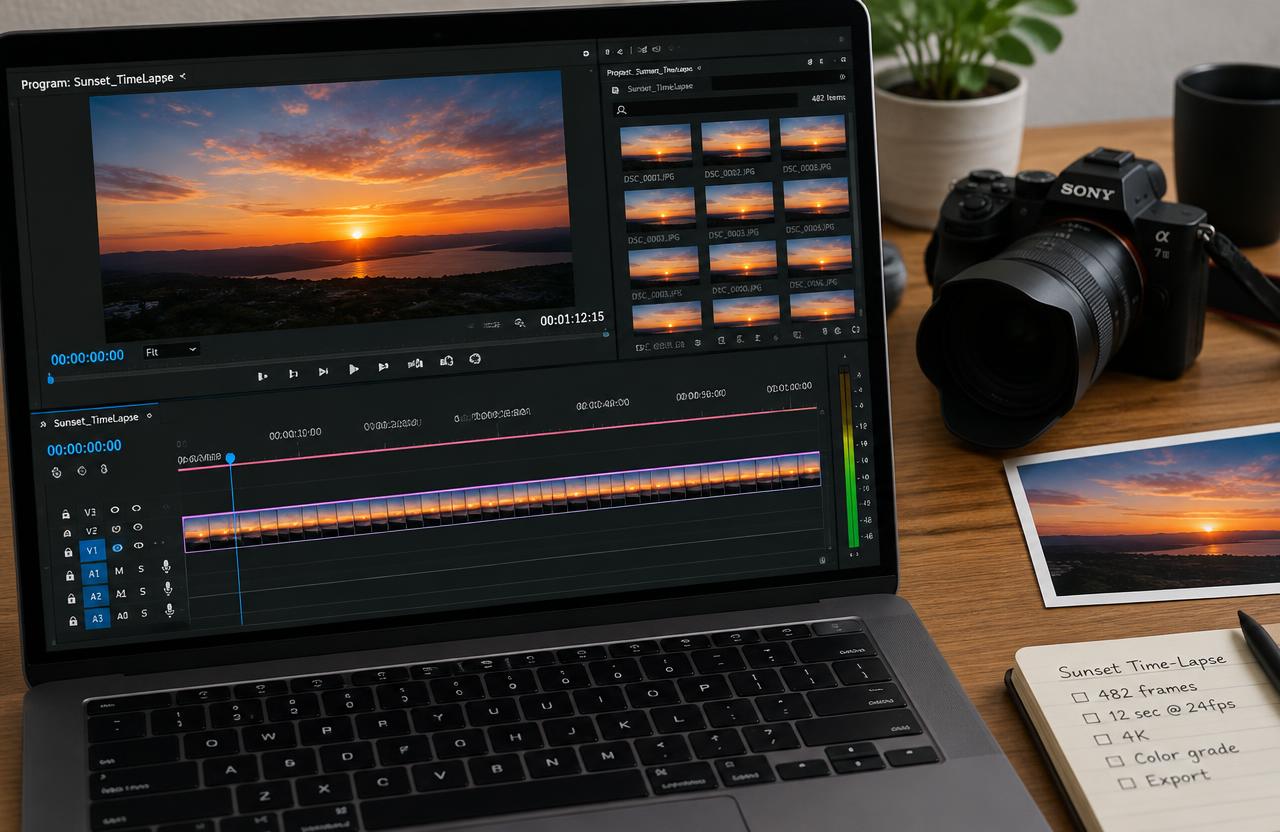
Suppose you want 12 seconds of video at 25 frames per second. You need 12 × 25 = 300 photographs.
At a four-second start-to-start interval, the first-to-last start span is 299 × 4 = 1,196 seconds, or 19 minutes 56 seconds.
If each exposure lasts two seconds, the final frame finishes at approximately 19 minutes 58 seconds after the first begins. The nominal speed-up is interval × playback rate: 4 × 25 = 100 times real time.
A two-second exposure occupies half the capture interval, producing a 50 percent exposure duty cycle rather than sharply isolated samples.
05Choose an interval that suits the movement
Shorter intervals preserve more intermediate positions and generally suit faster changes. Longer intervals create greater jumps and suit slower processes, but can make nearby people or vehicles pop between positions.
Fast-moving clouds may need much shorter spacing than a gradual building project.
As starting experiments, compare roughly one- to three-second intervals for active clouds and several seconds for slower landscape changes, adjusting to actual movement. Nikon's examples specifically discuss short intervals for rapidly moving clouds and longer exposures for night-sky sequences, illustrating why no single interval works for every subject.
06Fit shutter duration inside the interval
For start-to-start scheduling, exposure time plus any required operational overhead must fit within the interval unless the camera supports a different timing behavior. File writing, shutter operation, noise reduction, and controller delays can affect this.
Some cameras skip scheduled frames when they cannot keep up.
A shutter duration around half the interval is a useful creative starting point for smoother motion, analogous to a 180-degree shutter relationship. It is not mandatory.
Short exposures create crisper individual positions; longer ones blend movement. In daylight, an ND filter may be needed to reach a long duration while keeping an appropriate aperture and ISO.
07Lock settings when the light is stable
For consistent light, manual exposure, fixed white balance, and manual focus reduce unintended frame-to-frame changes. Choose aperture for depth of field and optical performance, then set shutter duration for motion rendering.
Use a low appropriate ISO when the available light permits it.
If the camera operates the aperture between frames, slight mechanical variations can contribute to brightness flicker; behavior depends on the lens and shooting mode. Test the sequence with your equipment.
Avoid touching focus or zoom rings during capture, and secure the tripod without creating a hazard. Disable automatic features that may change framing or processing unexpectedly.
08Handle sunrise and sunset differently
A fixed manual exposure is not automatically suitable for a transition from daylight into night. It may preserve the natural darkening but eventually lose useful detail, depending on the intended result.
Deliberate exposure ramping or a suitable automatic-exposure workflow can accommodate a much larger change.
These methods introduce their own risks, including visible brightness steps and changing motion blur. Decide which parameters may vary and how their changes will be smoothed in post-production.
Do not assume exposure smoothing in one camera works like another model's implementation. For a first project, choose steadier light before attempting a long day-to-night transition.
09An explicitly hypothetical capture plan
Imagine a hypothetical photographer recording clouds above a town square for a short travel video. They want ten seconds at 24 frames per second, so they plan 240 frames.
A three-second start interval requires nearly 12 minutes of capture, with additional time reserved for setup and checks.
They choose manual focus on a stable distant feature, fixed white balance, and an exposure short enough to leave operational headroom. Before committing, they run a brief test to confirm actual timing.
This invented scenario demonstrates planning logic rather than reporting a successful shoot. Faster clouds or changing light could require a different interval or exposure strategy.
10Plan storage, power, and editing
Estimate storage using your camera's actual file sizes. For example, 300 files averaging 30 MB require approximately 9,000 MB, or 9 GB in decimal units, before exports and working files.
Bring sufficient power and allow headroom for larger files, cold conditions, or an extended sequence.
During editing, apply consistent corrections across the image set, address flicker where necessary, and import the photographs as an image sequence at the intended frame rate. Crop deliberately for the delivery aspect ratio.
Export a short test before processing everything, checking motion, brightness transitions, sharpness, and whether the sequence begins and ends at useful moments.
FAQ
11Troubleshooting, decisions, and FAQ
If frames are missing, check interval definitions, exposure length, write speed, and long-exposure noise reduction. If brightness pulses, inspect automatic settings, aperture behavior, artificial-light flicker, and changing clouds. If the image drifts, investigate support movement or stabilization behavior. If motion jumps too far, shorten the interval on the next capture.
Should you use raw files? They offer editing flexibility but require more storage and processing. Is an in-camera movie acceptable? Yes, when convenience matters more than individual-frame control. Can Bulb work? Yes, with compatible timing control, but each exposure and its overhead must fit the intended schedule. Always verify a short trial before leaving the sequence unattended.
Sources & further reading
These references support the technical explanations. Exercises and starting settings are illustrative and should be adapted to your equipment and conditions.
Free resources from LensSuite
Was this guide helpful?
