



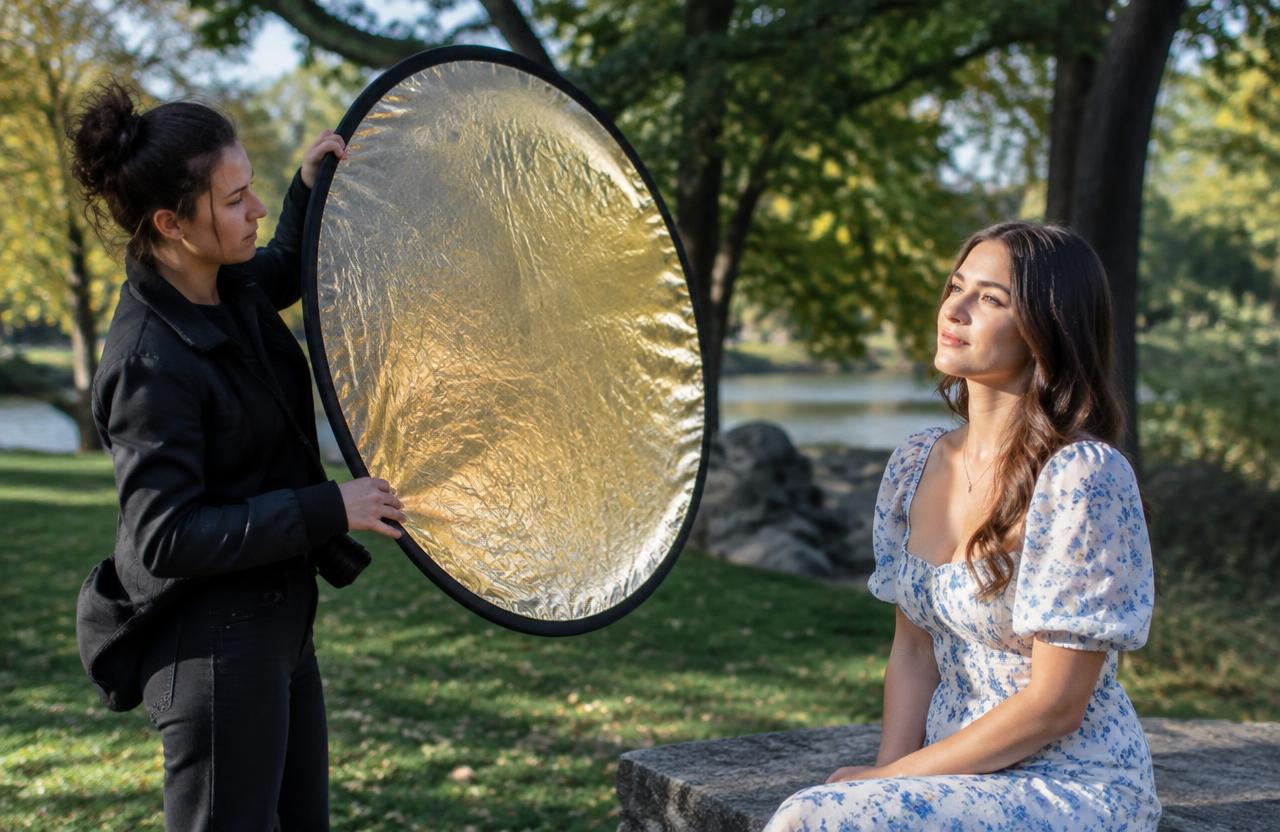
A photography reflector redirects existing light toward your subject. It does not generate light, and it cannot brighten a scene unless something illuminates its surface. Use one to lift facial shadows, reveal product details, or balance a subject against a brighter background. Adobe’s reflector guide describes this distinction clearly: a reflector provides redirected light rather than an independent source. Think of it as a movable bright wall. Your first task is therefore not choosing camera settings; it is finding light that the panel can catch.
01Choose the result before the surface
Decide what needs changing. If one cheek disappears into darkness, add gentle fill from that side.
If both cheeks already look equally bright, another reflector may remove useful dimension. If sunlight creates hard shadows across the entire face, repositioning the subject or introducing diffusion may be more effective.
Take a reference photograph without the reflector. Identify one specific problem, such as a dark eye socket or an unreadable label.
This gives you a meaningful comparison and prevents the common habit of adding equipment simply because it is available.
02White, silver, or gold?
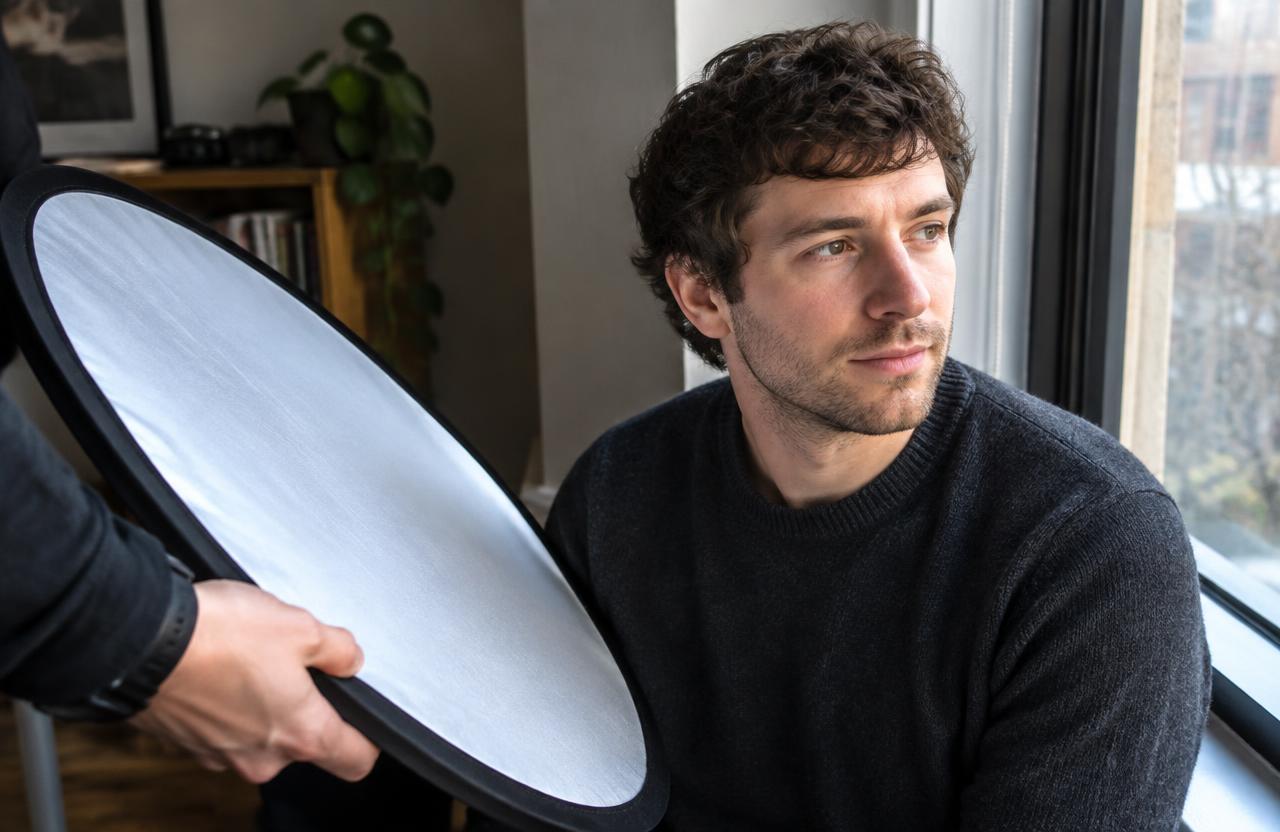
Start with white for restrained fill, especially close portraits and neutral-colored products. Silver produces a stronger, more directional reflection and can help when white contributes too little.
Gold deliberately warms the reflected light, which may be attractive but can also make skin or merchandise look unnaturally yellow.
Adobe’s reflector guide distinguishes these surfaces by their brightness and color effects. Judge the actual panel under your lighting rather than assuming every silver or white material behaves identically.
Texture, size, angle, and distance all influence the result.
03Understand the other panels in a five-in-one kit
A translucent panel is a diffuser: place it between the light source and subject to scatter transmitted light. It is not doing the same job as a reflective surface.
A black panel absorbs or blocks some surrounding light and can deepen shadows, a technique often called negative fill.
Adobe’s explanation of diffused light describes filtration through materials such as curtains and diffusion sheets. Keep the distinction practical: reflect when shadows need illumination, diffuse when direct light needs softening, and introduce black when existing bounce makes the subject look too flat.
04Build a simple window-light setup
Place your subject beside a window, with the window roughly to one side rather than directly behind the camera. Turn off unnecessary room lights if they introduce conflicting colors.
Make a test photograph that preserves important bright details.
Position a white reflector on the opposite side of the subject, initially just outside the frame. Rotate it gradually while watching the shadow-side cheek or product surface.
Stop where the added light becomes visible. Move the panel away slightly if the result starts to resemble flat frontal lighting rather than soft directional illumination.
05Aim by watching the subject
Do not assume a reflector works merely because its front faces the subject. It must also receive light from the source.
Move around the setup and look for the illuminated area on the panel, then tilt that surface until its reflection reaches the target.
For portraits, begin around face height and slightly to the shadow side. A low reflector can fill under the chin, but excessive upward illumination may create an unnatural appearance.
Watch the eyes, nose shadow, and underside of the jaw while an assistant slowly changes the angle.
06Control strength with distance and size
Bring the reflector closer for a stronger contribution, then move it farther away if the fill becomes distracting. A larger nearby white surface can also create a broader reflection than a small panel.
Keep the intended framing in mind: a panel that works for a headshot may not cover a standing subject evenly.
Avoid applying a simple distance formula to every reflector arrangement. Unlike an isolated point source, the panel receives light and redistributes it across an area.
Test the actual geometry rather than expecting one universal distance-to-brightness calculation.
07A worked exposure comparison
Consider a hypothetical portrait photographed at ISO 200, f/4, and 1/250 second. Without fill, a spot reading from the shadow cheek suggests 1/60 second at the same ISO and aperture.
That is approximately two stops darker than the exposure used for the brighter cheek.
After adding white fill, suppose the shadow cheek reads 1/125 second. The difference is now about one stop.
Keep the original camera settings and compare photographs: you have raised the shadow area without globally brightening the image. These are illustrative readings, not a guaranteed reflector output.
08Use a reflector outdoors without fighting sunlight
For an approachable outdoor portrait, try open shade near a brighter area. Face the subject toward the open sky, then use a reflector only if one side still needs help.
Alternatively, backlight the subject and redirect available sunlight toward the face, watching carefully for glare.
Silver in direct sun can be intense. Ask whether the subject feels comfortable, and stop if they squint or look away.
Never prioritize a catchlight over eye comfort. Move to white, feather the reflection away, or change the location instead.
09An illustrative small-business shoot
Imagine a hypothetical ceramicist photographing a pale mug beside a window. The first image shows an attractive highlight but a nearly black handle interior.
A silver reflector brightens the handle, yet creates a distracting bright streak across the glaze.
The ceramicist switches to white board, moves it closer, and rotates the mug slightly. The handle becomes readable while a shadow remains along the body, preserving its rounded appearance.
The useful lesson is not that white always wins: the best choice solves the visibility problem without replacing one distraction with another.
Troubleshooting
10Troubleshoot weak fill, odd color, and flatness
If nothing changes, check whether light actually reaches the reflector. Move it closer, adjust its angle, or find a brighter source.
If the face becomes flat, reduce the reflector’s contribution rather than automatically increasing contrast later.
If skin develops a strange tint, inspect the panel and nearby surroundings. A colored wall, grass, clothing, or gold surface can influence reflected light.
If only a tiny patch brightens, increase the effective reflecting area or change the angle. If shiny products show the panel itself, treat that reflection as part of the composition.
11Hold and secure the panel safely
A folding reflector catches wind. Outdoors, an assistant who can hold and quickly lower it is often more practical than an unattended stand.
If using a stand, follow its manufacturer’s loading and securing instructions, keep the setup away from walkways, and stop when conditions become unstable.
For solo tabletop work, a small white board supported securely on a desk may be enough. Do not balance heavy equipment above a subject or improvise an unstable overhead diffusion rig.
The simplest safe arrangement is usually easier to repeat and adjust.
FAQ
12Common questions and a useful practice drill
Can you use household materials? Yes: clean white foam board or card can provide effective fill. A mirror is much more directional and deserves extra caution around eyes and sunlight. Can a reflector replace flash? Sometimes, but only when suitable existing light is available; it cannot supply independent illumination after the source disappears.
Practice with one stationary subject and fixed camera settings. Make four photographs: no fill, white nearby, white farther away, and silver. Compare shadow detail, skin or product color, catchlights, and shape. Choose the version that supports your intention rather than the brightest version.
Sources & further reading
These references support the technical explanations. Exercises and starting settings are illustrative and should be adapted to your equipment and conditions.
Free resources from LensSuite
Was this guide helpful?
