



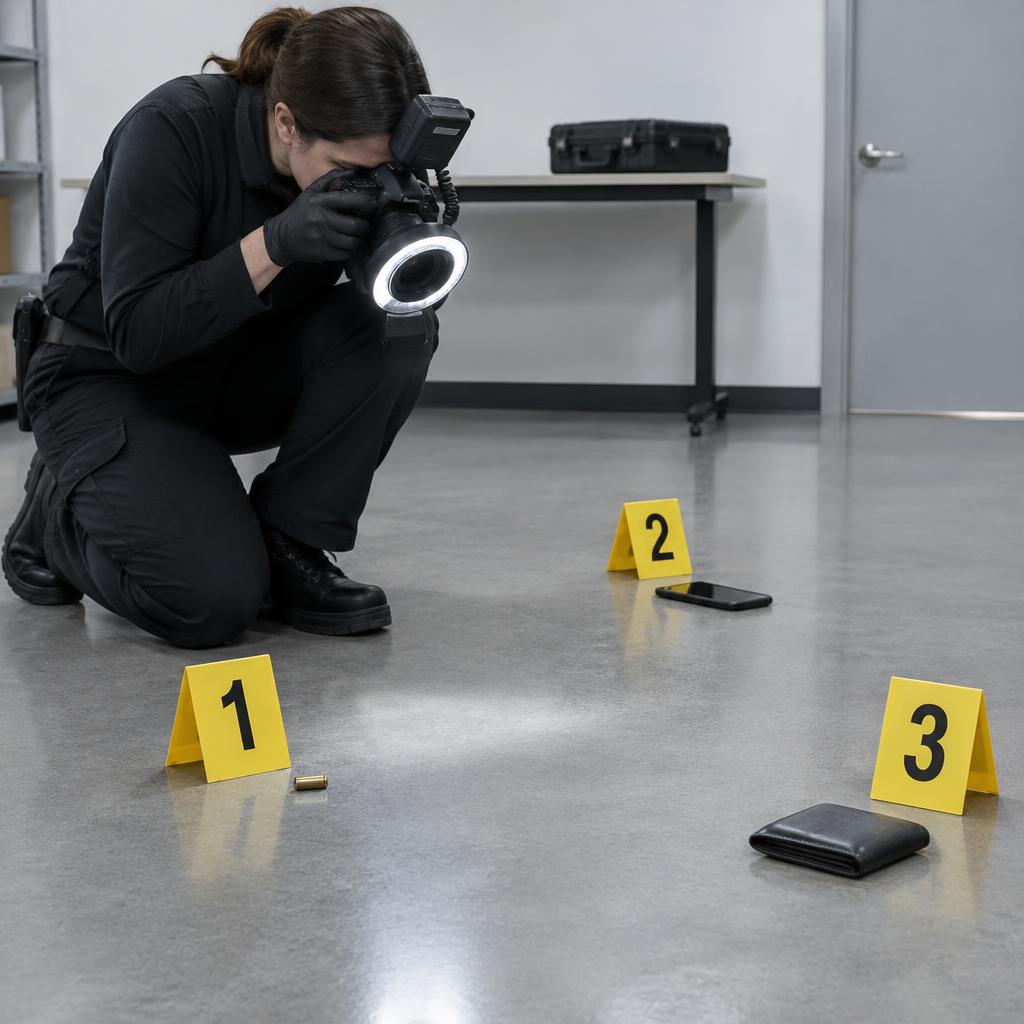
The key purpose of crime scene photography is to create a permanent, objective visual record for investigators and courts, suitable for admission as evidence when legal requirements are met. It preserves the scene’s condition and spatial relationships before anything changes; a photograph is not automatically admissible simply because an investigator took it.
01Documentation, not interpretation
A useful photograph answers what was visible, where it was and how it related to its surroundings. It supports notes, measurements and sketches rather than replacing them.
A dramatic close-up without context can be misleading even when the pixels are authentic.
Objectivity means systematic coverage, accurate representation and honest limits—not a claim that a camera records every fact. Perspective, lighting and framing influence what viewers can infer.
Record observations separately from conclusions, and follow local law and agency procedures.
02The three standard photographic ranges
The June 2020 OSAC proposed Standard Guide for Crime Scene Photography identifies long-range/overall, mid-range/evidence-establishing and close-up photographs. It is a proposed guide, not a universal legal rule. [1](https://www.nist.gov/document/standard-guide-crime-scene-photography)
Overall views establish the location and layout. Mid-range views connect an item to fixed surroundings, such as a doorway.
Close-ups record detail. Think location → relationship → detail.
There is no universal minimum image count: coverage must explain the particular scene without leaving important gaps.
03Scales, markers and usable detail
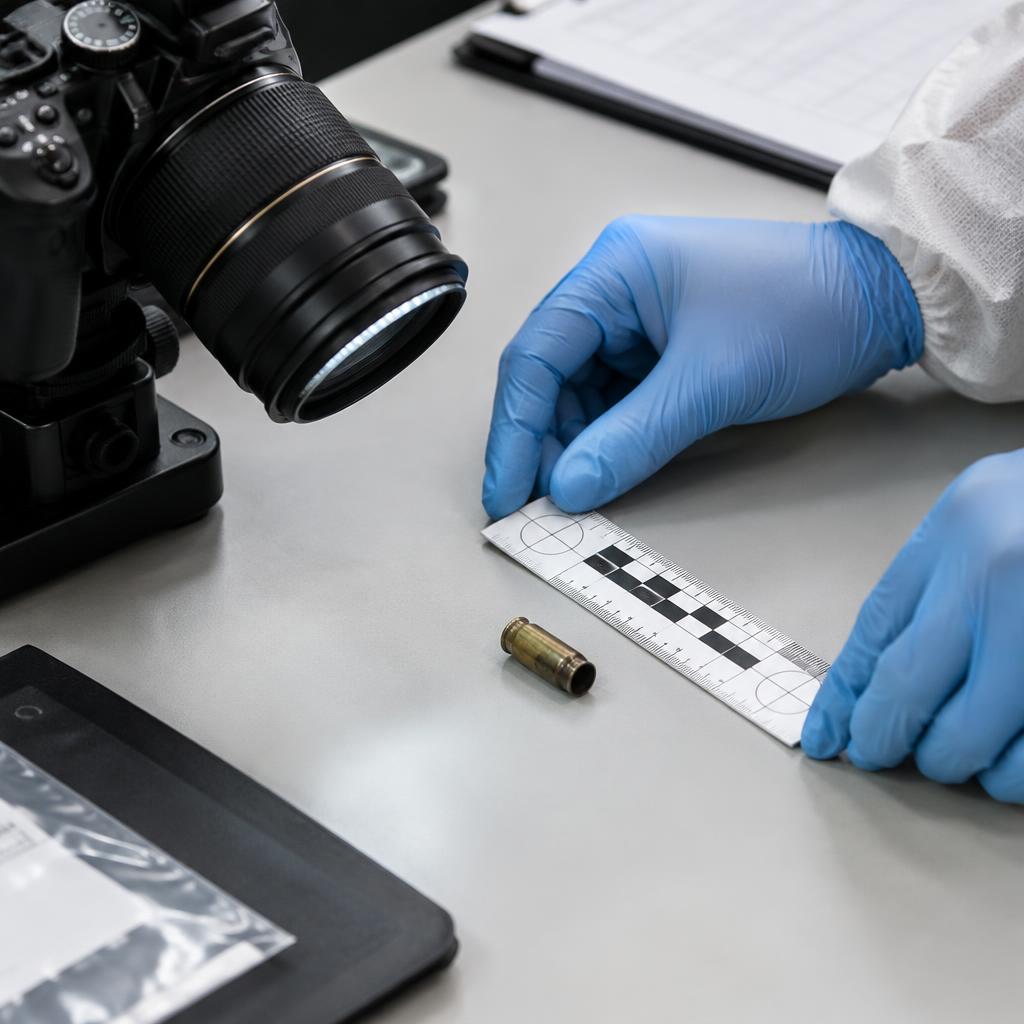
A scale helps show size; an evidence marker identifies an item. Neither substitutes for an establishing photograph.
Capture the original condition before adding these aids, and avoid covering relevant detail. For measurement-oriented work, place the scale in the same plane as the subject and keep the camera appropriately aligned.
A basic kit may include an interchangeable-lens camera, general-purpose and macro lenses, tripod, external flash, spare batteries, approved storage, scales and markers. Choose equipment for reproducible detail, not an attractive blur effect.
04Who takes the photographs—and what training matters
Depending on the jurisdiction, photography may be handled by crime-scene investigators, forensic photographers, trained police officers or other authorised personnel. There is no single worldwide licence or qualification.
Entry requirements vary between employers.
Training should cover exposure, focus, flash, scale placement, contamination prevention, evidence handling, image management and testimony. SWGDE publishes discipline-specific training guidance; supervised competency assessment matters more than simply owning a professional camera. [2](https://www.swgde.org/documents/published-complete-listing/15-m-001-swgde-training-guidelines-for-video-analysis-image-analysis-and-photography/)
05Preserve originals; document any processing
Never overwrite originals, remove objects, fabricate detail or use generative fill on evidentiary photographs. Chain-of-custody records document possession and transfers; controlled storage and integrity checks support confidence that files remain unchanged.
Follow the agency’s approved ingest and retention process. [3](https://www.swgde.org/documents/published-complete-listing/17-i-001-best-practices-for-maintaining-the-integrity-of-imagery/)
“Never alter photos” needs nuance: authorised processing of working copies may be permissible if documented and reproducible. Keep originals intact, identify derivatives, and record adjustments.
Authentication and admissibility depend on the applicable legal system, not a filter-free guarantee.
06Worked walkthrough: document an empty training room
In an authorised training exercise, imagine a room containing a displaced chair and an envelope. First confirm permission, safety and the documentation plan.
Photograph the entrance and overlapping overall views before moving or adding anything.
Next, make mid-range views connecting the envelope to the chair and doorway. Make an in-place close-up without a scale, then another with an appropriate scale if size matters.
Inspect focus and exposure before leaving. Log the sequence and transfer all files into approved storage.
This illustrates order, not a complete operational protocol.
07Illustrative scenario: the missing relationship
Imagine a trainee returns with a beautifully sharp envelope close-up but no view showing its location. A reviewer can see its condition but cannot reliably place it within the room.
Enlarging the file will not restore the missing relationship.
The lesson is to photograph context while the scene still exists. If documentation is incomplete, record the limitation and consult the supervisor; never recreate an arrangement and present it as the original scene.
08Film-era versus digital workflows
Film workflows preserve negatives and track processing, prints and physical storage. Digital workflows permit immediate exposure checks and rapid duplication, but require controlled ingest, access permissions, backups and reliable links between originals and derivatives.
Neither medium makes a record inherently truthful.
For most contemporary agencies, digital capture is operationally practical when supported by a validated workflow. Follow the employing organisation’s format policy rather than assuming RAW, JPEG or a phone is universally acceptable.
Equipment and infrastructure should match evidentiary needs. [4](https://www.swgde.org/documents/published-complete-listing/16-p-001-swgde-photographic-equipment-and-infrastructure-recommendations/)
09How this differs from photojournalism
Both fields demand truthful representation, but their assignments differ. Journalism usually communicates a public-interest story through selected images; forensic documentation systematically supports investigation and possible legal scrutiny.
Access, confidentiality and evidence-handling obligations also differ.
A journalist’s photograph can become evidence, but that does not make ordinary news coverage a complete forensic record. Do not prioritise dramatic lighting, selective framing or publication speed over required scene coverage.
Never enter a restricted scene to practise photography.
Troubleshooting
10Troubleshooting low light and weather
In low light, check whether softness comes from camera movement, missed focus or insufficient depth of field. For a static training subject, a tripod may permit a longer exposure; controlled flash can reveal detail.
Record lighting methods when relevant. Inspect reflective surfaces for flash glare before accepting the frame.
Outdoors, rain, wind and changing daylight may threaten both evidence and equipment. Coordinate priorities with the scene lead, document changing conditions and follow approved protection procedures.
Never move evidence merely to improve a photograph.
FAQ
11Frequently asked questions
Can photographs prove everything? No. They cannot reliably show unseen conditions, establish an entire timeline or replace specialist interpretation.
Are edited photographs automatically inadmissible? No. Documented processing and authentication may be acceptable; undisclosed manipulation undermines reliability.
Do I always need a scale? No. Use one where size or comparison requires it, following procedure.
Can beginners start professionally after this guide? No. This is orientation, not forensic certification or legal advice. Seek formal training and supervised practice.
12Practise a complete sequence safely
Use household objects in your own room, never a real incident scene. Make overall, mid-range and close-up views, including paired unscaled and scaled detail images where appropriate.
Write a simple photo log and preserve the original files.
Ask someone unfamiliar with the room to explain where each object was. If they cannot, improve the establishing views rather than collecting more disconnected close-ups.
Before finishing, check context, sharpness, scale placement, file identity and safe storage. For a second exercise, repeat the sequence with one reflective object and compare lighting positions.
Keep every original, label the practice clearly and note which views communicate relationships most effectively. Accuracy is the outcome; visual drama is optional.
Sources & further reading
These references support the technical explanations. Exercises and starting settings are illustrative and should be adapted to your equipment and conditions.
- OSAC: Standard Guide for Crime Scene Photography, proposed June 2020
- SWGDE: Training Guidelines for Video Analysis, Image Analysis and Photography
- SWGDE: Best Practices for Maintaining the Integrity of Imagery
- SWGDE: Photographic Equipment and Infrastructure Recommendations
- SWGDE: Image Processing Guidelines
- NIJ: Crime Scene Investigation—A Guide for Law Enforcement, January 2000
Free resources from LensSuite
Was this guide helpful?
