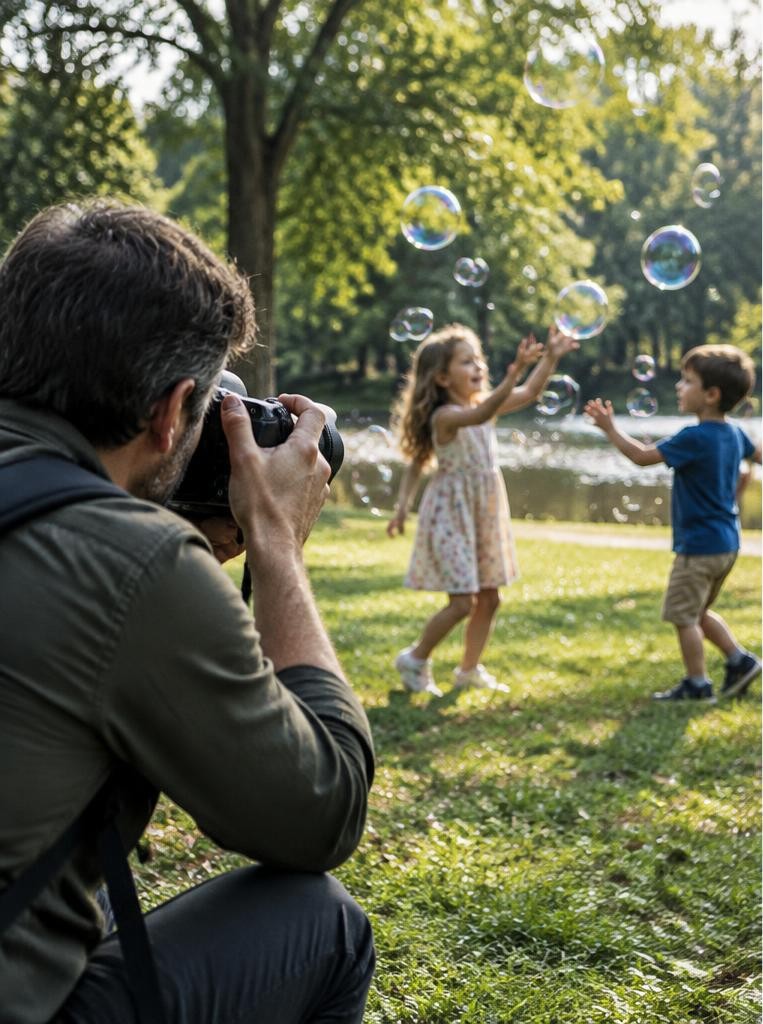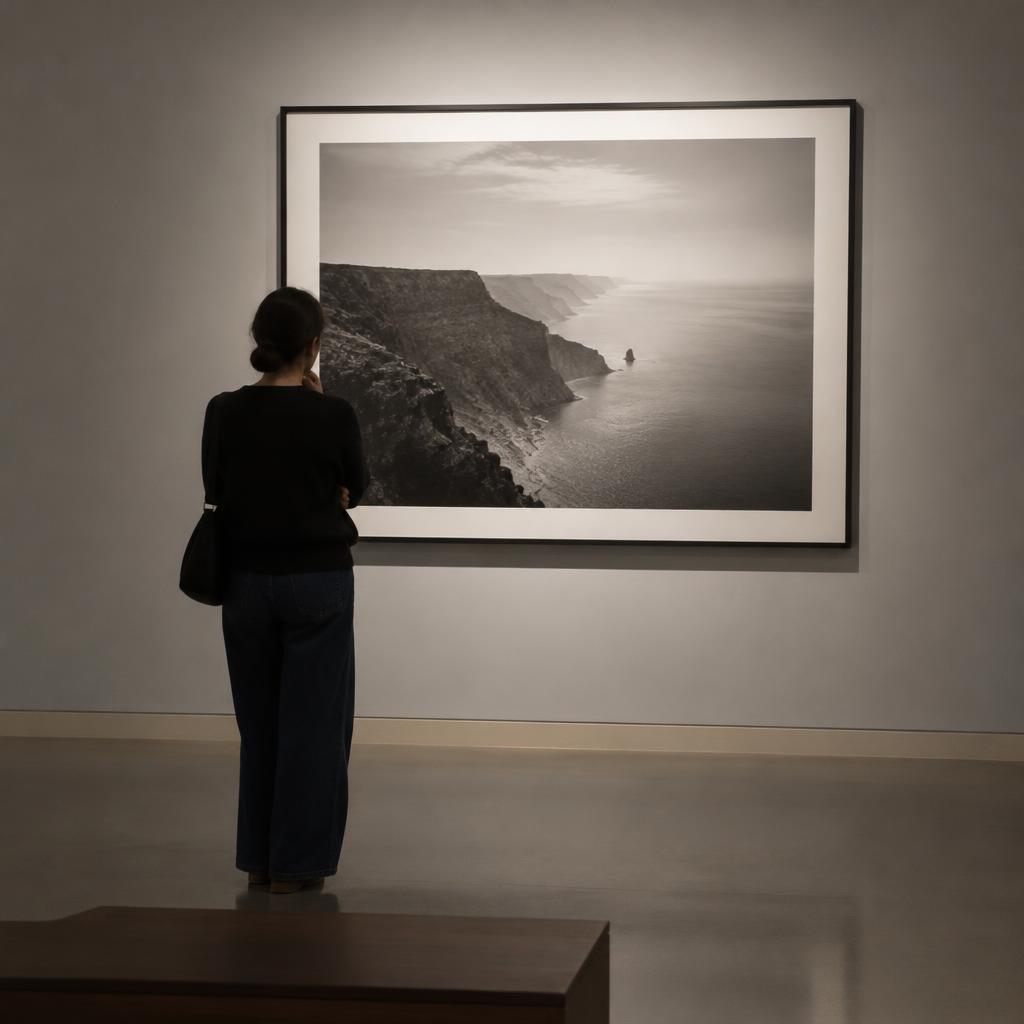
Visual literacy methods in photography are structured ways to read images and make them deliberately: formal analysis, compositional reading, contextual research and examination of photographic choices. Use them to explain what you see, support interpretations with evidence and decide what to change in your own photographs.
01Reading and making belong together
Reading asks how an image produces meaning; making asks which decisions will produce the meaning you intend. Neither requires guessing the photographer’s private thoughts.
A convincing interpretation connects visible evidence with reliable contextual information.
Getty’s visual-analysis lesson combines description, reflection and formal analysis. Begin with description before judgement: “a small figure surrounded by empty pavement” is more useful than “a sad picture.” You can later argue that the empty space suggests isolation, while acknowledging other possible readings.
02Method 1: analyse line, shape, colour, tone and texture
Trace lines with your finger: do they converge, divide or repeat? Name dominant shapes and compare their scale.
Then examine colour relationships, tonal contrast and texture. Tone means relative lightness or darkness, not simply whether the photograph is monochrome.
A bright sleeve against a dark wall may attract attention more strongly than a centrally placed face. Rough brick beside smooth skin can create contrast without saturated colour.
Write one observation for each element, then identify the two doing most of the visual work.
03Method 2: read the composition
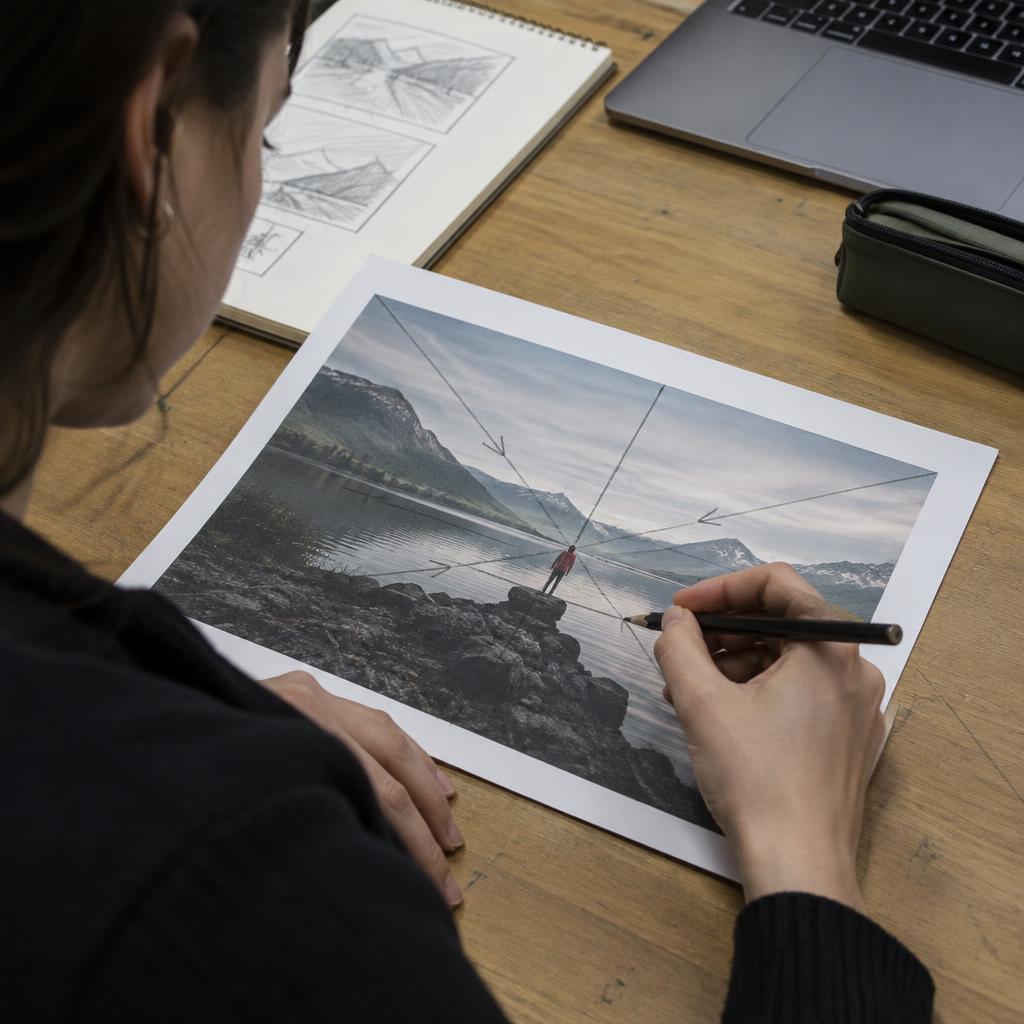
A rule-of-thirds grid divides the frame into nine rectangles using two vertical and two horizontal lines. Ask whether placing the subject near an intersection strengthens balance; do not award points just for compliance.
Follow leading lines to their destination. Check whether a doorway frames the subject or traps it.
Identify foreground, middle distance and background to understand layering. Finally, inspect all four edges for accidental cut-offs and distractions.
A centred portrait may communicate directness better than a thirds-based arrangement.
04Method 3: decode context and intent
Ask who made the image, when, where, for whom and for what purpose. A photograph used in an advertisement makes a different claim from the same image in a family archive.
Captions and sequencing can redirect interpretation.
The Library of Congress recommends moving between observation, reflection and questions. Keep two columns: “visible” and “inferred.” Clothing is visible; a person’s occupation may be inferred.
Research missing information instead of treating stereotypes, facial expressions or colour symbolism as universal proof.
05Method 4: reconstruct the photographer’s choices
Separate four decisions: frame, moment, lens and light. What was excluded?
What gesture was selected? Does the viewpoint make the viewer feel near or distant?
Where are the strongest highlights and shadows?
Avoid claiming an exact focal length from appearance alone. Camera position determines perspective; focal length and sensor format affect framing.
For a practical comparison, photograph a consenting subject from one position with wide and tight framing, then move closer for another wide view. Compare the relationships between face and background.
Worked example
06Worked example: deconstruct a classic street-photo style
Imagine an invented black-and-white street photograph: a cyclist crosses a wet square, a diagonal railing leads toward the wheels, and a distant umbrella forms a second dark shape. This is a famous-style teaching example, not an attribution to a real photographer.
First, describe three facts: diagonal railing, bright pavement, moving cyclist. Next, propose that the diagonal creates momentum and the repeated dark shapes connect foreground and background.
Finally, test an alternative: crop away the umbrella. The result is simpler, but loses a secondary point of interest.
Simplicity is not automatically improvement.
Try this
07Exercise: deconstruct one photograph in ten minutes
Spend two minutes describing only what is visible, three mapping composition, three researching context and two writing a conclusion. Getty’s formal-analysis resources provide useful vocabulary for those notes.
Finish with a three-sentence explanation: “My eye goes here. This arrangement contributes to this reading.
This unanswered question limits my interpretation.” Compare your account with another viewer’s. Disagreement becomes useful when both people identify evidence rather than declaring personal taste to be an objective rule.
Try this
08Exercise: one-frame stories and constraint shoots
Choose a small, observable story: someone preparing tea, repairing a bicycle or waiting for a bus. With permission where appropriate, make one frame that communicates action and setting without a caption.
Ask a viewer what happened; compare their answer with your intention.
Next, make 12 photographs using one constraint: reflections only, one dominant colour or a fixed camera position. Select three, not all 12.
Constraints reduce choices so you can see how framing changes meaning; they are exercises, not permanent creative restrictions.
09Illustration: a student learns to read photographs
Consider an illustrative student who initially calls every blurred image “bad.” During a reading exercise, they notice that a blurred pedestrian contrasts with a sharp doorway. Their revised description is more precise: movement and stillness coexist.
On the next practice walk, the student tries both a frozen gesture and a moving silhouette. Neither version wins automatically.
The useful change is that they can explain the difference and choose intentionally. This scenario illustrates learning; it does not report a real student’s results.
10Intuition versus analysis: choose the right moment
Use intuition while an unrepeatable moment unfolds. A checklist is unhelpful if it makes you miss the gesture.
Use analysis before a controlled shoot, when editing, and whenever a photograph repeatedly fails to communicate.
For a static subject, make an instinctive frame, then a deliberately revised one. Compare them without assuming that the analytical version must win.
The aim is to train attention until useful decisions become quicker, not to turn every photograph into a diagram.
Troubleshooting
11Troubleshooting: when interpretation gets stuck
If everything looks important, reduce the image to a thumbnail and identify its strongest tonal mass. If your interpretation depends entirely on a caption, ask which evidence actually appears within the frame.
If viewers miss your subject, inspect competing highlights before buying equipment.
If an analysis feels overconfident, replace “means” with “may suggest” and name an alternative reading. Smithsonian’s visual-analysis lesson emphasises evidence and gaps in understanding: uncertainty can be an accurate conclusion, not a failure.
FAQ
12FAQ: do rules and expensive equipment matter?
Is visual literacy just composition? No. Composition concerns arrangement; visual literacy also includes context, representation, audience and interpretation.
Must a strong image follow rules? No. Grids and leading lines are descriptive tools, not quality guarantees.
Can you practise with a phone? Yes. Frame edges, timing, light and viewpoint remain available.
Can you identify intent from a picture alone? You can propose an interpretation, but verifying intent requires supporting material such as an artist statement or interview.
Try this
13Your weekly practice plan
Monday: analyse one photograph for ten minutes. Tuesday: research its caption and publication context.
Wednesday: make 12 constraint photographs. Thursday: select three and explain the selection.
Friday: make a one-frame story.
At the weekend, request one peer reading before revealing your intention. Keep the original, your revision and two sentences explaining what changed.
Repeat with a different subject next week. Measure progress by clearer choices and stronger evidence, not by likes or how many composition rules you can name.
Sources & further reading
These references support the technical explanations. Exercises and starting settings are illustrative and should be adapted to your equipment and conditions.
- Getty: Methods of Visual Analysis
- Getty: Understanding Formal Analysis
- Library of Congress: Analysing Photographs and Prints
- Library of Congress: Analysis Guides
- Smithsonian: Visual Analysis of Photographs
- Adobe: Candid Photography
Free resources from LensSuite
Was this guide helpful?