



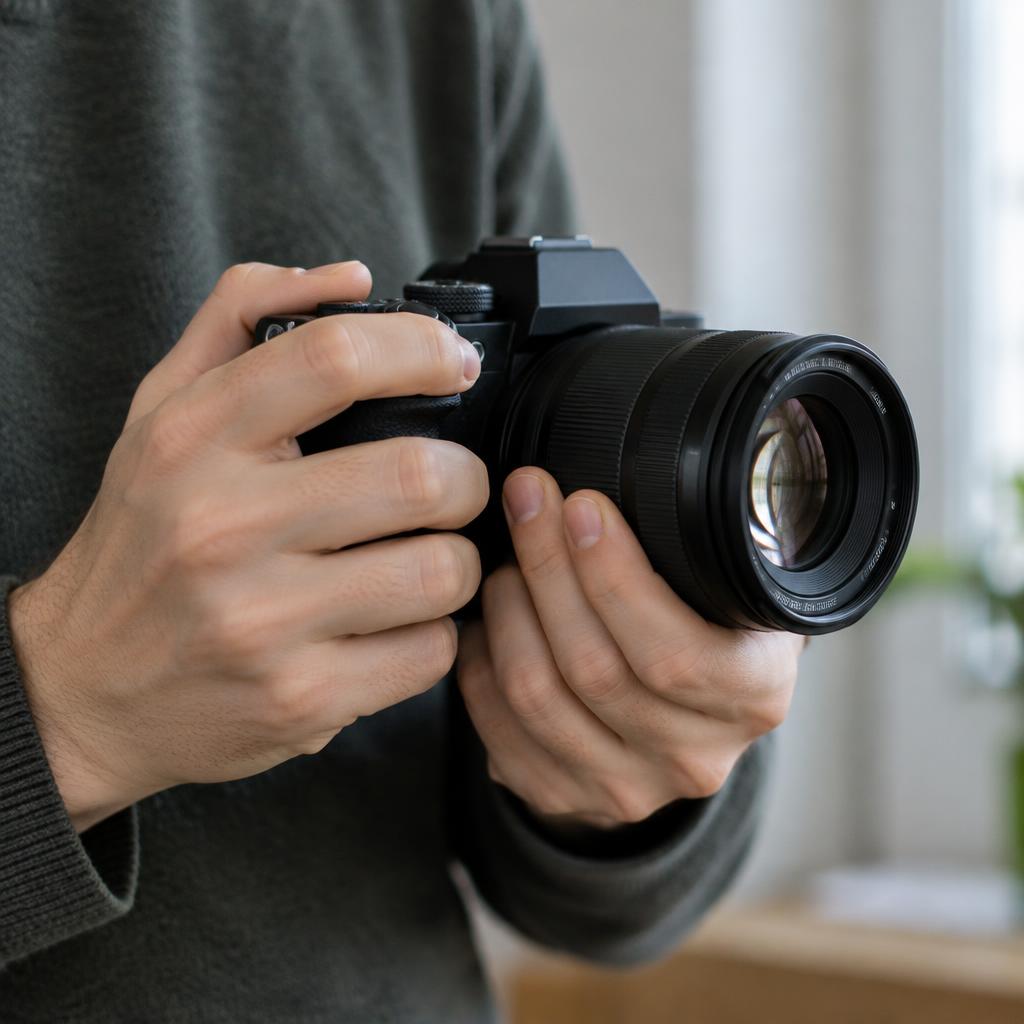
Use a faster shutter speed, support the camera with both hands, and enable suitable image stabilisation. Start around 1 divided by your full-frame-equivalent focal length, then go faster if your hands, subject or viewing size demand it. No technique guarantees every frame, but a repeatable check beats guessing.
01What camera shake actually is
Camera shake is movement of the camera during an exposure, spreading stationary details across several pixels. Streetlights may become short streaks; lettering may have doubled edges.
It differs from subject motion, where a person moves while the background stays sharp.
The useful question is not whether your hands shake at all—everyone moves slightly—but whether the exposure is short enough to make that movement invisible at your intended display size.
02Use the reciprocal rule, including crop factor
For an unstabilised full-frame camera, 50mm suggests roughly 1/50s as a starting limit. On a 1.5× crop sensor, multiply first: 50 × 1.5 = 75, suggesting 1/80s.
Canon APS-C commonly uses 1.6×; Micro Four Thirds uses 2×.
These are starting points for stationary subjects, not safety guarantees. High-resolution files, close subjects, heavy cropping and unsteady handling may need twice or four times that speed.
Use the actual lens focal length before applying the crop factor.
03Shutter-speed reference by focal length
Read these prose-table rows as actual focal length: full-frame starting speed / 1.5× APS-C starting speed, rounded to an available faster setting.
24mm: 1/25s / 1/40s. 35mm: 1/40s / 1/60s. 50mm: 1/50s / 1/80s. 85mm: 1/100s / 1/160s. 200mm: 1/200s / 1/320s.
If shake persists, double the denominator: 1/80s becomes 1/160s. For walking people, try 1/250s regardless of a wide lens; running subjects may need 1/1000s or faster.
04Build a steadier hand-holding position
Cradle the lens from underneath with your left palm and grip the body with your right hand. Rest your elbows lightly against your torso.
Stand with feet comfortably apart and one slightly forward; keep knees relaxed rather than locked.
Use the viewfinder as another contact point when available. Breathe normally, release the shutter gently during a comfortable pause after exhaling, and avoid a strained breath-hold.
Lean against a solid wall if safe. A short burst offers alternatives, but cannot replace a suitable shutter speed.
05Understand IBIS, lens IS and CIPA stops
IBIS moves the sensor; optical lens stabilisation moves lens elements. Compatible systems may coordinate both.
Canon documents up to eight stops for certain EOS R bodies and lens combinations under CIPA test conditions; this is not eight stops for every lens or photographer. Follow the model-specific footnotes.
Each stop doubles the potential exposure time: four stops from 1/125s is approximately 1/8s. That is arithmetic, not a promised usable speed.
Test your own keeper rate, and remember that stabilisation cannot freeze a moving face.
Worked example
06Worked example: a dim room at 50mm
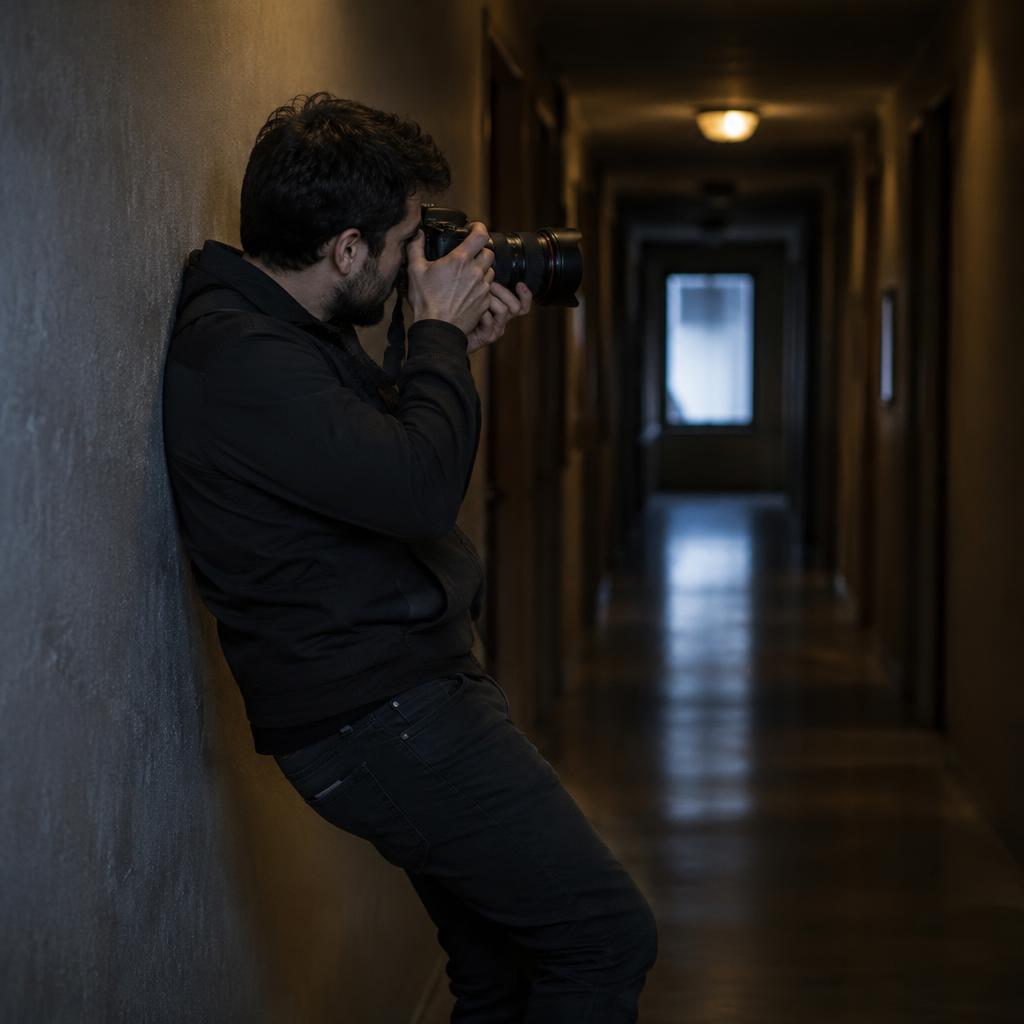
Imagine a stationary ornament, a full-frame camera, and a meter reading of f/2.8, 1/15s, ISO 400. At 50mm, that shutter is well below the reciprocal starting point.
Keep f/2.8 and change to 1/125s: three stops faster, approximately.
Raise ISO three stops to 3200 to preserve similar brightness. If the ornament becomes sharp, shake was likely involved.
With a stationary subject and effective stabilisation, you might instead test 1/30s at ISO 800. For a talking person, prioritise the faster exposure rather than assuming IBIS will solve movement.
07Raise ISO before accepting preventable blur
Higher ISO can make noise more visible and reduce highlight headroom, but a noisy sharp photograph is often more useful than a clean blurred one. ISO does not supply missing light; it changes how the captured signal is handled.
Try manual exposure with Auto ISO: set the aperture for depth of field and shutter for movement, then watch the ISO and histogram. If you reach your acceptable ISO limit, add light, open the aperture, or support the camera rather than repeatedly underexposing.
08Tripod, monopod or handheld?
Choose a tripod for architecture at night, multi-second landscapes, or repeatable framing. Use a remote release or a two-second timer, secure the legs, and avoid a needlessly extended centre column.
Check the camera manual for tripod-specific stabilisation advice; systems differ.
A monopod helps support a long lens and reduces fatigue, but does not hold the camera motionless in every direction. Handholding suits quick changes and restricted spaces.
Even a tripod will not stop people moving during a long exposure.
Troubleshooting
09What a first sharpness diagnosis can look like
Illustrative scenario: a beginner photographs a shelf and a friend in the same dim room. Both look soft at 1/20s.
Raising the shutter to 1/160s sharpens the shelf, but the friend’s moving hand still blurs.
The photographer then tries 1/320s, raises ISO accordingly, and checks the eyes. The lesson is two separate problems, not defective equipment: camera movement affected the shelf, while subject movement required an additional shutter-speed increase.
Troubleshooting
10If photos remain soft, diagnose the pattern
If stationary edges across the frame show similar directional streaks, the cause is usually camera shake. If the room is sharp but the person smears, suspect subject motion.
If an ear or background is sharp while the eye is soft, check focus-point placement and depth of field.
Compare one supported frame with one handheld frame at identical settings. Then change shutter speed alone, compensating ISO.
Sharpening software cannot reliably reconstruct detail that never resolved; diagnose at capture before trying stronger editing.
FAQ
11FAQ: shaky hands and sharp photographs
Can software fix shake? Mild blur may improve, but severe doubled edges rarely become dependable fine detail. Keep the original file and judge any enhancement carefully.
Does a heavier camera help? Sometimes, but fatigue can make steadiness worse. Grip comfort and support matter more than a universal weight target.
Do persistent hand tremors mean giving up photography? No. Try supported shooting, a remote release and lighter equipment. New or worsening tremors are a healthcare question, not something a camera tutorial should diagnose.
12A 15-minute sharpness drill
Minutes 0–3: choose a stationary printed label in steady light and set focus carefully. Minutes 3–7: at 50mm full-frame equivalent, photograph five frames each at 1/30s, 1/60s and 1/125s, adjusting ISO for similar brightness.
Minutes 7–11: repeat using tucked elbows and support. Minutes 11–15: compare at equal magnification and count sharp frames out of five.
Record your most reliable speed, then repeat with stabilisation enabled if available. The target is a dependable keeper rate, not your single slowest lucky frame.
Sources & further reading
These references support the technical explanations. Exercises and starting settings are illustrative and should be adapted to your equipment and conditions.
- Nikon: How to hold your DSLR camera
- Nikon: Understanding shutter speed
- Nikon: Capturing or freezing motion
- Nikon School: Photography working notes
- Canon: Image stabilisation explained
- Canon: Eight-stop stabilisation and test conditions
Free resources from LensSuite
Was this guide helpful?
