



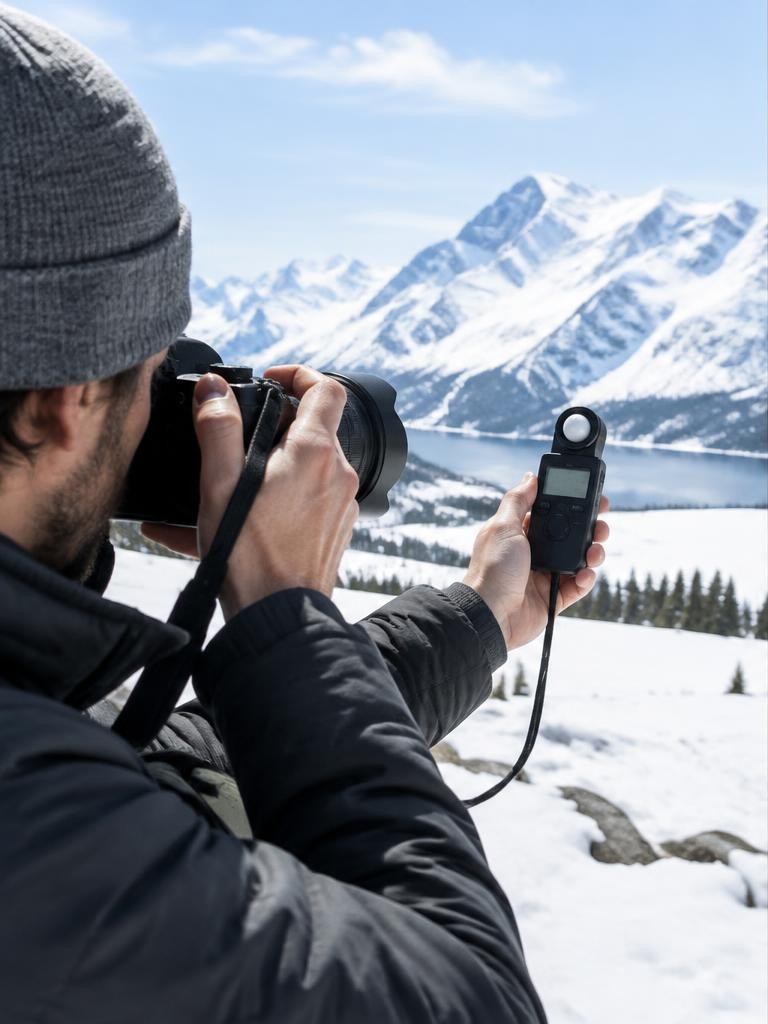
EV stands for exposure value. It can describe a shutter-and-aperture combination, or express a difference on an exposure scale. A change of one EV is one stop: a factor of two. On an exposure-compensation control, +1 EV requests a brighter result than the camera’s metered recommendation, while −1 EV requests a darker one. The potentially confusing part is that a higher absolute settings EV describes a combination admitting less light for the same scene. Positive exposure compensation does the opposite of that numerical increase: it asks the camera to increase the exposure or rendered brightness relative to its baseline.
01Separate three uses of the same unit
An absolute settings value combines aperture and exposure time. A compensation value is an offset from the camera’s recommendation.
A specification such as an autofocus detection limit describes the illumination under which a manufacturer reports operation, with conditions attached.
These numbers are not interchangeable. A camera’s −6 EV focusing claim is not an instruction to set −6 exposure compensation.
Likewise, an exposure meter centred at zero does not prove that the scene must look medium-bright. Always ask whether the number describes settings, a relative adjustment or a tested operating range before interpreting it.
02Understand the settings formula
For an f-number N and exposure time t in seconds, settings EV = log2(N²/t). At f/1 for one second, the result is EV 0.
Halving the time or closing the aperture by one stop raises the settings value by one.
For example, f/4 at 1/64 second gives EV 10 because 16 divided by 1/64 equals 1024, or 2 to the power of 10. Real camera dials use rounded conventional values, so nearby settings may not produce perfectly exact arithmetic.
You rarely need the formula in the field; it mainly explains equivalent combinations.
03Keep ISO and EV100 distinct
The settings formula contains aperture and time, not ISO. When a light level is quoted as EV100, it is referenced to ISO 100.
A scene-brightness statement therefore needs a sensitivity convention and metering context; an isolated number can otherwise be ambiguous.
Changing ISO does not change how many photons arrive during a fixed aperture and shutter exposure. It changes the camera’s sensitivity setting and image-processing or amplification behaviour.
With automatic exposure active, however, changing ISO may cause the camera to select a different shutter time or aperture, indirectly changing the captured light.
04Learn stops through practical doubling
At fixed aperture and scene light, changing from 1/500 to 1/250 second doubles exposure: one stop more light. At fixed time, opening from f/4 to approximately f/2.8 also doubles exposure.
Doing both gives four times the exposure, or two stops.
A one-third-stop control divides a stop into smaller increments. Three clicks equal one stop when the camera is configured that way.
Doubling ISO commonly increases image brightness by about one stop when other settings remain fixed, but it does not collect twice as much light. That distinction matters when diagnosing noise and highlight limits.
05Use exposure compensation in automatic modes
In aperture priority, you choose aperture and the camera commonly adjusts shutter time; compensation biases its recommendation. In shutter priority, the aperture commonly changes instead.
Auto ISO can alter which variable moves, so inspect the displayed settings.
Nikon’s D850 manual describes positive compensation as generally brightening the subject and negative compensation as darkening it. It also notes that the adjustment can persist after switching off.
Check and reset it when appropriate. Compensation is not a separate light source: the camera must have room to change an available setting, and limits can prevent the requested adjustment.
06Know what happens in manual exposure
With manual shutter, aperture and fixed ISO, exposure compensation generally cannot change the captured exposure. On Nikon’s D850, the manual specifies that it changes the exposure indicator rather than the selected shutter or aperture.
Other models and special modes require their own manual check.
Manual exposure with Auto ISO is a different case: many cameras can respond to compensation by changing ISO while keeping your chosen shutter and aperture. Do not assume identical operation across brands or firmware.
Watch the actual ISO value and review the image to establish what your camera is doing.
07Recognise when the meter needs interpretation
A reflected-light meter evaluates light coming from the scene, not the scene’s intended appearance. A mostly pale subject and a mostly dark subject can therefore need different treatment.
Sophisticated metering helps, but it cannot always know whether a white wall should look white or whether a silhouette is intentional.
Use compensation as a considered correction, not a permanent recipe. Snow may need positive compensation; a dark stage scene may benefit from negative compensation to protect spotlit detail.
The amount depends on framing, metering mode and light. Check actual highlights rather than applying the same offset everywhere.
08Check the histogram and the important highlights
Begin with a test frame and review the histogram or highlight warning if available. Look for loss of detail in important bright areas, not merely whether the histogram touches an edge.
A bright lamp may clip acceptably while a wedding dress or face should retain usable information.
The camera preview and histogram usually reflect a processed rendering rather than the entire RAW latitude. Use them as practical warnings, not perfect measurements of recoverable data.
RAW files provide editing flexibility, but cannot reliably restore information that was never recorded. Choose exposure to support the subject and required output.
Worked example
09Hypothetical worked example: a pale winter scene
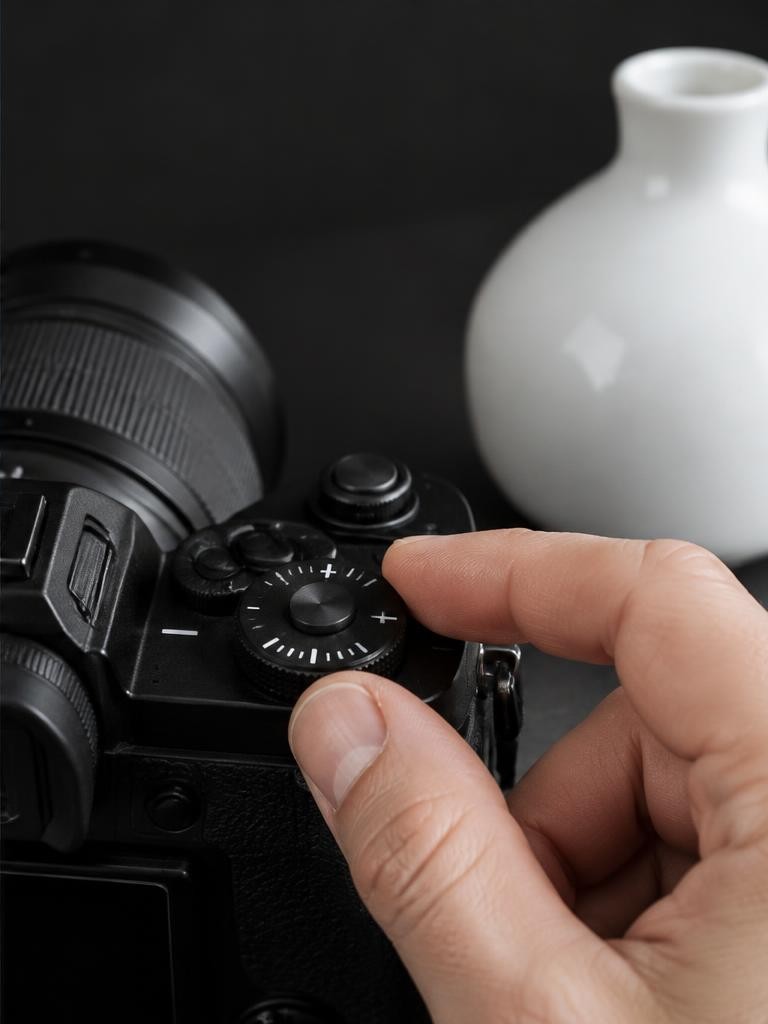
Suppose aperture priority at f/8 and ISO 100 meters a snowy path at 1/500 second, but the snow looks too grey. You apply +1 EV.
If shutter time is the variable the camera changes, it moves to about 1/250 second. That doubles the captured light while keeping aperture and ISO fixed.
If the snow still needs brightening, +1⅔ EV would suggest roughly 1/160 second from the original baseline. Inspect texture and highlights before accepting it.
If a moving walker becomes blurred, you may need higher ISO or a wider aperture to preserve a faster shutter. This example is hypothetical, not a universal snow setting.
10An illustrative story: the forgotten offset
Imagine a learner photographing a dark theatre rehearsal. They choose negative compensation to preserve detail on a brightly lit face.
The next morning, their garden photographs look unexpectedly dark even though the meter appears to be operating normally.
They inspect the controls and discover that the earlier offset remains active. Resetting compensation removes the unintended bias.
This fictional story illustrates why a quick pre-session check matters: an exposure problem may come from a remembered control setting rather than damaged equipment, insufficient light or a need for a different camera.
Troubleshooting
11Troubleshoot a control that seems ineffective
If compensation changes nothing, first check the exposure mode and whether ISO is fixed. Then inspect whether the camera has reached its slowest shutter, widest aperture or ISO limit.
Exposure lock, bracketing or unusual custom settings may also affect the result.
Flash adds another distinction: ambient exposure compensation and flash exposure compensation are not always independent, and their interaction varies. Nikon’s documentation explicitly describes configurable behaviour.
Consult the model manual rather than assuming a universal rule. Finally, compare actual files, because automatic screen brightness can make an exposure change harder to judge on the rear display.
FAQ
12FAQ and a five-frame learning exercise
Is EV the same as ISO? No; ISO is a sensitivity setting, while EV describes settings or a stop-based difference. Does +2 EV mean twice as bright? It requests a two-stop change, equivalent to a factor of four, subject to camera limits and processing.
For practice, photograph a static scene in aperture priority at −2, −1, 0, +1 and +2 EV, keeping ISO fixed. Record the shutter times and inspect highlights. Then repeat in manual mode with fixed ISO. Explain why the second sequence behaves differently, using your camera’s manual to confirm the control’s operation.
Sources & further reading
These references support the technical explanations. Exercises and starting settings are illustrative and should be adapted to your equipment and conditions.
Free resources from LensSuite
Was this guide helpful?
