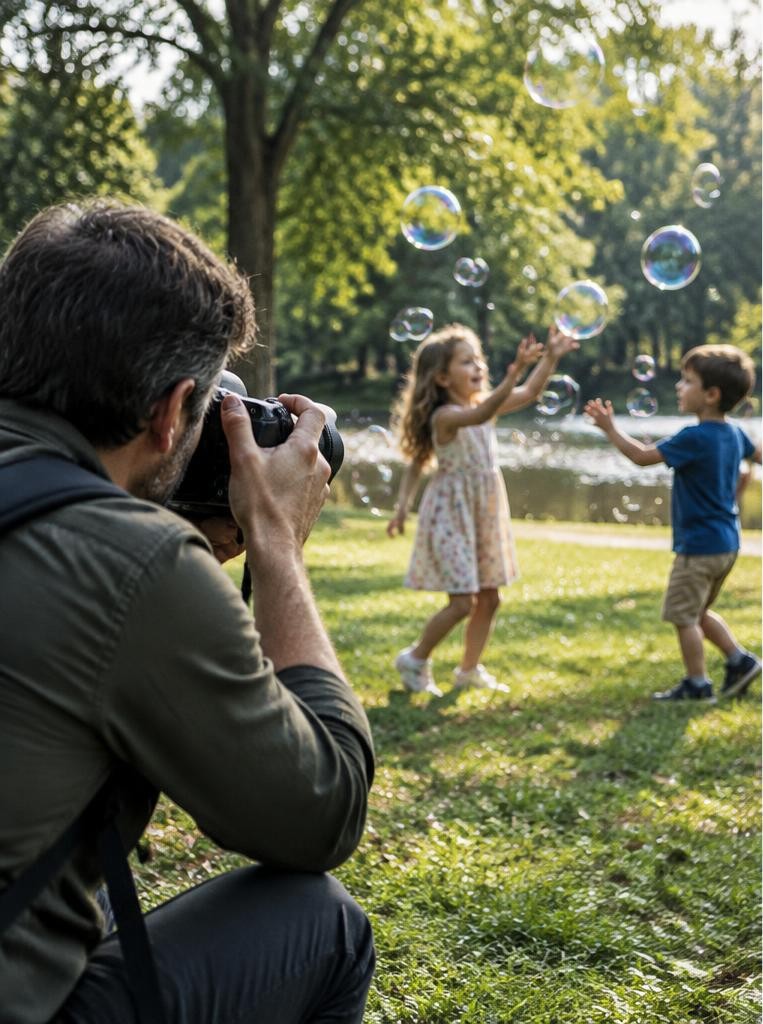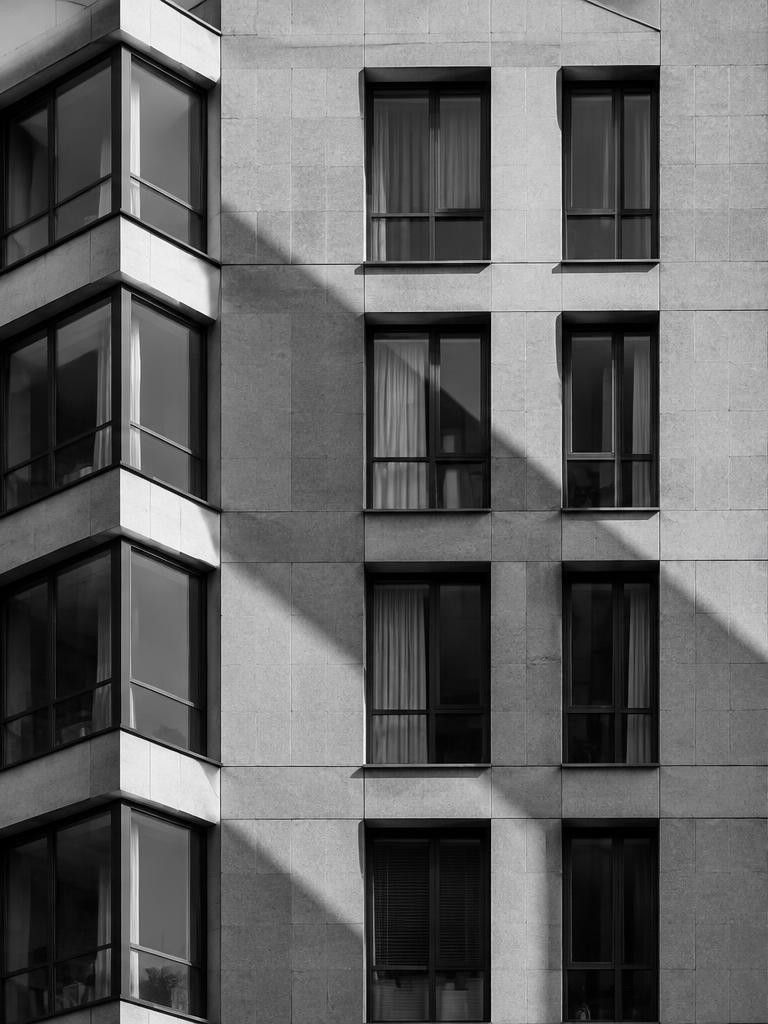
Straight photography is an approach that emphasises qualities associated with the photographic medium: clear description, tonal relationships, detail and forms found through the camera. Historically, it opposed approaches that made photographs resemble paintings through soft focus and extensive manipulation. It does not mean that a photograph has no author, no interpretation or no processing. The photographer still selects a subject, viewpoint, moment, exposure and final presentation. A useful working definition is a direct photographic rendering shaped primarily through observation and camera-based decisions rather than an imitation of another art medium. Historical usage varies, so avoid treating it as one universally enforced technical rule.
01Start with the historical contrast: Pictorialism
Pictorialist photographers sought artistic expression using approaches that could include soft focus, atmospheric effects and manipulated printing. Straight photography developed partly through disagreement about whether photographic art needed to borrow painting’s visual conventions.
This was not a simple contest between honest and dishonest images. Both approaches involved deliberate artistic choices.
MoMA’s account of Camera Work describes Alfred Stieglitz’s movement from an early commitment to soft-focus, heavily manipulated Pictorialist images toward a theory favouring an unmanipulated camera image and found abstraction. That evolution is more informative than a blanket claim that all early art photography lacked directness.
02Stieglitz, Camera Work and Paul Strand
MoMA identifies Camera Work as Stieglitz’s influential photographic quarterly, published from 1903 to 1917. Its changing contents record debates about photography’s relationship to modern art.
The museum notes that the final issue featured a portfolio by Paul Strand.
These details help locate straight photography within a developing conversation rather than a sudden invention by one person. Tate similarly describes Stieglitz moving away from a decorative, soft-edged Pictorialist style and discusses The Steerage, made in 1907, as an important modernist benchmark.
Do not infer that every image or photographer associated with modernism used the same methods.
03Group f.64 gave the approach a clear identity
SFMOMA dates the formation of Group f.64 to an Oakland gathering in 1932 and names Ansel Adams, Imogen Cunningham and Edward Weston among its figures. The group rejected prevailing Pictorialism and pursued photographs of clarity and beauty using the medium’s own strengths.
Its name refers to a small lens aperture associated with extensive depth of field in the equipment context of its members. That name is a historical statement, not an instruction for every digital photograph.
SFMOMA also notes that the group lasted less than a year, although its influence endured well beyond its formal existence.
04Look for visual characteristics, not a filter
Common characteristics include precise textures, intentional tonal structure, clear spatial relationships and close attention to ordinary things. A leaf, building or face can become compelling through shape and light rather than theatrical effects.
Abstraction can arise from a real subject photographed directly.
No single contrast curve or monochrome preset makes an image straight photography. A heavily sharpened image can still be visually confused, while a quiet print may express the approach convincingly.
Ask how the photograph uses description, framing and light. The relevant qualities belong to the image’s construction, not merely its surface finish.
05Distinguish straight photography from documentary work
Documentary photography is usually defined by its purpose of describing people, events or conditions. Straight photography concerns an aesthetic and historical approach.
They can overlap, but neither automatically guarantees the other. A carefully arranged still life may use direct photographic language without documenting an unstaged event.
A sharp photograph can still mislead through selective framing, missing context or an inaccurate caption. Conversely, documentary work can include motion blur or other expressive qualities.
If factual credibility matters, explain the circumstances of making the picture and follow the relevant editorial standards rather than treating a historical style label as proof of truth.
Troubleshooting
06Do not mistake directness for zero processing
Every photograph involves interpretation somewhere in the process. Film development, printing paper and tonal decisions affect the result, just as digital demosaicing, white balance and output settings do.
Straight photography is not usefully reduced to an untouched file coming directly from a camera.
For a contemporary exercise, adopt a clear working boundary: make the main decisions in camera, then use restrained tonal and colour adjustments that preserve the scene’s content. Avoid adding objects or using generative replacement.
This is a practical learning convention, not a claim that all historical practitioners followed one identical processing policy.
07Choose equipment for clarity, not historical imitation
A phone, mirrorless camera or film camera can support a modern direct-photography exercise. Choose equipment that lets you control framing, focus and exposure reliably.
A tripod is useful for static subjects when longer exposures allow a lower ISO or more depth of field.
Do not copy f/64 without considering format and diffraction. On many smaller-format digital systems, such an aperture is unavailable or would seriously soften detail.
Select a moderate aperture appropriate to your equipment, inspect the file and adjust. Historical principles can guide observation without requiring you to reproduce historical cameras, materials or exact settings.
08A practical sequence for making a direct photograph
First choose an ordinary subject with visible form or texture. Study it from several positions before setting up.
Second identify where light reveals the surface: side light may describe grain or folds, while diffuse light may preserve subtler tonal differences.
Third arrange the frame so edges, overlaps and background support the subject. Fourth choose focus and depth of field, then expose to retain important detail.
Make one deliberate variation in viewpoint or light and compare. Finish with modest processing and a factual caption.
The goal is attentive description rather than making a dramatic effect carry an otherwise weak observation.
Worked example
09Hypothetical worked example: a weathered door
Suppose you photograph a weathered wooden door as a modern study of texture and geometry. You choose oblique morning light that reveals grain without casting a deep shadow across half the frame.
A nearly parallel camera position keeps the rectangular structure clear, and you exclude a bright parked vehicle at the edge.
Using a tripod, you start at ISO 100 and f/8, then select a shutter time from the actual light and inspect highlight detail. Focus carefully and check whether the whole intended surface is readable.
In editing, you adjust overall tone without replacing boards or removing damage. This is a hypothetical contemporary exercise, not a reconstruction of an archival photograph.
10An illustrative story: observation replaces effects
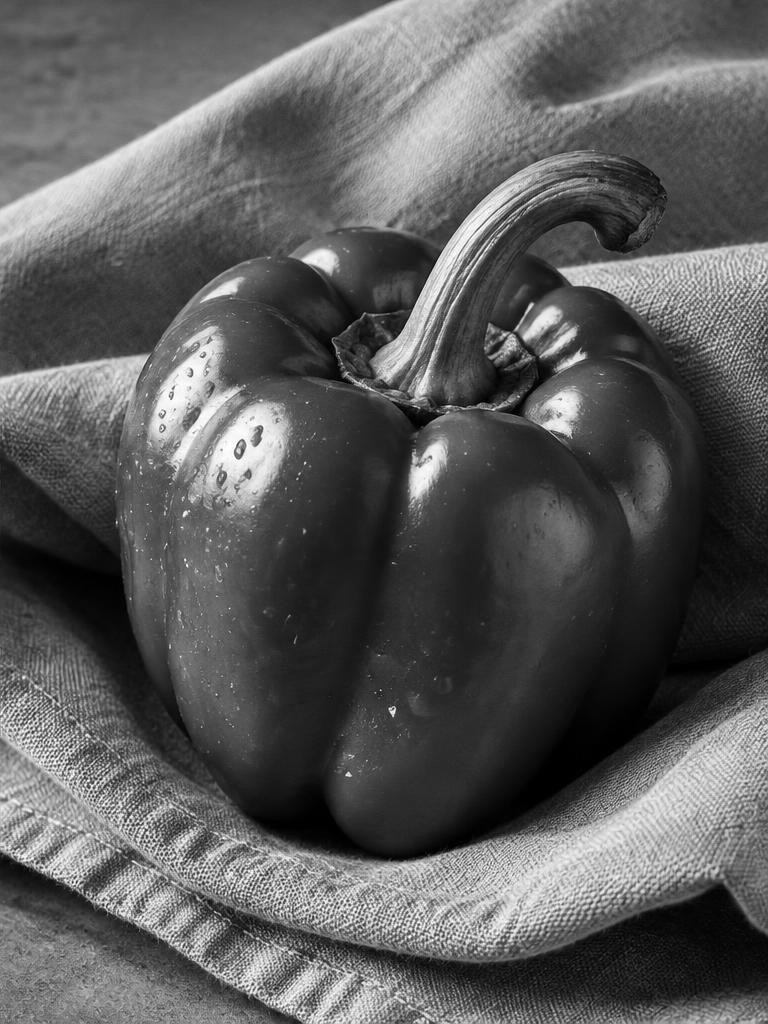
Imagine a student who photographs a cabbage and immediately applies a vintage filter, heavy grain and dark corners. The result looks old, but the leaf structure is difficult to see.
They remove the effects and return to the subject beside a window.
By rotating the cabbage and moving the camera, they find repeating folds separated by soft shadows. A simpler exposure now carries more visual information than the original treatment.
This invented story is not about a historical photographer; it illustrates the difference between borrowing an old-looking finish and learning to see form through a direct photographic approach.
Troubleshooting
11Troubleshoot flatness, softness and historical overclaims
If the picture looks flat, inspect the relationship between light direction, surface and viewpoint before increasing contrast globally. If detail looks weak, check focus, vibration, diffraction and output sharpening separately.
More contrast cannot recover genuinely missing detail.
If the photograph feels like an exercise in sharpness alone, ask what its shapes and relationships reveal. Historical descriptions also need care: avoid calling any clear image a Group f.64 work or presenting a newly generated monochrome illustration as an archive.
Label modern educational illustrations explicitly, and use museum collection records when discussing a particular historical object.
FAQ
12FAQ and a two-image exercise
Must straight photography be black and white? No; monochrome is strongly associated with many historical examples, but direct photographic description is not limited to it. Is staging always forbidden? Not as a universal definition; distinguish an aesthetic exercise from documentary claims and disclose relevant arrangements.
Make two pictures of one ordinary object. For the first, use viewpoint, light and framing alone to reveal its structure. For the second, intentionally pursue a painterly or heavily processed interpretation. Compare what each approach communicates without ranking one as inherently truthful. Caption both accurately, and explain how your first image relates to the historical principles rather than claiming historical authenticity.
Sources & further reading
These references support the technical explanations. Exercises and starting settings are illustrative and should be adapted to your equipment and conditions.
- MoMA: Camera Work, a Photographic Quarterly
- SFMOMA: Around Group f.64: Legacies and Counterhistories
- Tate: A–Z of Modernist Photography
Free resources from LensSuite
Was this guide helpful?