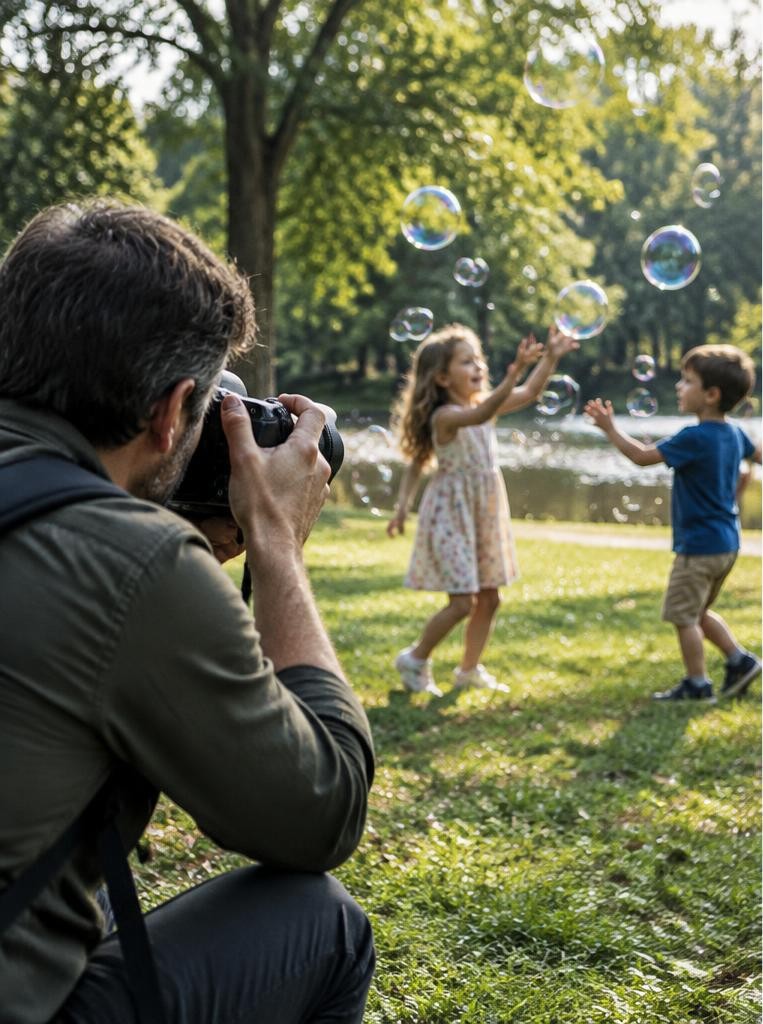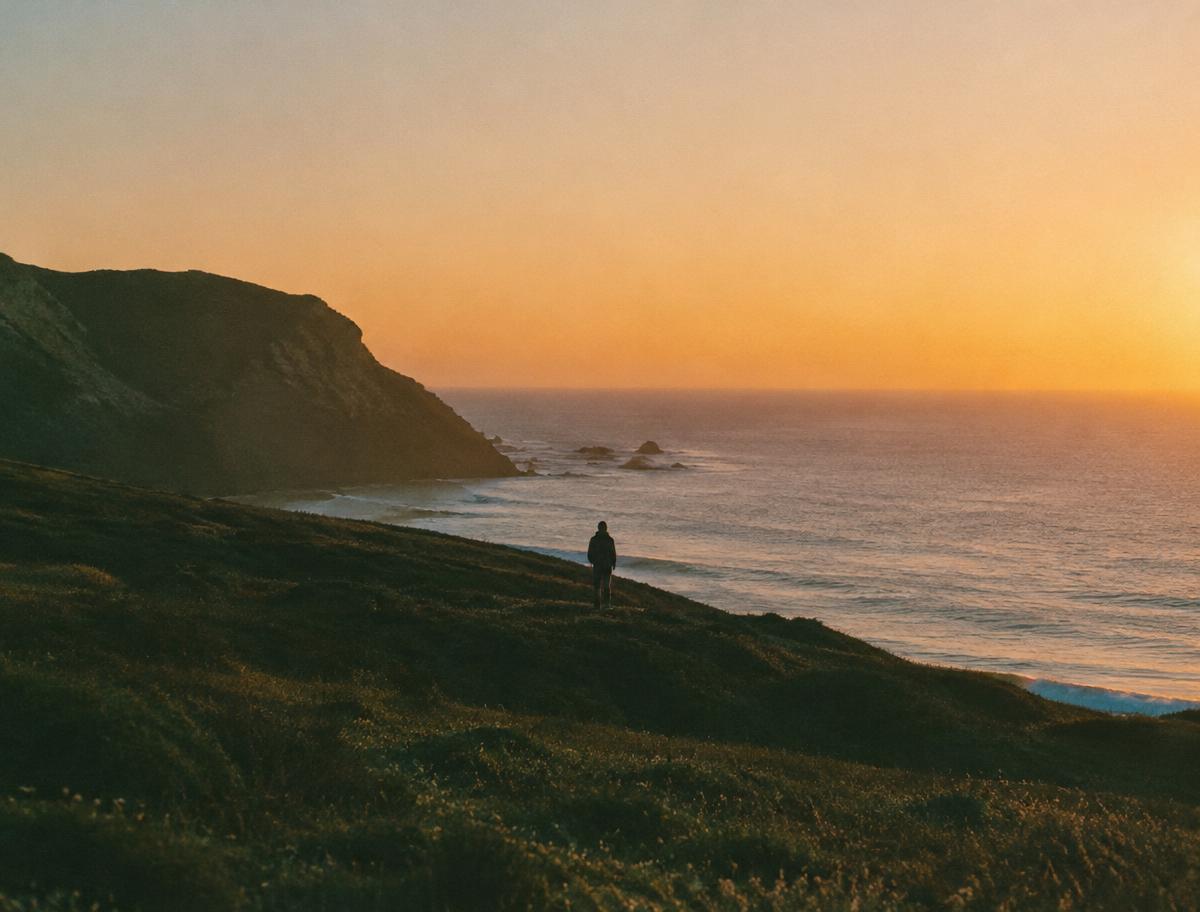
Landscape photography is the photographing of scenery — usually broad outdoor space, though people, animals and buildings may sit inside the frame. It is one of the widest genres in photography precisely because it is defined by what you point the camera at rather than by a fixed set of settings: the same approach covers mountains, coastlines, deserts, cities and the sky after dark. What ties it together is planning. A portrait client can be rescheduled; a mountain in good light cannot. So the discipline is less about a magic aperture than about being in the right place, with the right expectations, when the light does something worth photographing.
01The main kinds of landscape photography
Natural landscape covers mountains, forests, deserts and rivers. Urban landscape turns the same eye on cities, architecture and streets.
Seascape is the coastal branch — shore, water and weather — and aerial landscape is a view from above, whether from a drone or an aircraft. Night landscape is made after dark, often with the moon, stars or artificial light in the frame, and panoramic describes a wide view, frequently built by stitching several frames together.
These labels describe different things — subject, viewpoint, or time of day — so one photograph can sit in several at once. A stitched coastal scene shot at dusk is panoramic, seascape and night work simultaneously.
02The settings that matter, and why
For a still scene where you want both a nearby rock and a distant ridge acceptably sharp, photographers commonly work around f/8 to f/11. Stopping down increases depth of field, but the smallest aperture is not automatically the sharpest one: diffraction softens fine detail at very small openings, which is why Canon's own landscape advice suggests testing f/16 rather than reaching straight for f/22, and checking whether f/11 looks better still.
Shutter speed is your water control. A fast exposure keeps texture in a breaking wave; a long one blurs movement from slight softening to a smooth flow, and Nikon's examples run from about half a second to several minutes.
ISO follows the same logic as anywhere else: use the camera's lowest native setting when the scene and tripod allow it, and raise it only when the light or movement demands a faster shutter.
03Why a tripod earns its place in the bag
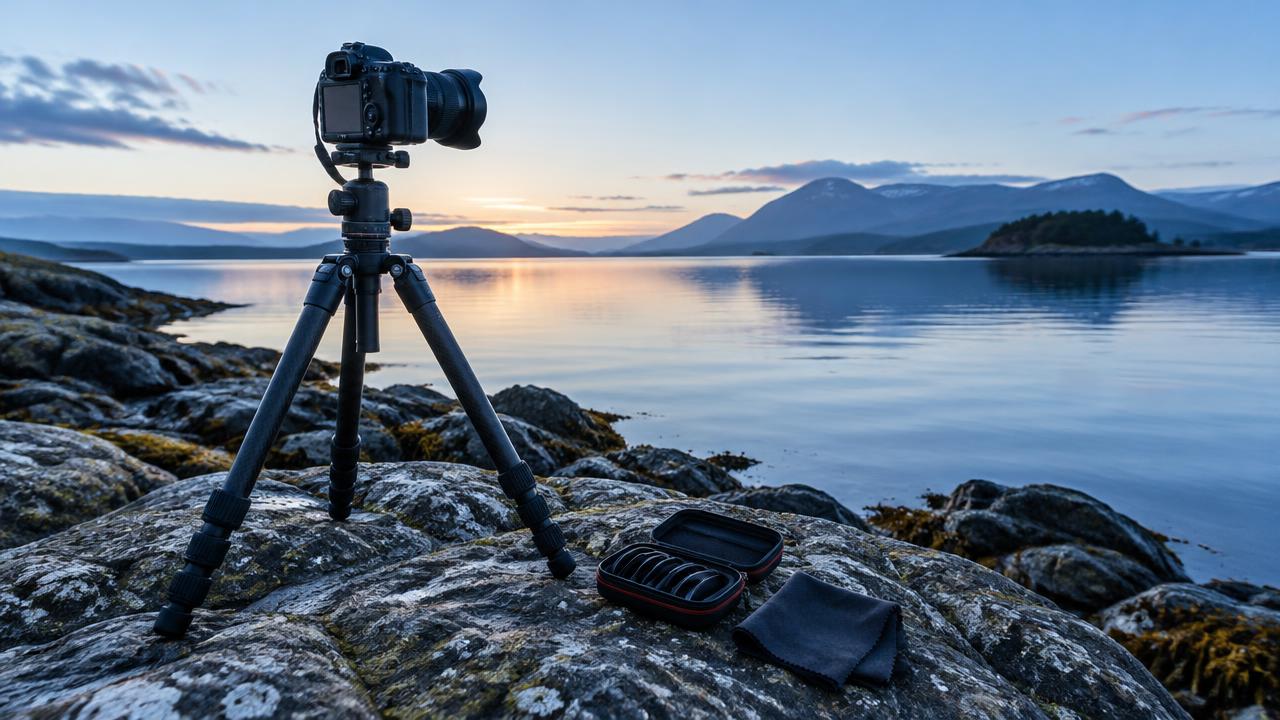
A tripod does two jobs. It stops camera movement during longer exposures, which is what makes the smooth-water look practical at all.
And it slows you down: with the camera fixed, you can study the frame, move one element, and check the near and far edges of the image instead of shooting a rapid series of near-identical views.
It is not mandatory. Handheld landscape work is absolutely possible in decent light, and a phone on a ledge will do for many scenes.
But if you want long exposures, low ISO in dim conditions, or frames you can repeat exactly for stacking, a stable support is the single most useful purchase.
04Hyperfocal distance and focus stacking
Hyperfocal distance is the focus distance that, for a given focal length and aperture, pushes the zone of acceptable sharpness as far forward and back as that combination allows. It is a real tool when you want a broad slice of the scene sharp, and its behaviour depends on lens, focal length, aperture and the sharpness standard you assume — which is why “focus one third into the scene” is a rough shortcut, not a reliable substitute for checking.
Focus stacking goes further: several frames focused at different distances, merged so apparent sharpness extends past what one exposure can give. It matters when a very close foreground and a distant background both need detail and stopping down further would cost you more to diffraction than it returns in depth.
05Filters: what they do, and where they stop
A circular polariser is the one filter that does something software cannot: rotating it suppresses glare and reflections from non-metallic surfaces like water and foliage, and can deepen blue sky at suitable angles to the sun. Its effect changes with your position and the light, and it will not remove every reflection — a wet rock may still gleam.
A graduated neutral-density filter is darker on one half and fades to clear, holding back a bright sky while the land exposures normally. It is useful when sky and ground exceed what one exposure can record, and awkward when the boundary crosses irregular shapes such as mountains or trees, where the transition line becomes visible.
Neither is essential for learning the genre.
06Light: golden hour, blue hour and the overcast day
Golden hour is the period around sunrise or sunset when low-angle sun gives warmer tone and long shadows; blue hour is the twilight window after the sun has dropped below the horizon, when the ambient light takes on a blue cast. Both shift with latitude and date, so a time copied from someone else's post will be wrong for your location.
Overcast light is the underrated option. Cloud cover removes harsh contrast and changes a scene's character entirely — it is also the conditions in which long-exposure water studies usually work best, because the even light lets a slow shutter do the talking.
A sun-position planner lets you check direction, sunrise, sunset and twilight for a specific place and date before you drive anywhere.
07An illustrative dawn at the shoreline
This walkthrough is written to show the decision order, not to report a real morning. You arrive forty minutes before sunrise at a rocky coast, tripod over one shoulder.
The first frames at f/8, base ISO and handheld give 1/30 sec — too slow for the detail you want, so the tripod comes out and the camera drops to ISO 64.
You set the horizon low because the wet sand and its reflections are the interesting half of the scene, then crouch until a dark rock sits in the lower third as an anchor. Focus goes on that rock rather than the horizon, and you check the far ridge on the back screen at full zoom.
As the sun clears the headland, a polariser kills the glare on the shallow water and the sky deepens. Nine frames, taken slowly, beat ninety rushed ones — and the best of them is the one you noticed only after you sat down and looked again.
08Four composition habits that lift a landscape
Foreground interest does the most work of any single habit: a rock, a band of plants or shoreline texture gives the eye somewhere to start and makes a flat scene feel three-dimensional. Canon's seascape advice points the same way, asking you to consider foreground, middle ground and background as separate layers rather than one blur of scenery.
Leading lines — a path, a fence, a receding shoreline — carry the eye through the frame. Scale needs a reference: a person, a boat or a lone tree tells the viewer how large the valley actually is.
And the horizon wants a decision: place it where the important half of the scene gets the space, keep it level, and use the camera's electronic level when it has one.
Worked example
09A worked example: planning a Saturday shoot
Pick a location you can reach in an hour. Look up sunrise for that exact place and date — roughly 07:10 in much of the northern hemisphere in late autumn — and plan to arrive 45 minutes early so you can set up during blue hour.
That gives you a scene that changes every few minutes without you moving.
Budget the time: twenty minutes to learn the ground and choose two frames, thirty minutes shooting as the light warms, and ten minutes checking both near and far edges of each keeper at full zoom on the screen. Total outing: about two hours.
The cost is an early alarm and a hot drink in a flask; the alternative is arriving at noon and photographing a scene that never had a chance to look interesting.
Troubleshooting
10Common beginner mistakes
The most cited one is a frame with no foreground: a wide view of distant hills with nothing near the camera reads as flat, which is exactly what Canon's landscape tips ask you to reconsider. The second is reaching for the widest lens for everything — standard and telephoto focal lengths compress distance and isolate detail in ways a wide angle cannot.
The technical trio: assuming the smallest aperture is sharpest when diffraction says otherwise, trusting the one-third focus shortcut in scenes that need a real check, and treating a filter or tripod as a rule rather than a tool you pick up when the job calls for it.
Troubleshooting
11When something looks wrong: a quick diagnosis
Soft distant detail with a sharp foreground usually means focus landed too close, or the aperture was stopped so far down that diffraction took over — refocus deliberately on something in the near third and try one stop wider.
A sky that blocks up while the land is well exposed points at a brightness range beyond one exposure: try a graduated filter, expose for the sky and recover the land from a raw file, or bracket. Water that looks frozen rather than flowing means the shutter was too fast for the effect you wanted — add a tripod and a slower speed.
A tilted horizon that only appears at home is a framing habit, not a camera fault: use the level while you shoot.
FAQ
12Common questions about landscape photography
What lens should I use? Start with what you own. A wide angle is useful for expansive views, and 28mm or wider is a common suggestion, but standard and long focal lengths make landscapes too — and the equivalent angle depends on your sensor format.
What aperture? Try around f/8 to f/11 for a still scene, then check both ends of the frame at full zoom. Do not assume the smallest number available is the best.
Do I need filters? No. A polariser and a graduated ND solve specific problems; neither is required to learn the genre.
Can I shoot without a tripod? Yes, in reasonable light. You want one for long exposures, low-ISO dim work, and repeated framing for stacking.
13What to buy first
Nothing, if you have a camera or a phone and a window of good light. Learn framing, light and exposure on what you own before spending anything.
The usual first purchase is a tripod sturdy enough for your kit — entry-level travel models start around $45 at US retailers, while specialist wide-angle lens and tripod bundles run into four figures, so match the spending to the work rather than the brochure. Buy filters only once you have a specific, repeated problem they solve: glare you cannot edit out, or a sky that exceeds your sensor's range.
14Your first landscape checklist
Check sunrise, sunset and twilight for the exact place and date. Arrive before the light you came for.
Scout two frames before you set the camera up. Put something in the foreground.
Decide where the horizon goes and keep it level. Focus deliberately rather than trusting a rule of thumb.
Check the near and far edges of every keeper at full zoom.
Then shoot fewer, better frames. Landscape rewards the person who waited forty minutes for one good minute of light.
Sources & further reading
These references support the technical explanations. Exercises and starting settings are illustrative and should be adapted to your equipment and conditions.
- Amateur Photographer: Guide to landscape photography
- Canon Europe: Landscape photography tips
- Canon Europe: Hyperfocal focusing
- Canon Europe: Seascape photography tips
- Nikon USA: Understanding ISO sensitivity
- Nikon USA: Long exposures for moving water
- Nikon USA: Guide to lens filters
- Nikon USA: When to use graduated neutral density filters
- PhotoPills: Golden hour photography guide
- PhotoPills: Blue hour photography guide
- Digital Camera World: Landscape photography tips
Free resources from LensSuite
- The Exposure Triangle Cheat Sheet (free PDF) — start settings by subject
- Composition Rules — and When to Break Them — the framing side of a landscape
- Golden Hour Portraits: A Field Guide — reading low sun in the field
- Pre-Shoot Checklist (free PDF) — the bag check before you leave
- Browse all free resources
Was this guide helpful?