



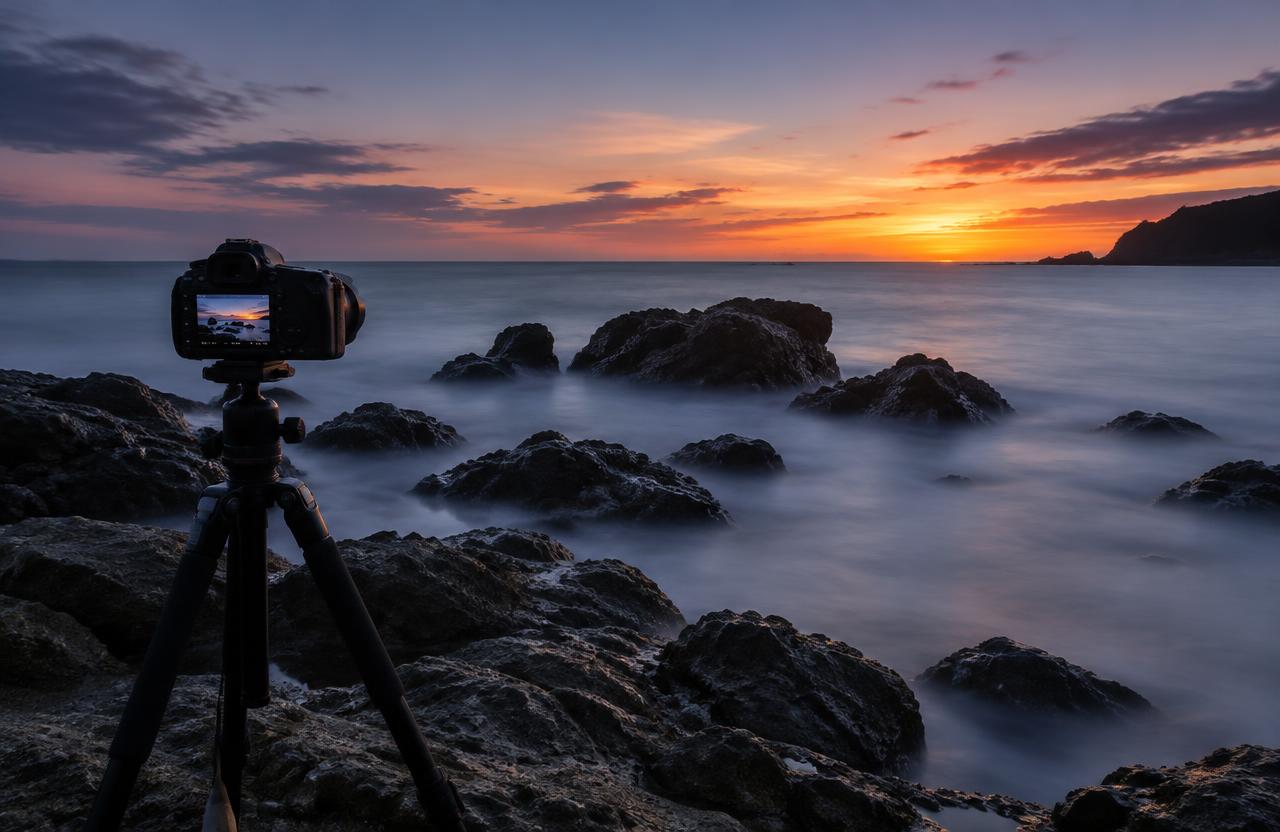
To take a long-exposure photograph, stabilize the camera, choose a shutter duration long enough to record the movement you want, and balance aperture, ISO, and any neutral-density filtration to avoid overexposure. Focus carefully, release the shutter without disturbing the camera, and inspect both stationary details and moving areas afterward. There is no universal duration that makes an exposure long. A quarter second can visibly blur fast water; several minutes may be useful for slow clouds. Nikon describes long exposure as using a slow shutter to combine an extended period into one image and emphasizes stable support and remote or delayed triggering.
01Choose the motion before choosing the settings
Decide what should move and what should remain recognizable. Flowing water, passing vehicles, clouds, waves, and crowds each behave differently.
A photograph becomes more coherent when motion supports the composition rather than merely demonstrating a slow shutter.
Include a stationary reference such as rocks, a bridge, or a building to make the blur legible. Then decide whether you want texture, continuous streaks, or a nearly smooth surface.
Longer is not automatically better: an exposure that removes every trace of a wave's structure can be less expressive than one that preserves some directional movement.
02Stabilize the camera safely
Use a tripod or another secure support suited to the camera, lens, and conditions. Extend the thick leg sections first where practical, avoid unnecessary center-column extension, and check that the ground will not shift during the exposure.
Keep the camera strap from flapping against the setup.
Use a remote release, an appropriate app, or the self-timer. A delay helps camera movement settle, but it does not prevent wind or unstable ground from causing blur afterward.
Check the manufacturer's recommendation for stabilization on a tripod. Near water or roads, prioritize footing and a safe position over a more dramatic angle.
03Set aperture and ISO for image quality
Begin with a low appropriate ISO and an aperture that provides the depth of field your composition needs. Around f/8 or f/11 is a useful landscape starting experiment, not a universal optimum.
Inspect near and distant details rather than assuming one aperture guarantees sharpness.
Do not close the aperture to its smallest setting merely to lengthen the exposure. Diffraction can soften fine detail, and the resulting shutter duration may still be too short in daylight.
Select aperture for the image's focus requirements, then use light level or filtration to achieve the desired time. Avoid automatic ISO silently counteracting your slow-shutter choice.
04Choose a shutter duration by experimentation
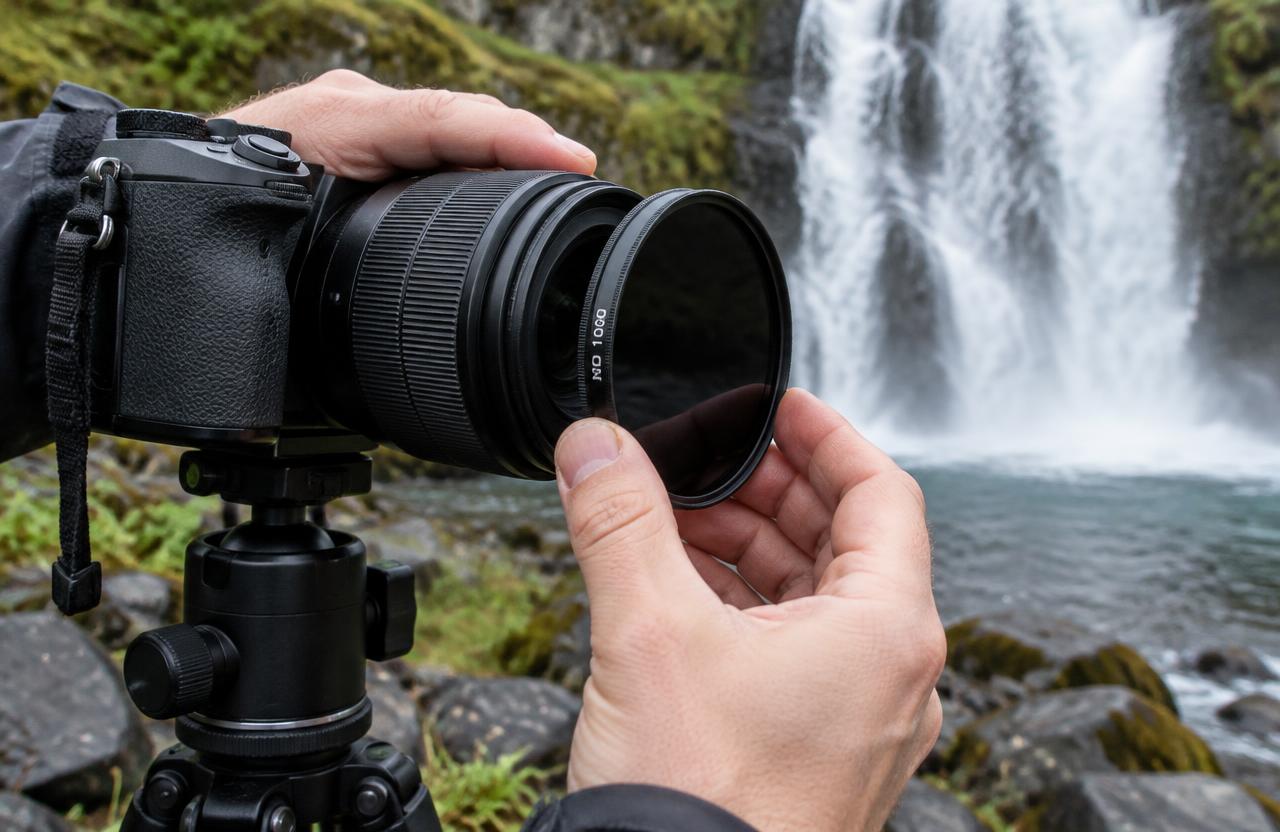
For textured water, start by comparing exposures around 1/4, 1, and 4 seconds when conditions allow. For traffic trails, several seconds may connect vehicle lights across the frame.
Slowly moving clouds may require much longer, depending on their speed, distance, and the lens's field of view.
These are starting comparisons, not exposure prescriptions. Keep brightness comparable by adjusting filtration or other settings when you change duration.
Inspect whether stationary edges remain clear and whether the moving area has the intended structure. If the water becomes featureless, shorten the exposure instead of trying to restore missing temporal detail in editing.
05Use manual exposure and Bulb correctly
Manual exposure makes it straightforward to hold aperture and ISO constant while selecting shutter duration. Many cameras provide timed exposures up to 30 seconds, but limits vary and some offer much longer built-in settings.
Check your model before assuming Bulb is necessary.
Bulb commonly keeps the shutter open while the release is held, though remotes and camera menus may latch or time it. Time mode, when available, often starts and ends exposure with separate presses.
Use a supported remote or built-in timer to avoid touching the camera. Bulb is a timing method, not a brightness setting; aperture, ISO, and duration still determine the result.
06Add neutral-density filtration when needed
A neutral-density filter reduces incoming light so you can use a longer shutter duration without making the image excessively bright. Focus and establish composition before fitting a very dark filter if live view or autofocus becomes unreliable.
Switch to manual focus afterward when appropriate.
Filter labels can be confusing: optical density 0.9 corresponds to three stops, while 3.0 corresponds to ten stops. Transmission-factor labels such as ND8 and ND1000 use another convention, so verify the manufacturer's stated stop reduction.
Variable ND filters can create uneven patterns or color shifts at extreme settings, especially with wider fields of view.
07A numeric filter calculation
Suppose the correct unfiltered exposure is 1/125 second at f/8 and ISO 100. A ten-stop filter ideally multiplies exposure time by 2 raised to the tenth power, or 1,024.
The adjusted time is 1/125 × 1,024 = 8.192 seconds, so about 8 seconds is a sensible starting point.
A six-stop filter instead multiplies time by 64, producing 0.512 second. These options create very different motion effects despite similar final brightness.
Actual filter transmission, changing light, and metering differences may require adjustment. Take a test frame, examine highlights, and refine rather than treating the arithmetic as a guarantee.
08An explicitly hypothetical seaside photograph
Imagine a hypothetical photographer working from a safe viewpoint above a rocky shoreline. They want streaking water around clearly defined rocks, not a completely misty sea.
After composing and focusing, they compare a short exposure with one lasting roughly a second.
The one-second image preserves directional water patterns, while a later eight-second experiment merges several waves into a smoother area. They choose the shorter version because it better supports the rock shapes.
This invented example illustrates an aesthetic decision, not a field test. The strongest duration is the one that describes the intended movement, not necessarily the longest the equipment permits.
09Inspect exposure, focus, and sensor artifacts
Review the histogram and highlight warnings, remembering that these often reflect the camera's processed preview rather than the raw file directly. Bright lamps or reflected sunlight can clip even when the overall scene looks dark.
Reduce exposure if important highlight detail is being lost.
Magnify stationary objects to separate camera shake from intentional subject blur. Extended exposures can reveal hot pixels and other artifacts, especially as conditions change.
Long-exposure noise reduction may capture a second dark frame of similar duration, keeping the camera occupied afterward. Read your camera's behavior before enabling it when timing or repeated captures matter.
Troubleshooting
10Troubleshoot common failures
If everything is soft, investigate wind, unstable support, accidental focus changes, condensation, or camera movement before blaming the shutter duration. If only moving elements blur, the camera may be working exactly as intended.
If color shifts appear, compare a frame without the filter and inspect white balance.
If an exposure looks washed out, check for flare, filter reflections, or light leaks through equipment openings where relevant. If the camera will not permit your chosen duration, inspect mode limitations and electronic-shutter restrictions.
If light changes during a minutes-long exposure, the original meter reading may no longer predict the accumulated result accurately.
FAQ
11FAQ and a reliable beginner workflow
Do you need an ND filter? Not at night or whenever available light already permits the desired duration. Should stabilization be off? Follow the instructions for your specific camera and lens. Can you photograph people? Yes, but they may blur, become translucent, or disappear depending on movement and how long they occupy each part of the frame.
For a repeatable workflow, compose, stabilize, focus, set aperture and ISO, measure an initial exposure, add filtration if needed, calculate duration, release remotely, and inspect. Make one deliberate adjustment at a time. Keep the version that best balances motion, detail, and composition.
Sources & further reading
These references support the technical explanations. Exercises and starting settings are illustrative and should be adapted to your equipment and conditions.
Free resources from LensSuite
Was this guide helpful?
