A wide lens is not automatically the best landscape lens. It includes more surroundings, but can make distant mountains look small. A normal lens may simplify a view, while a telephoto isolates layers, patterns or distant light. Start with what is missing from your photographs, not a universal ranking. For many beginners, the existing kit zoom is the best first learning tool. Use it at several focal lengths, review your images and find the recurring limitation. Buy a new lens only when you can explain the view it adds and the circumstances in which you will carry it.
01Compare equivalent fields of view
A full-frame 16–35mm range is a common broad landscape option; 24–70mm covers wide through short-telephoto views; 70–200mm isolates distant details. These are illustrative ranges, not recommendations for every camera.
Sensor size changes the field captured by a given focal length.
For an APS-C camera with a 1.5× crop factor, 16mm gives an angle of view similar to about 24mm on full frame. For a 2× system, 12mm gives a similar comparison.
The physical focal length does not change. Verify your camera's actual sensor format, mount and lens coverage before comparing products.
02Use wide lenses with a deliberate foreground
Wide angles help when a near rock, path or tree leads toward distant scenery. From close to the foreground, near objects occupy more of the frame relative to distant ones.
This can communicate depth, but empty foreground can make a wide image feel weak.
Look at all four corners for stretched forms and distractions. A polariser can produce uneven darkening across a very wide sky because its effect varies with angle.
Avoid adding a filter simply because it is associated with landscape work; check whether the specific scene benefits.
Try this
03Try standard and telephoto compositions
A moderate field of view can show a scene without making the foreground dominant. A telephoto can isolate a lit ridge or repeat patterns across fields.
If you repeatedly crop away half of a wide image, more reach may be more useful than an even wider lens.
Perspective depends on camera position. A longer lens narrows framing; it does not independently change the spatial relationship from an unchanged viewpoint.
To compare perspective effects, change distance and adjust focal length to keep a nearby subject similarly sized.
04Maximum aperture is not the whole decision
Static daylight scenes often allow moderate apertures and longer shutter times, so f/2.8 is not essential. A fast maximum aperture becomes more useful for stars, twilight, moving foliage or handheld work in low light.
It can add weight and cost, depending on the lens.
Try f/8 as a starting point for a scene with depth, then inspect near and far detail. Do not assume f/22 is always sharper: diffraction can reduce fine detail.
Focus position, format, output size and subject distance all affect the useful aperture.
05Consider carrying and filter practicalities
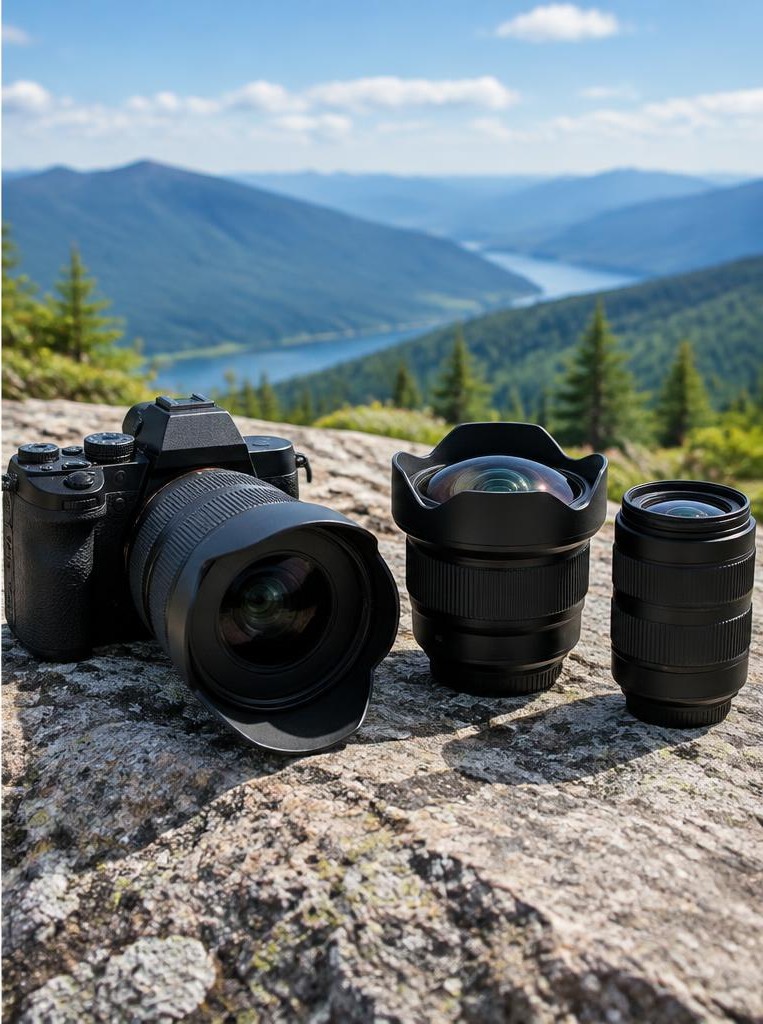
A lens left at home contributes nothing. Compare camera-plus-lens weight, bag space, filter diameter and whether the front element accepts ordinary screw-in filters.
A compact slower zoom may suit a long hike better than a heavy fast zoom.
Weather resistance is not waterproofing. Check manufacturer limits and protect equipment from rain, sand and salt.
Stabilisation can reduce camera shake, but cannot freeze leaves moving during a long exposure. Wind can shake a tripod too; shorten exposure or wait rather than treating support as a guarantee.
Try this
06A hypothetical three-lens exercise
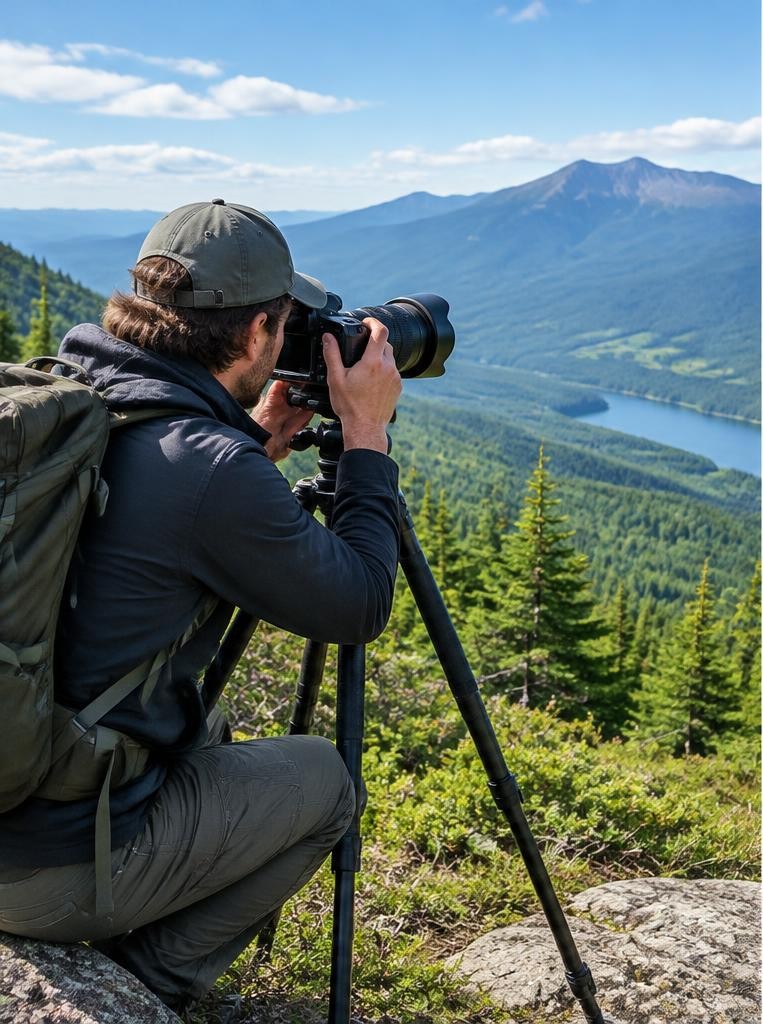
Imagine a photographer at one safe overlook. At 24mm equivalent, a foreground path leads toward a lake.
At 50mm, the path leaves the frame and the lake becomes the main subject. At 135mm, bands of light across a distant hillside form a quieter abstract image.
They compare the frames and notice that the telephoto view best matches their interest in light patterns. That observation leads to a different purchase than a generic wide-angle recommendation.
The scenario is illustrative; the same overlook could produce a different answer for someone focused on geography or night skies.
07Inspect a candidate before buying
Confirm mount, sensor coverage, autofocus support, adapter restrictions and return terms. If buying used, inspect elements, zoom action, aperture operation and fungus or haze.
Test on your own camera rather than assuming a lens name guarantees compatibility.
Rent or borrow through a legitimate service where practical. Make corner-to-centre comparisons at useful apertures, check flare with light near the frame and use realistic walking conditions.
A bench sharpness score does not describe handling, durability or whether the focal range matches your work.
FAQ
08FAQ and a buying decision
Do landscapes require ultra-wide lenses? No. Do primes always outperform zooms? No; compare particular products. Does crop factor change physical focal length? No. Does stabilisation replace a tripod for every long exposure? No.
Before buying, record the focal lengths of ten favourite landscape frames. Note where you ran out of view or reach, how much you cropped and whether softness came from motion or focus. Choose the compatible lens that fills that specific gap within a manageable kit, without invented prices or unsupported best-in-class claims.
Sources & further reading
These references support the technical explanations. Exercises and starting settings are illustrative and should be adapted to your equipment and conditions.
Free resources from LensSuite
Was this guide helpful?