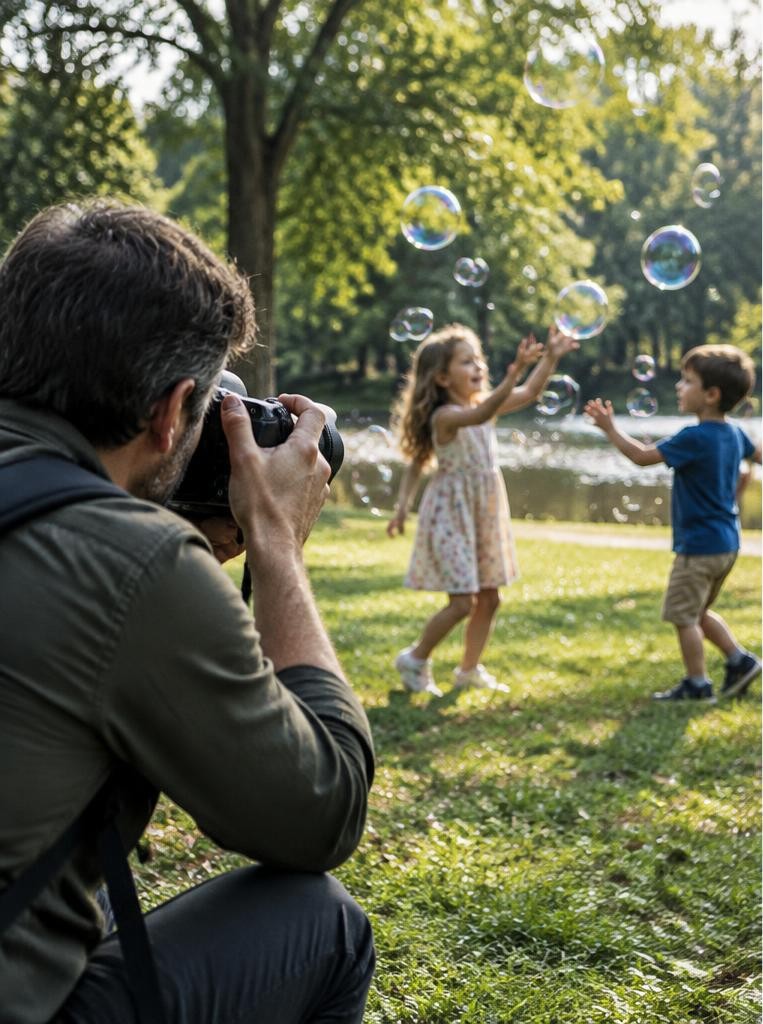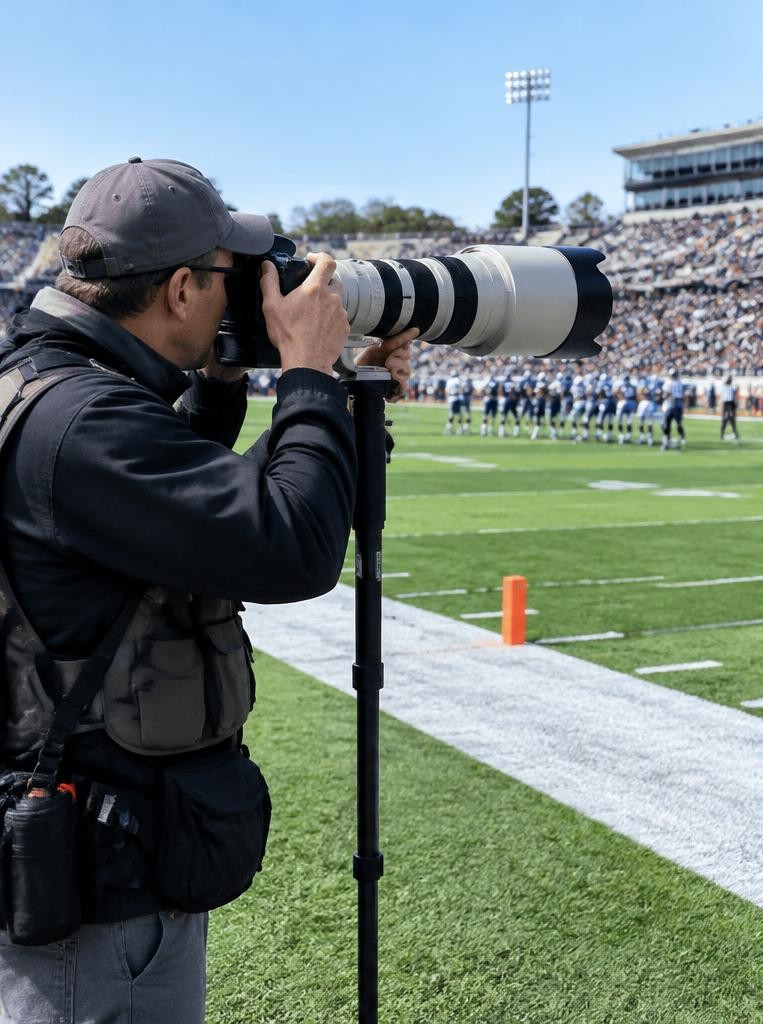
The best sports lens depends on where you may stand, how far the action is and how much light is available. An indoor basketball baseline and a distant football stand need different tools. Reach is useful only when the angle of view lets you follow the action without constantly losing nearby players. Learn venue rules first. Do not enter a playing area, block spectators or distract athletes to improve a photograph. A sensible lens fits your permitted position rather than encouraging unsafe proximity.
01Estimate reach with equivalent framing
A 70–200mm-equivalent range is a flexible starting point for many nearby field and court positions. A 100–400mm-equivalent range can help with distant daylight action.
A standard zoom or short telephoto prime may be better when indoor players come close. These ranges are examples, not universal prescriptions.
On a 1.5× crop sensor, 200mm frames similarly to 300mm on full frame. That does not change physical focal length or guarantee more resolved detail.
Sensor resolution, lens performance, focus and distance still matter. Check the manufacturer's format and compatibility information.
02Aperture buys shutter-speed flexibility
In dim venues, a wider maximum aperture helps maintain a fast shutter without raising ISO as much. Moving from f/4 to f/2.8 admits roughly twice the light.
At the same ISO and scene brightness, that can support about 1/1000 second instead of 1/500.
The trade-off is reduced depth of field, often greater weight and higher cost. Daylight action may work well with a slower variable-aperture zoom.
No lens aperture guarantees a sharp image; tracking and timing remain essential.
03Protect motion before chasing low ISO
Try around 1/1000 second as an illustrative starting point for fast action, then inspect hands, feet and equipment. Faster or slower settings may suit the sport and desired effect.
A slow shutter can produce intentional panning blur, but is not a substitute for freezing an important action moment.
If a frame at 1/1000 is too dark and the lens is already wide open, raising ISO may be the practical trade-off. A noisy but readable frame can be more useful than a clean-looking file with unwanted movement blur.
Judge at the intended output size.
04Autofocus belongs to the camera-lens combination
Check continuous-autofocus compatibility, tracking behaviour and focus acquisition in the actual light. A lens's motor specification alone cannot predict performance with every camera or firmware version.
Subject detection may choose the wrong athlete in a crowd.
Practise acquiring the subject before the peak moment. Use a tracking area that suits the background and the direction of movement.
Make short purposeful bursts, then inspect whether missed frames came from focus, motion, framing or timing. Diagnose before buying.
05Zoom flexibility versus prime consistency
A zoom helps when players approach and retreat while you stay in one position. A fast prime may suit a consistent distance, such as a designated court position.
Its narrower framing options can make nearby action difficult. Neither type is inherently superior.
Support matters too. A monopod can reduce fatigue with a heavy telephoto where permitted.
Stabilisation steadies the view and reduces some camera shake, but does not freeze an athlete. Secure straps and keep support equipment out of movement paths.
06A hypothetical daylight-to-gym comparison
Imagine a photographer covering school football from an authorised sideline. Their kit telephoto works in daylight at a fast shutter, but loses flexibility as evening arrives.
They note which focal lengths produced useful frames rather than assuming every distant play must fill the image.
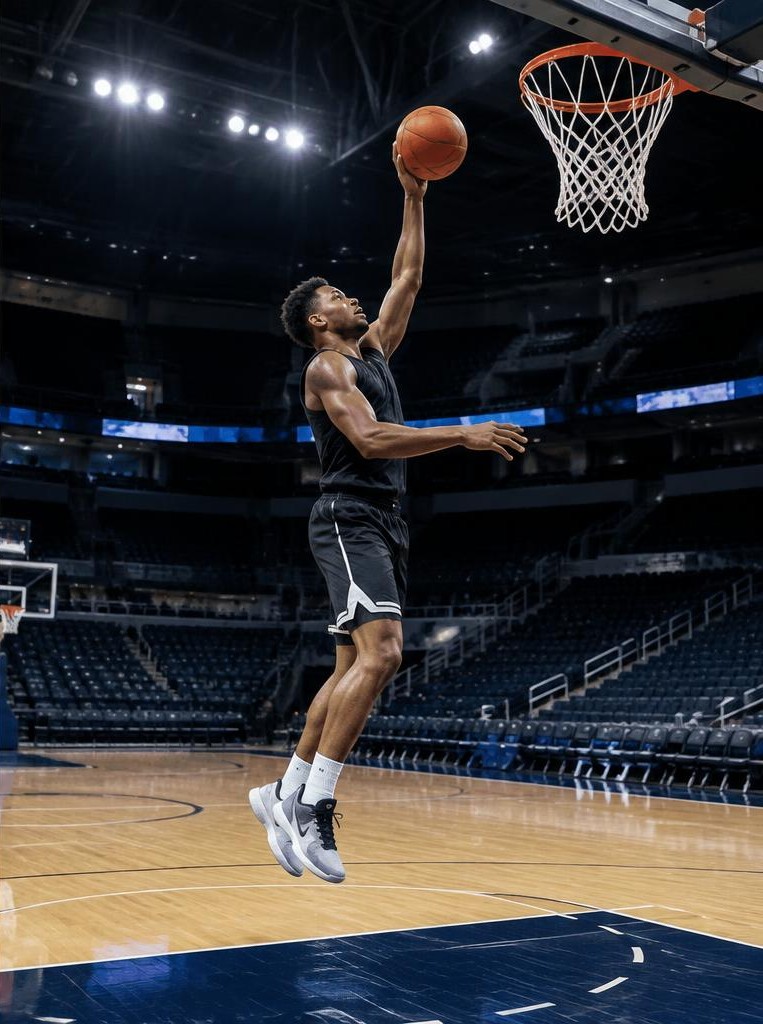
At an indoor basketball practice, a longer lens proves too tight. A shorter, brighter lens gives better coverage from the designated position.
This fictional comparison shows why reach and light must be evaluated together; the most expensive long lens may solve neither problem.
07Test before making a purchase
Rent or borrow a compatible lens where practical. Test tracking, balance, zoom speed, battery use and the focal range from the position you normally have.
Review actual keeper rates by cause, not just the number of frames made.
For used equipment, check mount condition, optical haze, stabilisation operation and autofocus on your body. Confirm return terms and current local prices.
This guide does not claim hands-on testing or invent product scores. Use manufacturer specifications and verifiable tests for named models.
FAQ
08FAQ and your next practice
Is 70–200mm enough for every sport? No. Is f/2.8 mandatory? No, but it can help in dim light. Does stabilisation stop subject motion? No. Should you buy the longest lens possible? Only if its field of view, light-gathering and weight fit your real situation.
At the next permitted practice, make a wider context frame, a medium action frame and a tighter portrait. Record focal length, shutter, aperture and ISO. List recurring misses: too distant, too close, blur, focus or timing. The right next purchase addresses that list rather than a generic sports ranking.
Sources & further reading
These references support the technical explanations. Exercises and starting settings are illustrative and should be adapted to your equipment and conditions.
Free resources from LensSuite
Was this guide helpful?