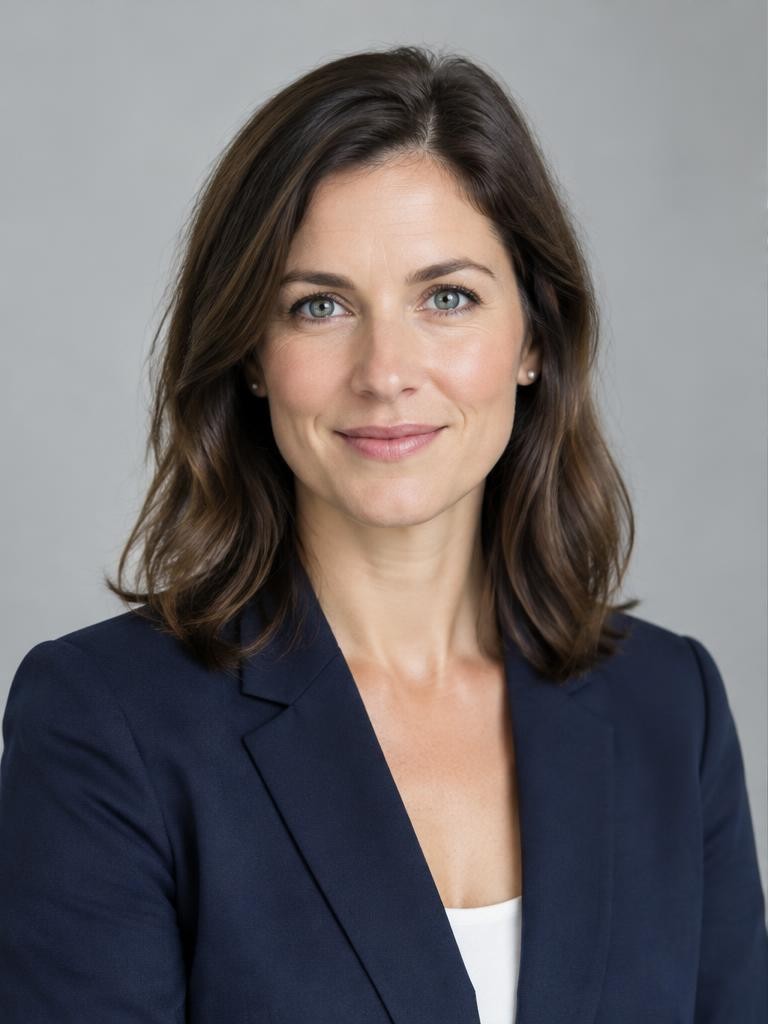
A headshot is a photograph centred on a person’s face, usually including the head and shoulders, made to communicate recognisable identity and an appropriate impression. Common uses include staff directories, professional profiles, casting submissions and speaker biographies. Its success depends on the intended audience, not a compulsory crop or background colour. Unlike a passport photograph, a headshot usually has room for expressive lighting and personality. Unlike a broad environmental portrait, it normally keeps the face dominant. Adobe’s headshot guidance stresses understanding both the person and the image’s eventual use before choosing a visual approach.
01Distinguish headshots, portraits and identity photographs
A portrait is the broader category: it can show a person’s surroundings, relationships, activities or full body. A headshot is a more focused application within that category.
An environmental headshot can include context, provided the setting does not overwhelm the face.
Official identity photographs follow rules set by the receiving authority. A stylish professional headshot may fail those requirements.
Actor submissions, corporate directories and personal websites also have different expectations. Ask for the actual brief instead of assuming that one photograph can satisfy every platform and regulatory purpose.
02Write a brief before choosing equipment
Confirm who will view the image, where it will appear and what qualities it should communicate. A therapist might prefer a calm, welcoming expression; a performer may need several truthful variations for different roles.
These are possibilities to discuss, not stereotypes to impose.
Ask about background colour, orientation, crop, file dimensions and usage permission. Establish whether the subject approves selections and retouching.
For a team, agree consistent camera height, lighting and framing before the first appointment. Record delivery deadlines and naming conventions so the session produces usable files, not merely attractive photographs.
03Choose distance first, then focal length
Facial perspective depends on camera-to-subject distance. Moving very close enlarges nearer features relative to farther ones.
A longer focal length often looks more comfortable because it lets you maintain a useful head-and-shoulders frame while standing farther away.
Nikon’s portrait-lens guidance discusses 85mm and longer options, but these are examples rather than a universal requirement. Sensor size and room depth change your choice.
Start at a conversational distance and select a focal length that fits. With a phone, avoid placing an ultra-wide camera close to the face; step back when image quality allows.
04Build one simple light arrangement
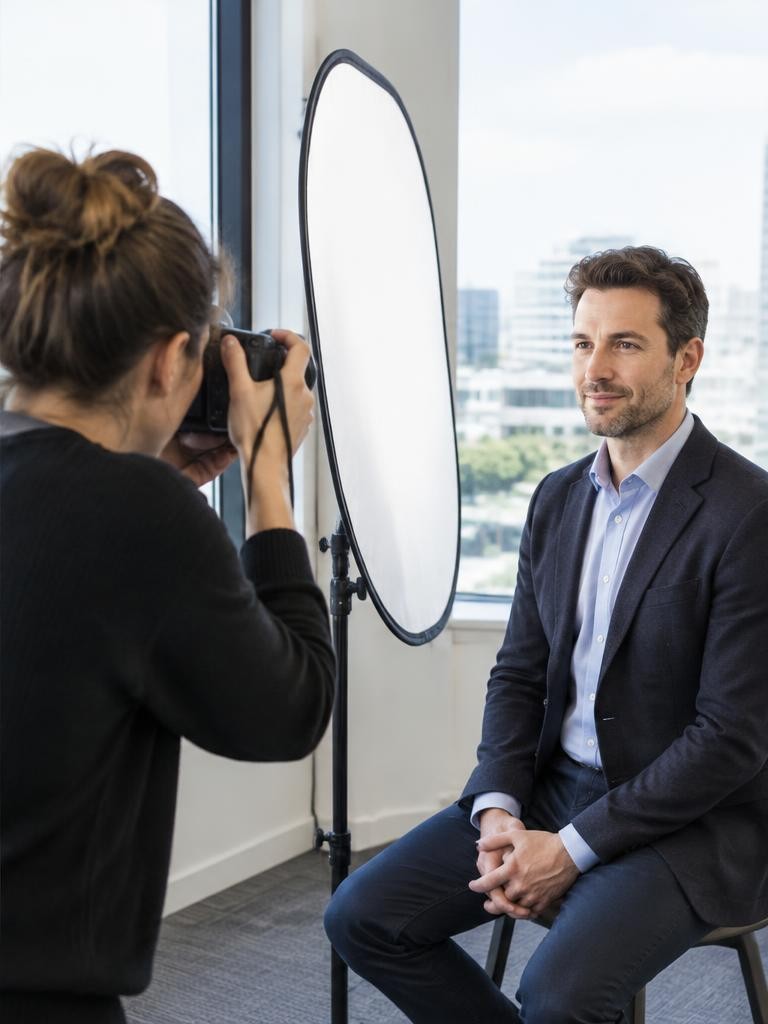
Place the person near a large window, with their face turned slightly toward it. Watch how the shadow falls across the cheeks and under the eyes.
A pale reflector on the opposite side can lift shadows without making the light completely flat.
Turn off room lights if they introduce an unwanted colour mixture. Check that the window does not force uncomfortable squinting.
A large softbox can provide a repeatable alternative, but you do not need multiple lights to begin. Adjust the source’s position and apparent size before adding extra equipment to fix avoidable problems.
05Keep the background subordinate
Nikon’s portrait guidance emphasises simple backgrounds and avoiding objects that appear to grow out of the head. Check the entire frame for poles, door edges and bright patches.
Move the camera or subject before relying on retouching.
Separate the subject from a wall when space permits. This can soften background detail and reduce distracting shadows.
A recognisable workspace can work if the brief requires context, but keep it quiet enough for small-screen viewing. Review a thumbnail: if the brightest lamp or strongest sign attracts attention before the eyes, reconsider the arrangement.
06Set exposure and focus for a living subject
Use an aperture that keeps the important facial features acceptably sharp. Around f/4 to f/5.6 can be a useful starting range, depending on framing, sensor size and head angle.
Extremely shallow focus may leave the farther eye visibly soft.
With continuous light, start around 1/200 second or faster if movement requires it, then adjust ISO for the available illumination. These are starting points, not guarantees.
Focus on the nearer eye and inspect actual files. If using flash, respect the camera’s synchronisation limits and check how ambient light contributes to the exposure.
07Direct expression without forcing a persona
Explain each adjustment clearly and ask permission before touching clothing or hair. Give one instruction at a time: relax the shoulders, turn a little, bring the gaze back.
Avoid making comments that imply a feature needs correcting.
Try a small range of expressions, including a relaxed neutral look and a genuine smile if suitable. Allow breaks, particularly for someone who finds being photographed uncomfortable.
Review a few images together when practical. A person who understands the purpose and can participate in choices is more likely to recognise themselves in the final photograph.
08Frame for the final crop
Leave enough room around the head and shoulders to support the required layout. Circular profile crops often remove corners and shoulder edges, while a horizontal website banner may need empty space beside the person.
Delivering one tight rectangle can create unnecessary problems later.
Keep the camera near eye level as a neutral starting point, then adjust deliberately rather than following rigid flattering-angle formulas. Check posture, clothing edges and headroom.
Make a second, slightly wider frame before finishing. This is easier and more truthful than inventing missing shoulders or background after the session.
Worked example
09Hypothetical worked example: a staff profile
Suppose a consultant needs a square website portrait and a circular directory thumbnail. In a small office, you place them about a metre from a plain wall and use a window to one side.
You choose a moderate telephoto view from a comfortable distance, starting at 1/250 second, f/5.6 and ISO 800.
A test frame looks dark, so you check highlights and raise ISO to 1600, a one-stop brightness adjustment with shutter and aperture unchanged. After focusing on the nearer eye, you photograph several expressions and a wider safety frame.
You test both crops before selecting. These settings describe a hypothetical workflow, not a measured office lighting condition.
10An illustrative story: the expression becomes the solution
Imagine a new employee who arrives expecting a severe corporate photograph. The initial poses feel stiff, and repeatedly asking for a bigger smile makes things worse.
The photographer pauses and asks how the employee normally greets a client.
They practise that greeting without taking pictures, then photograph the relaxed expression that follows. The subject chooses a subtle smile rather than the broadest one.
This invented scenario illustrates a practical point: useful direction connects expression to purpose. More elaborate lighting would not necessarily solve a communication problem or make the image feel more authentic.
Troubleshooting
11Troubleshoot and retouch conservatively
If glasses show reflections, adjust the light angle or camera relationship while checking that the eyes remain visible. If the face is sharp but the expression feels strained, pause rather than increasing the burst rate.
If skin colour looks inconsistent, inspect mixed lighting and white balance.
Agree retouching expectations. Temporary blemishes or distracting lint may be appropriate to remove with permission; changing facial structure or permanent identifying features can undermine recognition.
Preserve believable texture. Export an appropriately sized colour-managed file, keep a high-quality master, and avoid promising identical appearance on every uncalibrated screen.
FAQ
12FAQ and a repeatable practice exercise
Must a headshot have a plain background? No, but the face should remain easy to identify. Must the subject look at the camera? Not always; direct gaze is common, while the brief may justify alternatives. Can a phone work? Yes, when light, distance, focus and final output are suitable.
For practice, photograph a consenting adult in one location with three expressions and two crops. Keep exposure and camera height consistent. Compare the results as small thumbnails and ask which communicates the intended role without losing recognisability. Record what changed, then repeat using a simpler background.
Sources & further reading
These references support the technical explanations. Exercises and starting settings are illustrative and should be adapted to your equipment and conditions.
- Adobe: The art of headshot photography
- Nikon: Take Better Portraits
- Nikon: Lens Choice for Great Portraits
Free resources from LensSuite
Was this guide helpful?