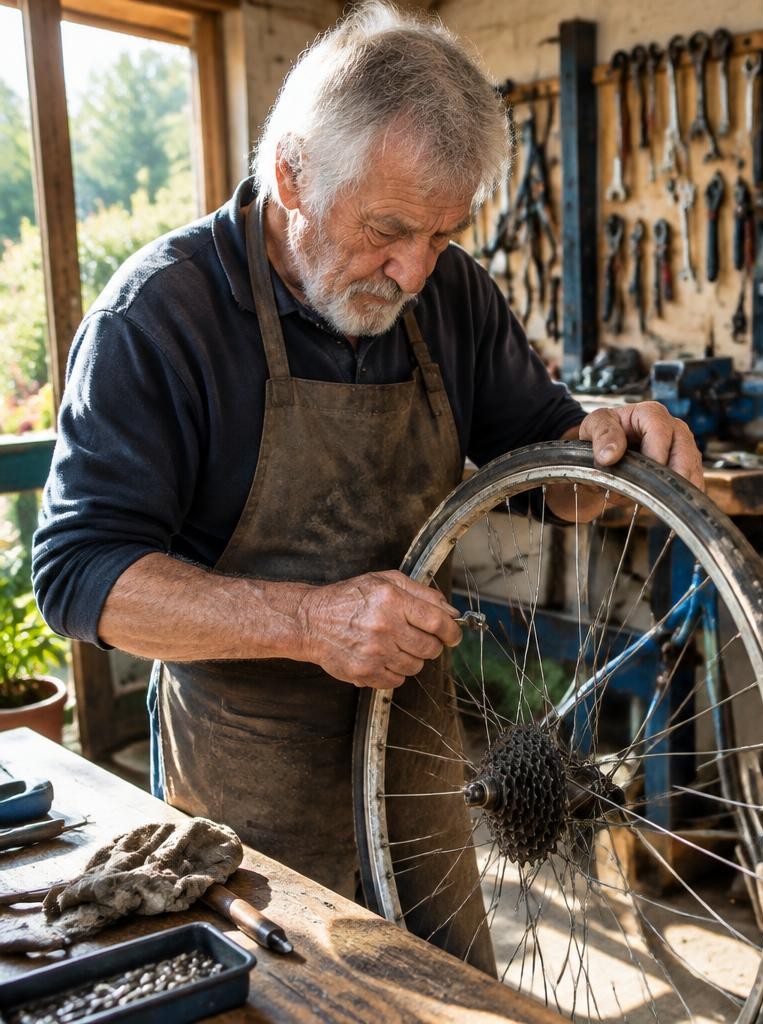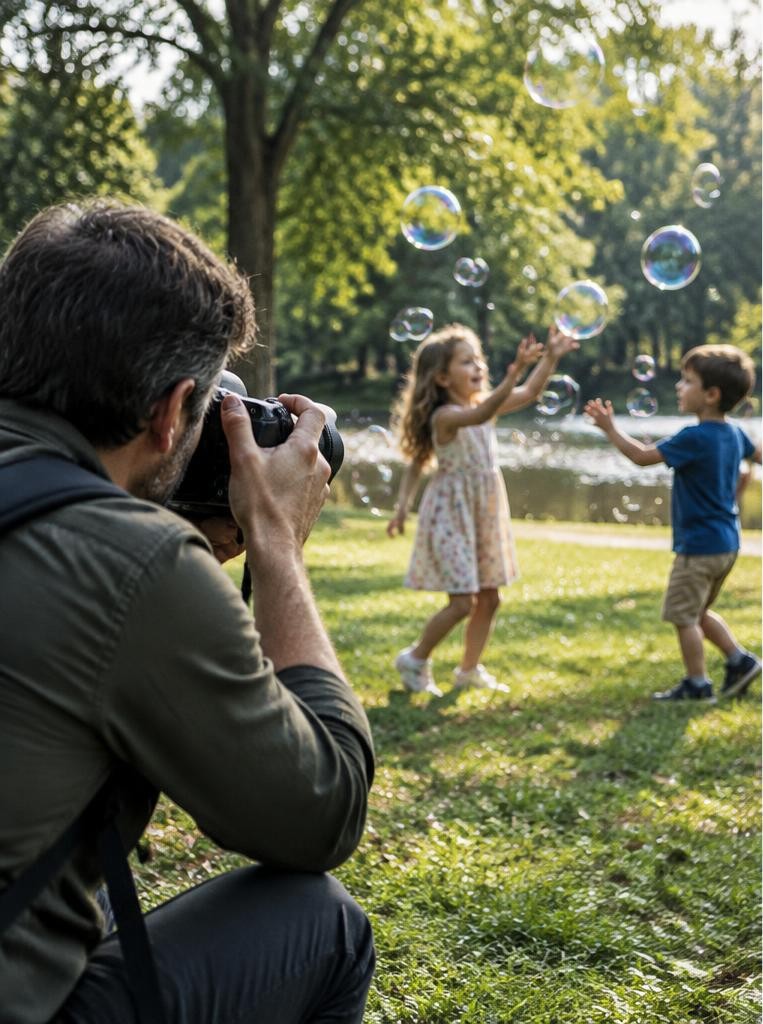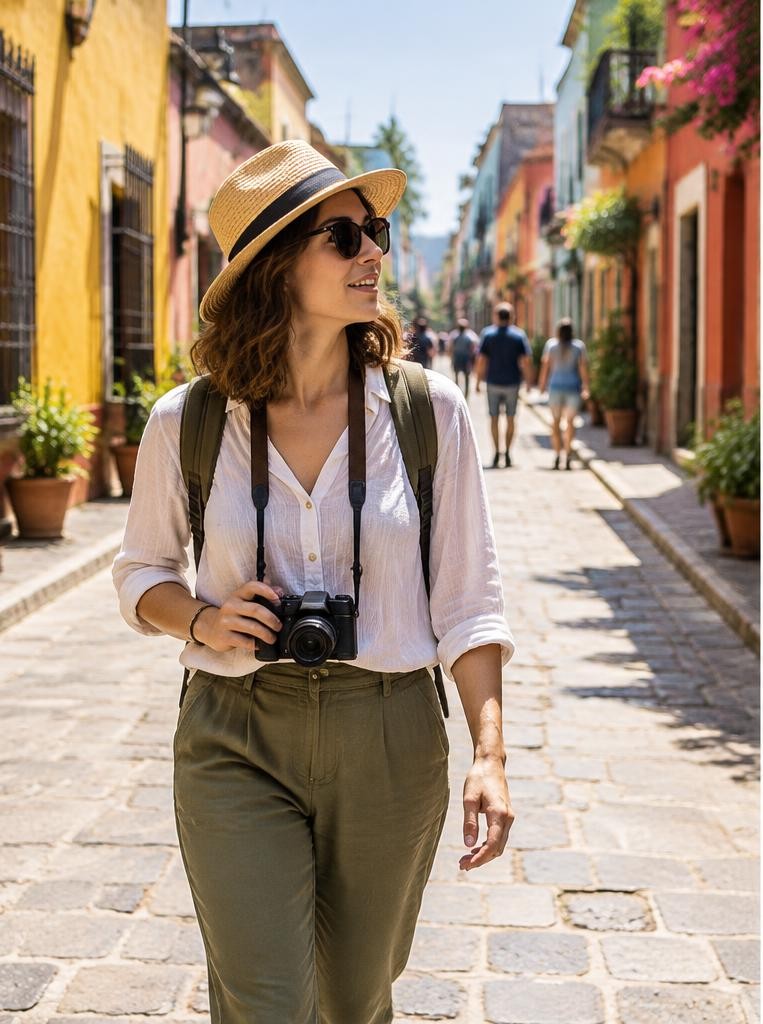
Travel photography includes landscapes, architecture, streets, food, transport, portraits and everyday details connected with a journey. It does not require international travel or an expensive camera. A nearby town can be approached with the same curiosity as a distant destination. A visitor's pictures cannot explain an entire community. Observe carefully, verify captions and avoid presenting a brief encounter as proof of local character. Your goal is a small honest visual account, not a checklist of stereotypes.
01Plan access and one manageable story
Check photography rules, opening conditions and local expectations before visiting a controlled site. Public visibility does not guarantee permission to enter, photograph or publish every situation.
Never trespass or move into traffic for a composition.
Choose a modest theme: a street in changing light, a permitted market activity or architectural patterns along a short walk. Carry only what you can manage securely.
A charged battery, spare storage and weather protection may be more useful than several lenses that keep you distracted.
02Observe before making a picture
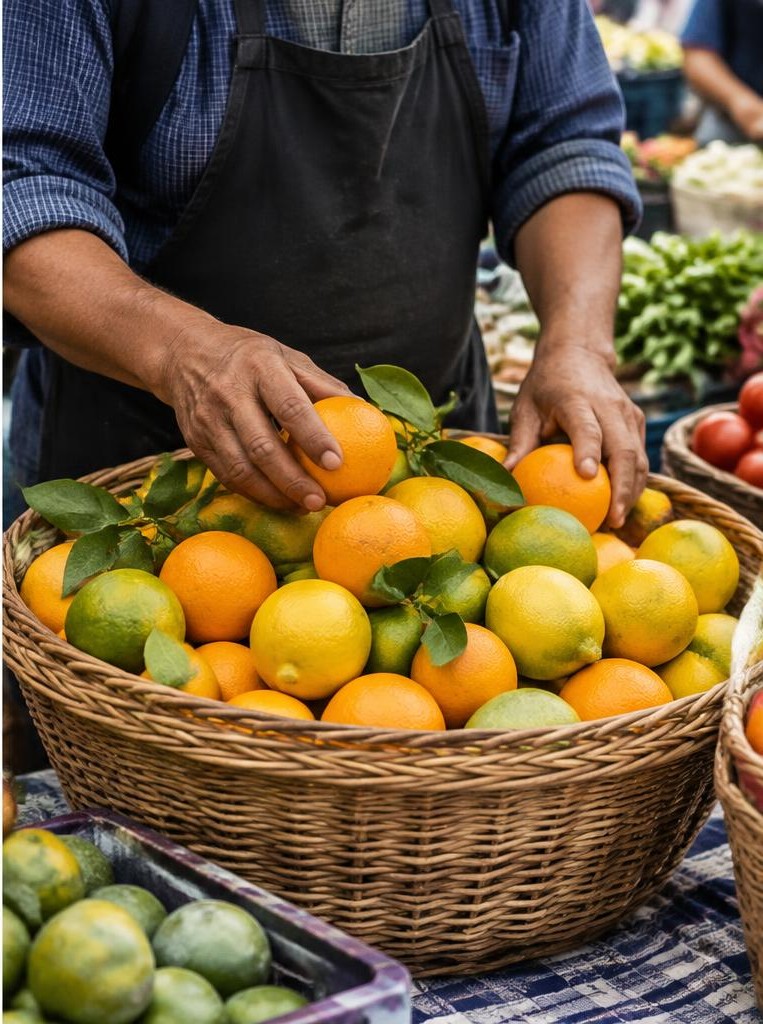
Pause and describe something visible: ‘A vendor arranges citrus on a stall.’ Do not turn that into an unsupported claim about poverty, tradition or happiness. Look at the scene's rhythm, light and boundaries before lifting the camera.
Ask permission when appropriate, especially in private workplaces or for a close identifiable portrait. Explain intended use if asked and accept refusal.
Buying an item does not buy someone’s likeness. A detail of goods can still be unwelcome if it interferes with business.
03Build context, action and detail
A wide view establishes the street. A medium view shows an activity and its surroundings.
A close frame reveals hands arranging fruit or a sign whose meaning you can verify. Each should add information rather than repeat the same scene.
Check edges and overlaps. A pole crossing a face can obscure the action, while a nearby person should not be treated merely as a convenient scale marker.
Move safely and do not stage a display while describing it as found.
04Use light rather than a destination preset
Early or late light can produce longer shadows; cloud cover can soften contrast; midday light can create strong graphic shapes. None is universally best.
Choose the available light that clarifies the subject and inspect highlights on pale walls or shiny fruit.
For a moving pedestrian, try 1/250 second as an example and adjust after review. For a static doorway, a slower shutter with stable support may work.
When changing from sun to shade, check exposure again. Dramatic colour grading should not imply that a place looked unlike the actual scene.
05An illustrative twenty-minute market walk
Imagine a traveler agrees with a vendor to make a few photographs without blocking customers. They begin with the street, make a medium frame of the stall and finish with hands arranging citrus.
A bright sign distracts from the first close-up, so they change position rather than moving the vendor's goods.
The three images now offer location, activity and detail. The caption identifies only verified place information and visible work.
This hypothetical scenario illustrates a respectful process; the generated imagery is not reporting from a named market.
06Keep notes that support accurate captions
Record the place, date, permitted use and names only when provided with agreement. Verify unfamiliar words on signs before explaining them. ‘A vendor arranges fruit’ is safer than an invented claim about an ancient family business.
Consider location-tag consequences, especially for vulnerable people or sensitive sites. Do not publish identifying information simply because it appears in a frame.
Keep exposure and colour adjustments consistent, and do not remove factual details to make a setting look more picturesque.
Try this
07Practice a three-distance walk
Give yourself twenty minutes on a safe permitted route. Make one establishing frame, one activity where appropriate and one informative detail.
Review what each adds, then remove the weakest near-duplicate. Put the camera away for part of the walk so observation does not become constant collecting.
If the sequence feels generic, narrow its subject. If it relies on assumptions, revise captions or omit the image.
If every detail lacks context, add a wider frame. A phone is enough to practise these choices; a thoughtful sequence matters more than proving how many places you visited.
Sources & further reading
These references support the technical explanations. Exercises and starting settings are illustrative and should be adapted to your equipment and conditions.
Free resources from LensSuite
Was this guide helpful?